Kasteelspoort Hiking Trail: Everything You Need to Know
Did you know there are over 50 hiking routes up Table Mountain?!
And I’ve only done a handful (maybe 10?) since I moved down to Cape Town in 2014. On the one hand, I’m embarrassed, but on the other hand, I’m a Taurus, and we love familiarity and routine.
So, it’s not surprising that I’ve done the Kasteelspoort hiking trail, MULTIPLE times over the years. It’s my go-to hike for summiting Table Mountain and I’ll never turn down an opportunity to get onto the trail.
…But it’s the versatility (and the views) of the hike that has my heart. It’s almost like a Build-A-Bear hike. Depending on how long you want to spend on the mountain, there are different ways you can add on to the hike and make it more interesting.
So if you’re looking for a challenging Cape Town hiking trail and want to tick off multiple sights on top of Table Mountain, this is the Kasteelspoort hiking guide for you.
Below, you’ll find two different route options as well as different descents if you don’t want to take the same route up and down Table Mountain.
Without further adieu, here’s everything you need to know about the Kasteelspoort hike!
You’ll LOVE these other Cape Town hiking guides
Kasteelspoort Hike Overview
Kasteelspoort Hiking Trail
Read More: The Ultimate Cape Town Travel Guide
Getting to the Start of the Kasteelspoort Trail
The start and end point of the Kasteelspoort hike is on Theresa Avenue in Camps Bay. Type “Kasteelsport – Starting Point” into Google Maps, and it’ll take you to the start of the trailhead.
But…There is one small problem.
The parking on Theresa Avenue is extremely limited because it’s a residential area. There isn’t a “parking lot”. It’s all curbside next to people’s houses. To grab a spot close to the trailhead, you’ll need to come here early, like sunrise early.
To avoid any parking issues, I’d highly recommend leaving your car at home and taking an Uber to the trailhead.
Or if you want to take a loop route for Kasteelspoort (more on this below), you can park your car at the Kloof Corner parking lot on Tafelberg Road. It’s free to park here, and there’s way more space.
Read More: 50+ Things to Do in Cape Town: A Local’s Guide
Option 1: The Standard Kasteelspoort Hiking Trail
The classic OG Kasteelspoort hiking route. You go straight up, take in the views, and come back down the same way.
Here’s what to expect on this route option.
The Jeep Track
The trail starts with a wide jeep track that winds up the lower slopes of Table Mountain above Camps Bay. It’s exposed and steep, and eventually connects to the Pipe Track (another must-do Cape Town hiking trail).
The path will eventually turn towards the right, and in a few metres you’ll see a small path to the left. This will take you directly up the slope of the mountain towards the starting point of the Kasteelspooort trail.
Missed it? There is another route that takes a left-hand hairpin bend.
I’m not a huge fan of the beginning of the trail because I hate sustained inclines. However, this is still the easy part of the hike, and there are loads of photo opportunities as you slowly start to ascend the mountain.
Tip: Keep an eye out for the sign pointing up the mountain that says “Kasteelspoort”. Once you’re on that path, the trail is straightforward, and it’s a steep ascent to the top of Table Mountain.
The Upper Trail
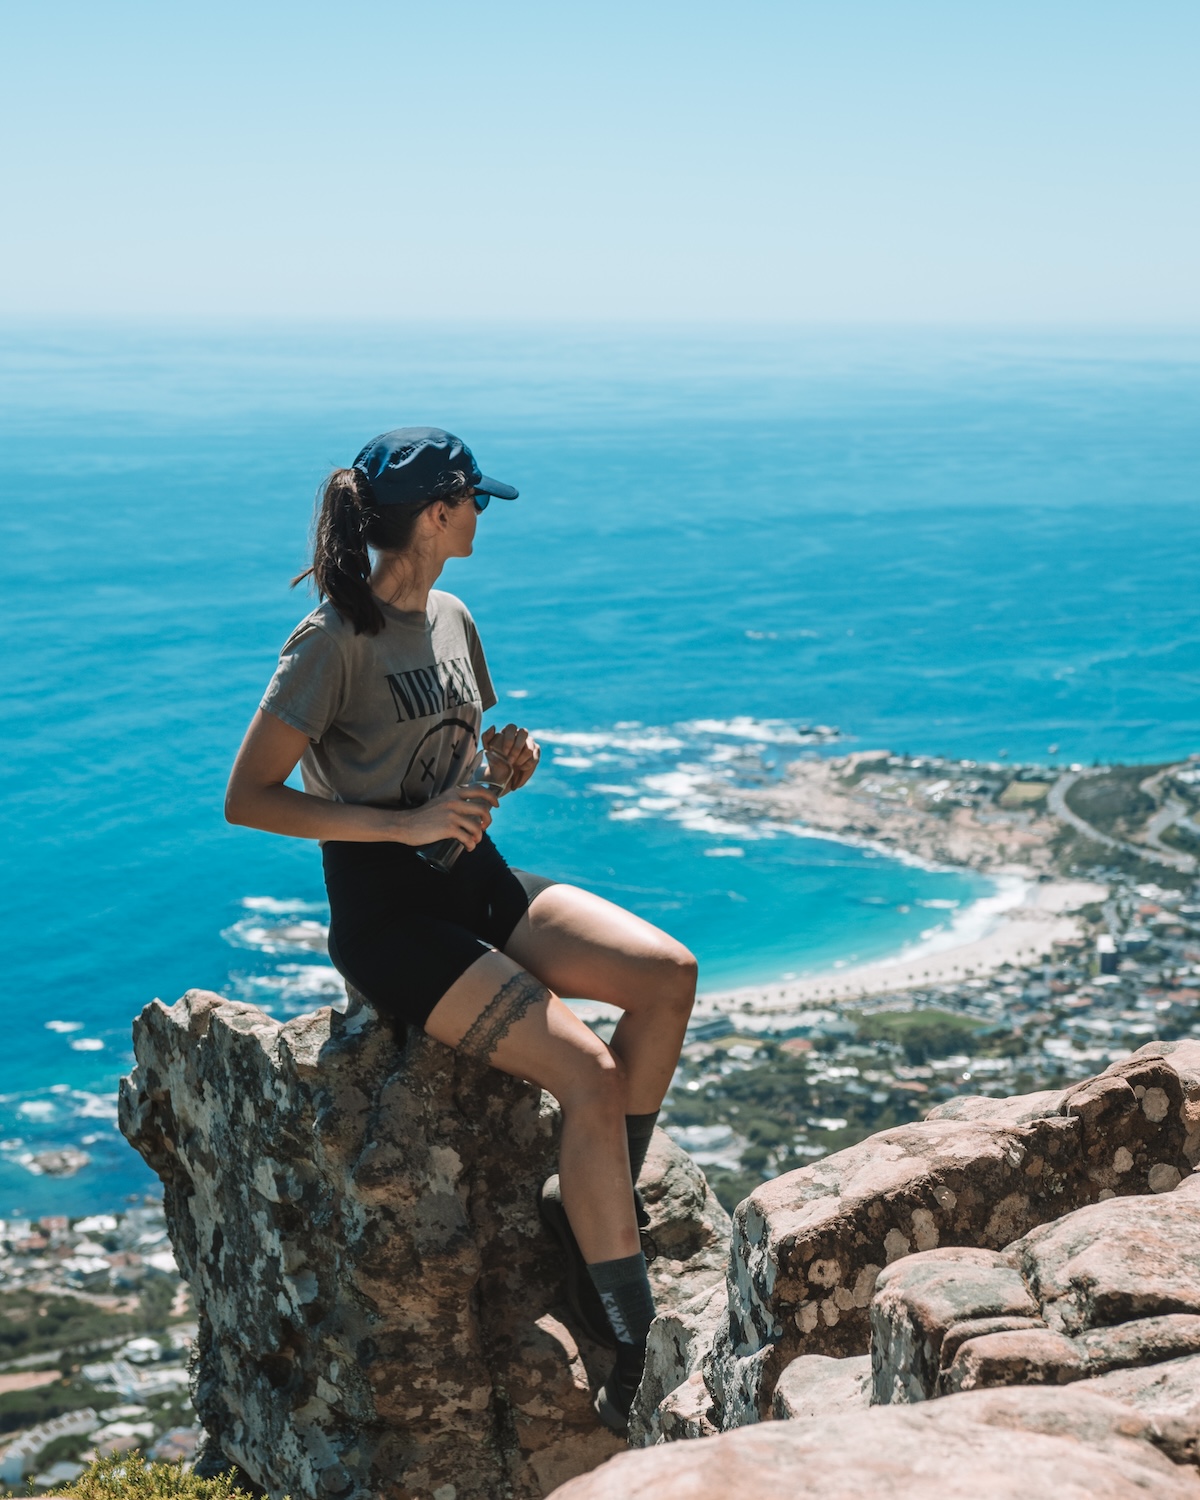
As you gain altitude, the jeep track narrows. Camps Bay opens up below you, Robben Island appears in the distance, and on a clear day, you can see all the way down the Atlantic Seaboard.
…But this is the thigh-burning part of the trail. It’s a steep ascent with light rock scrambling and what feels like a series of never-ending lunges.
Take as many breaks as you need. The incline only gets worse until you finally make it to the top of Table Mountain.
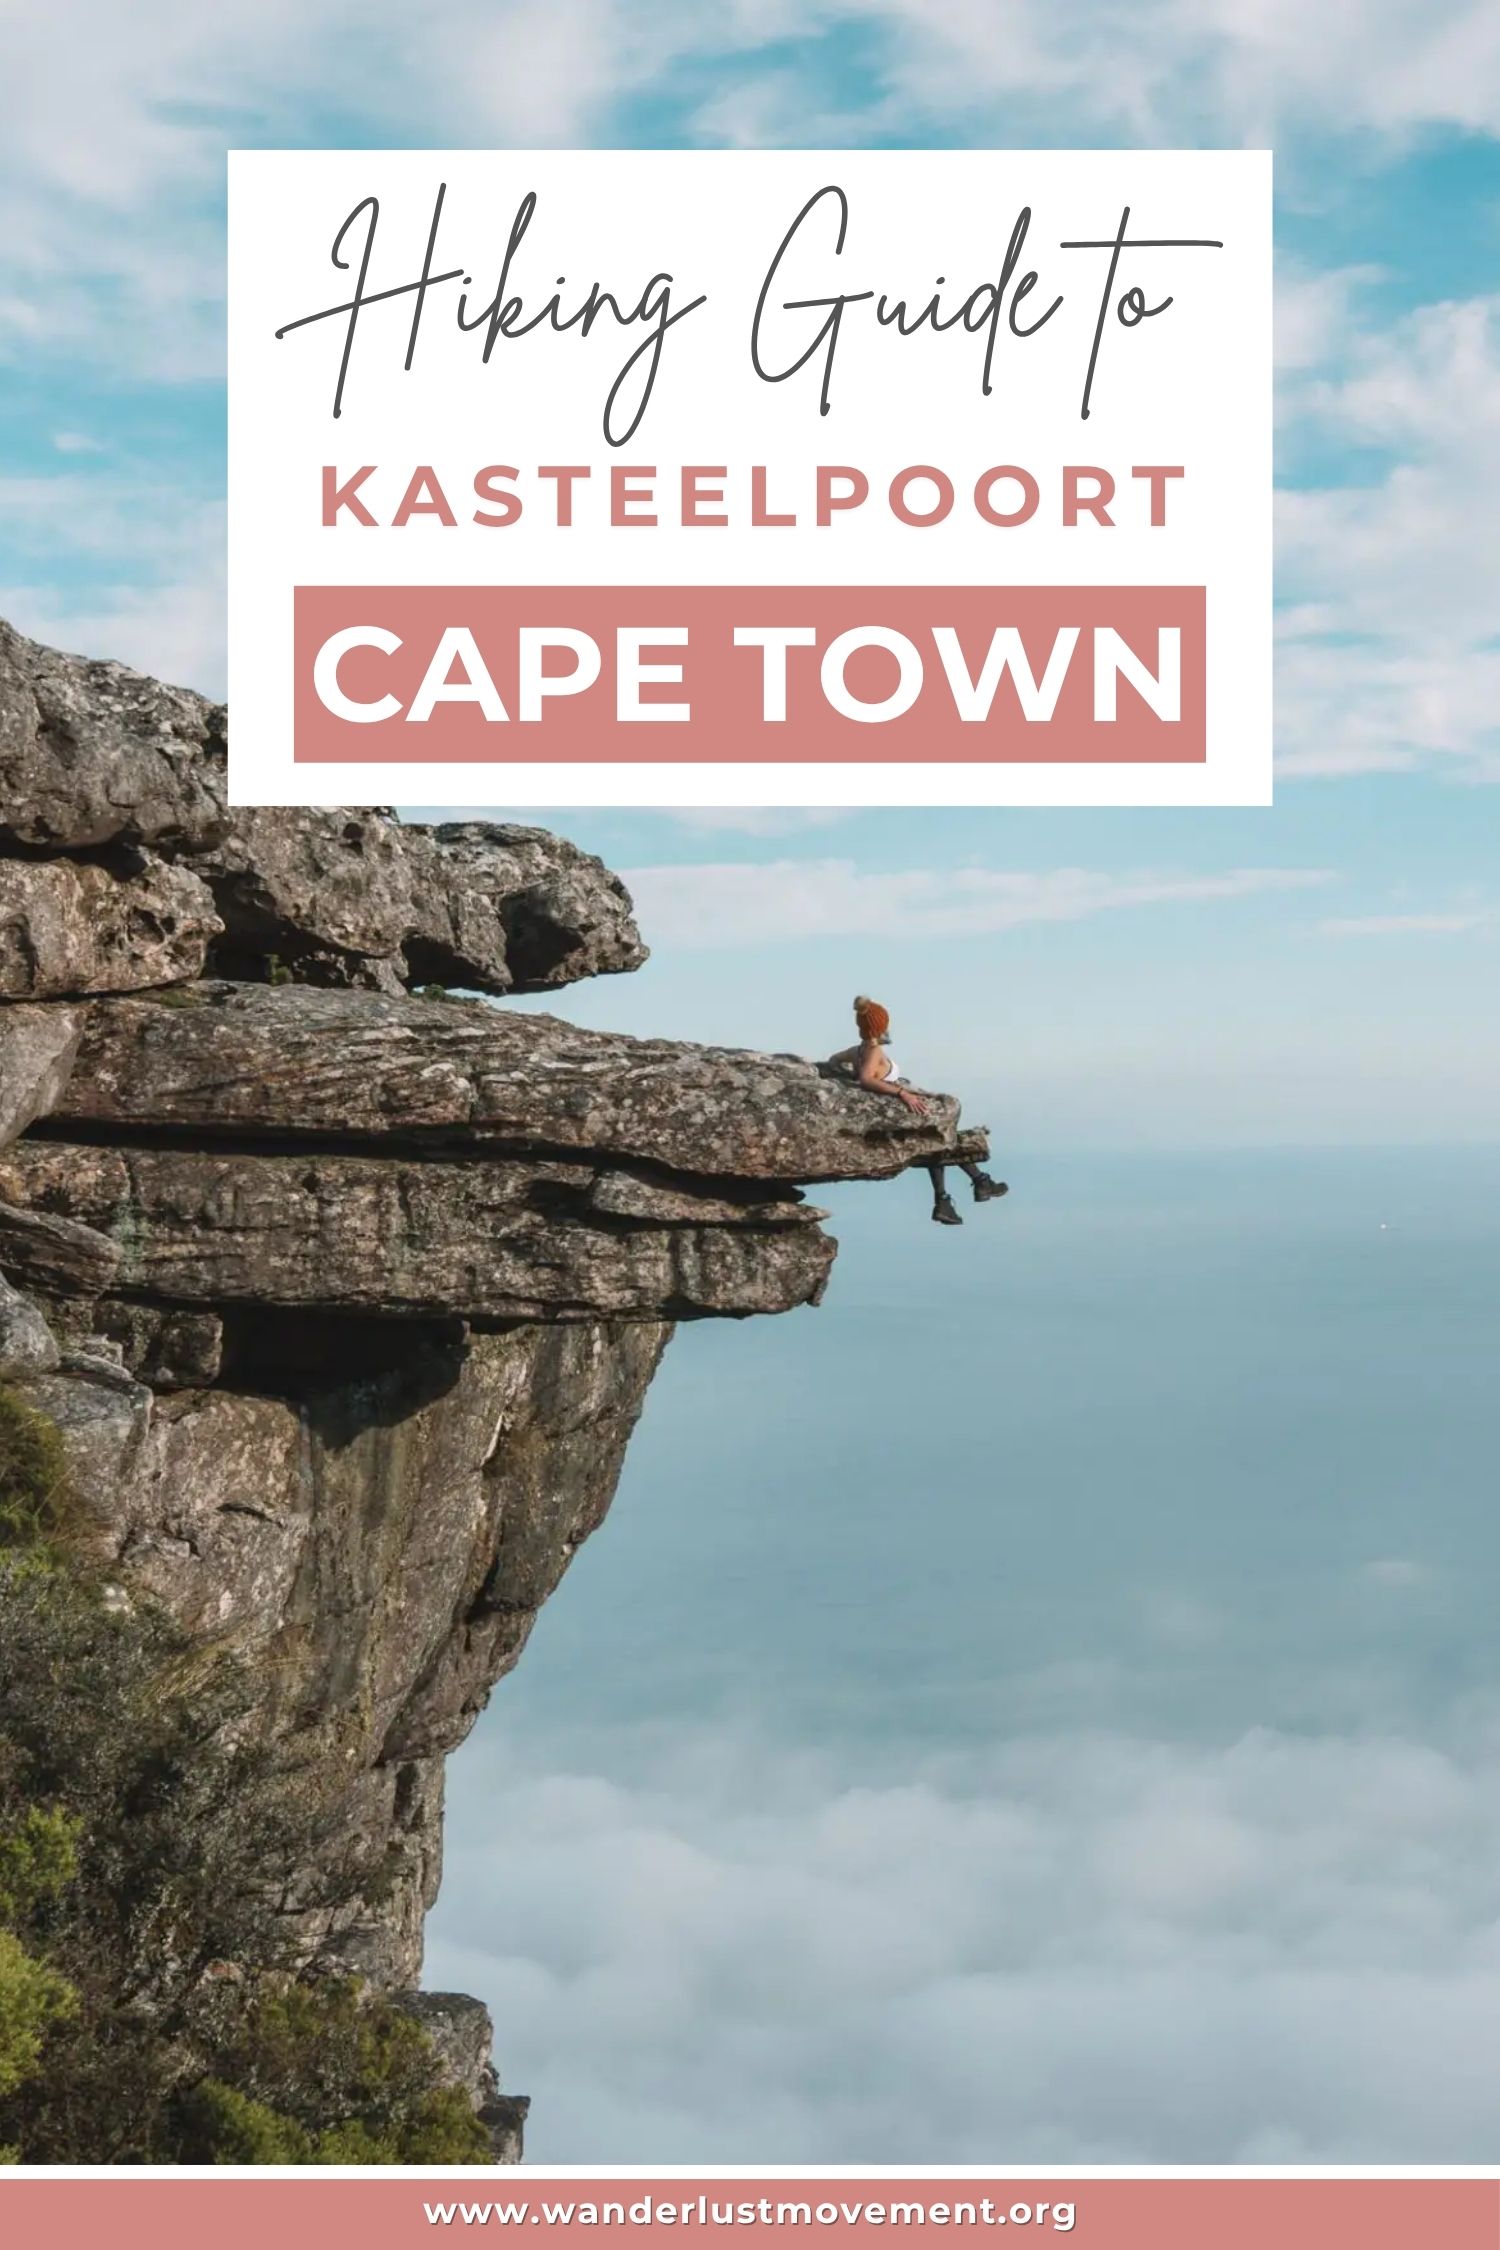
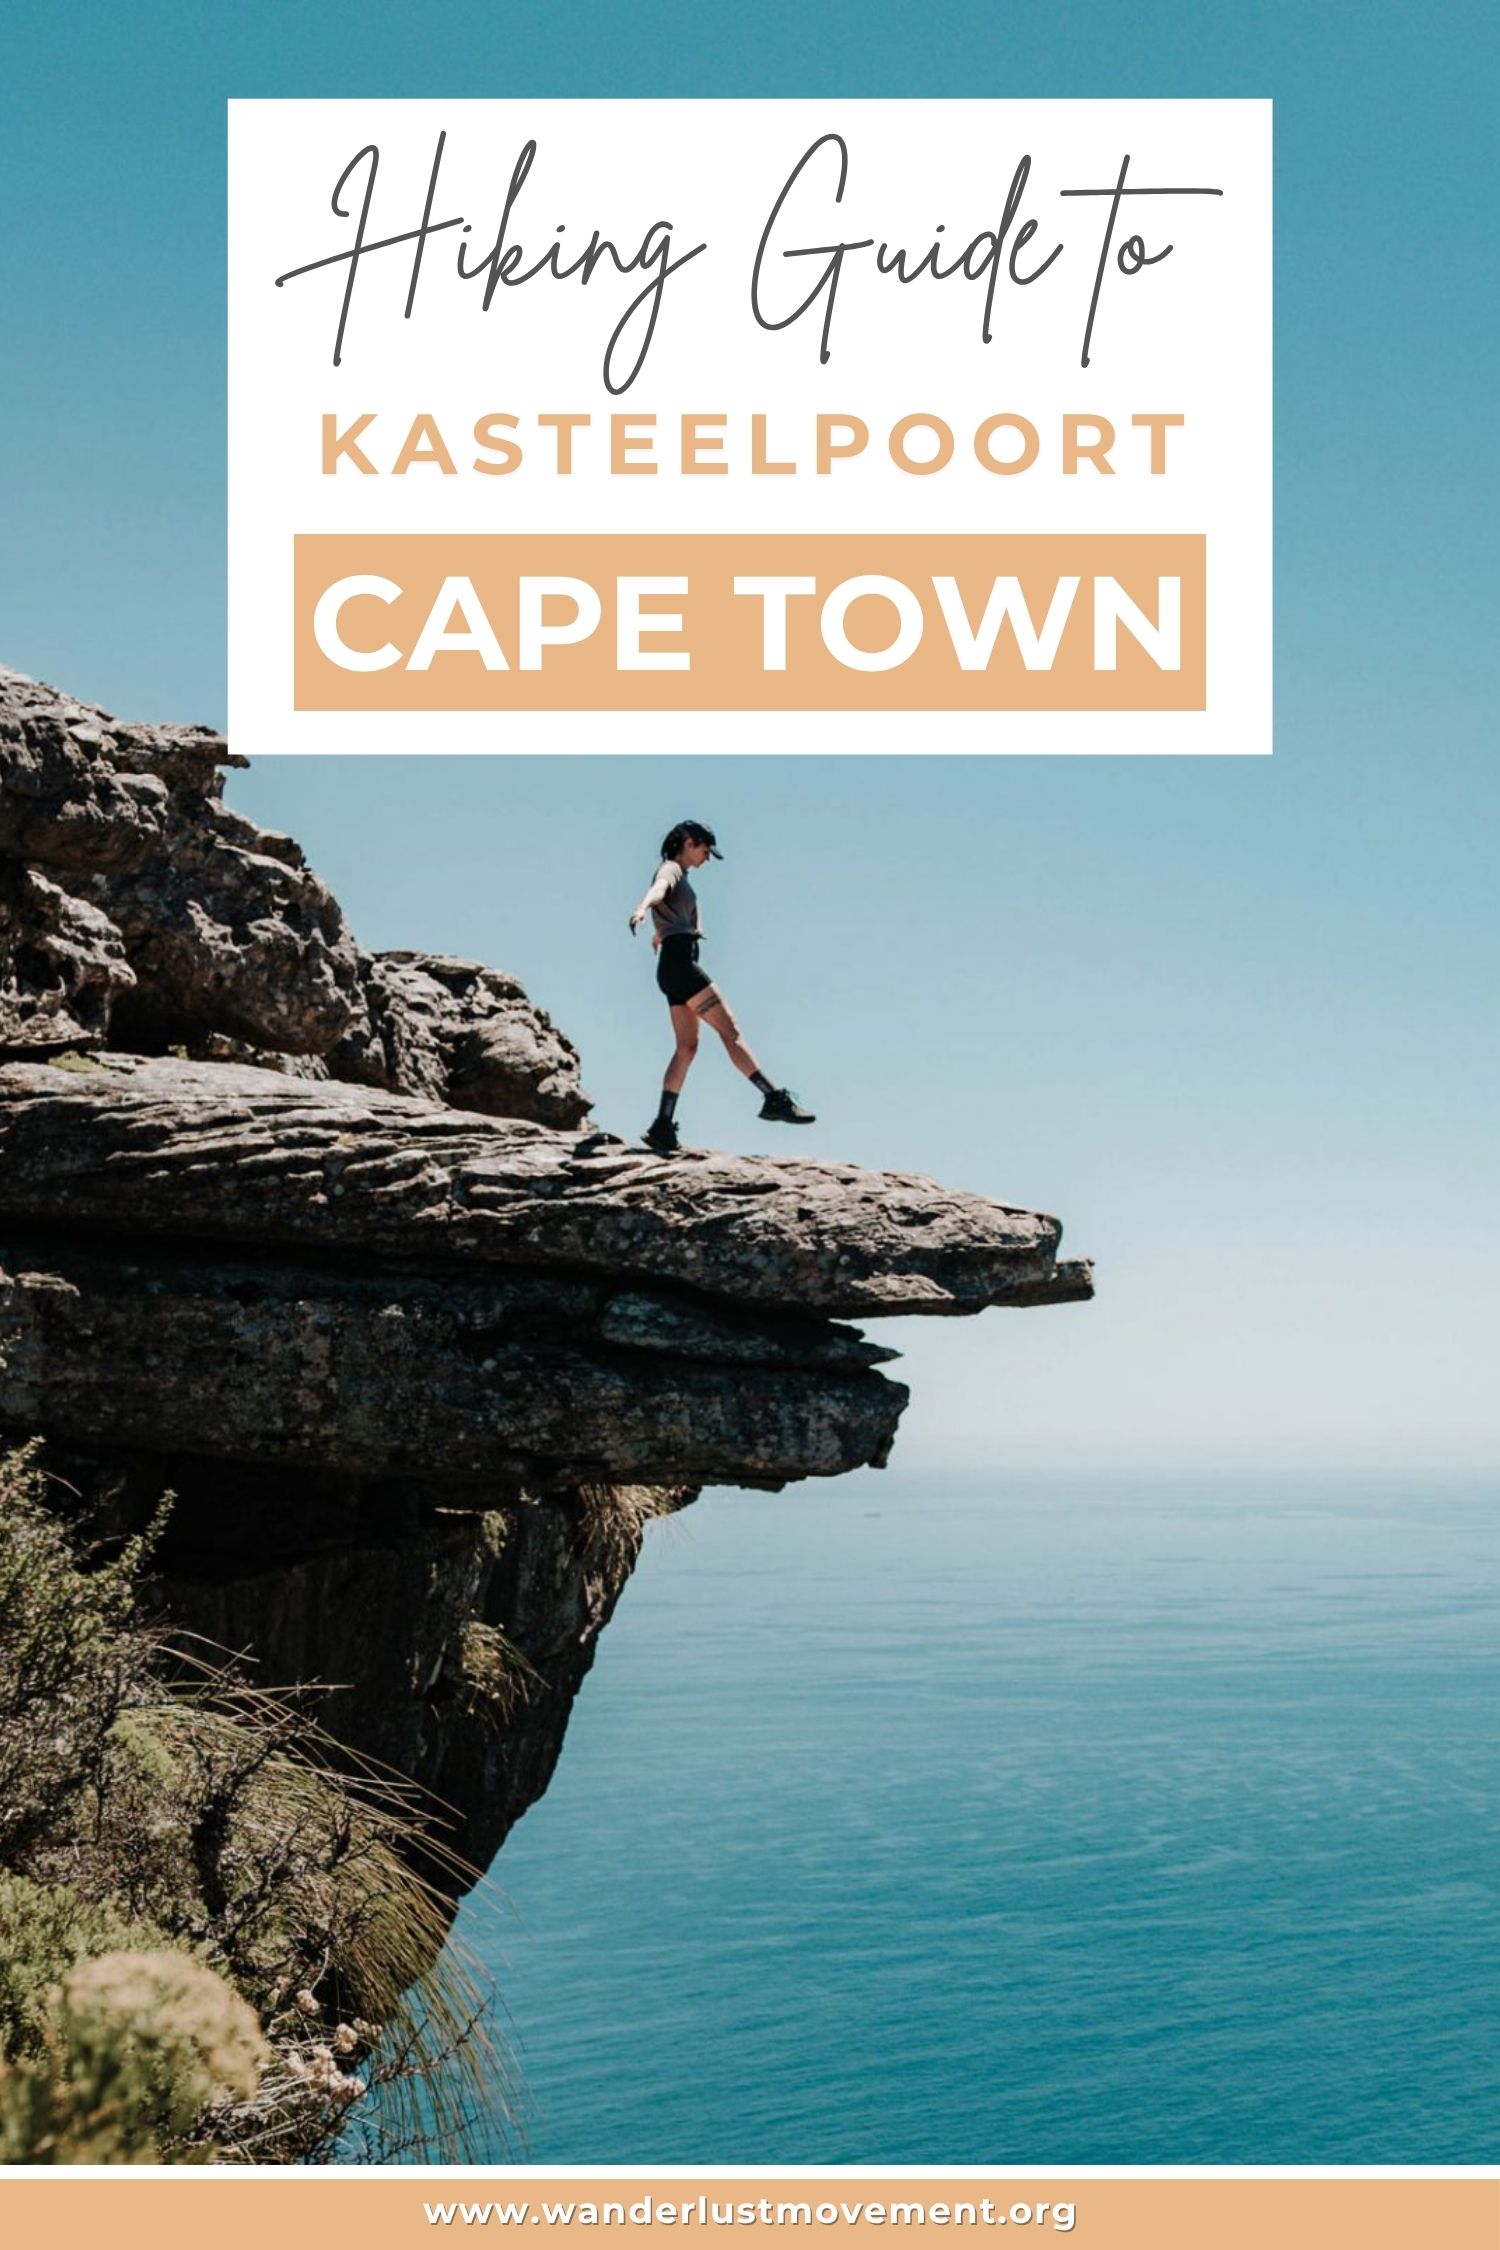
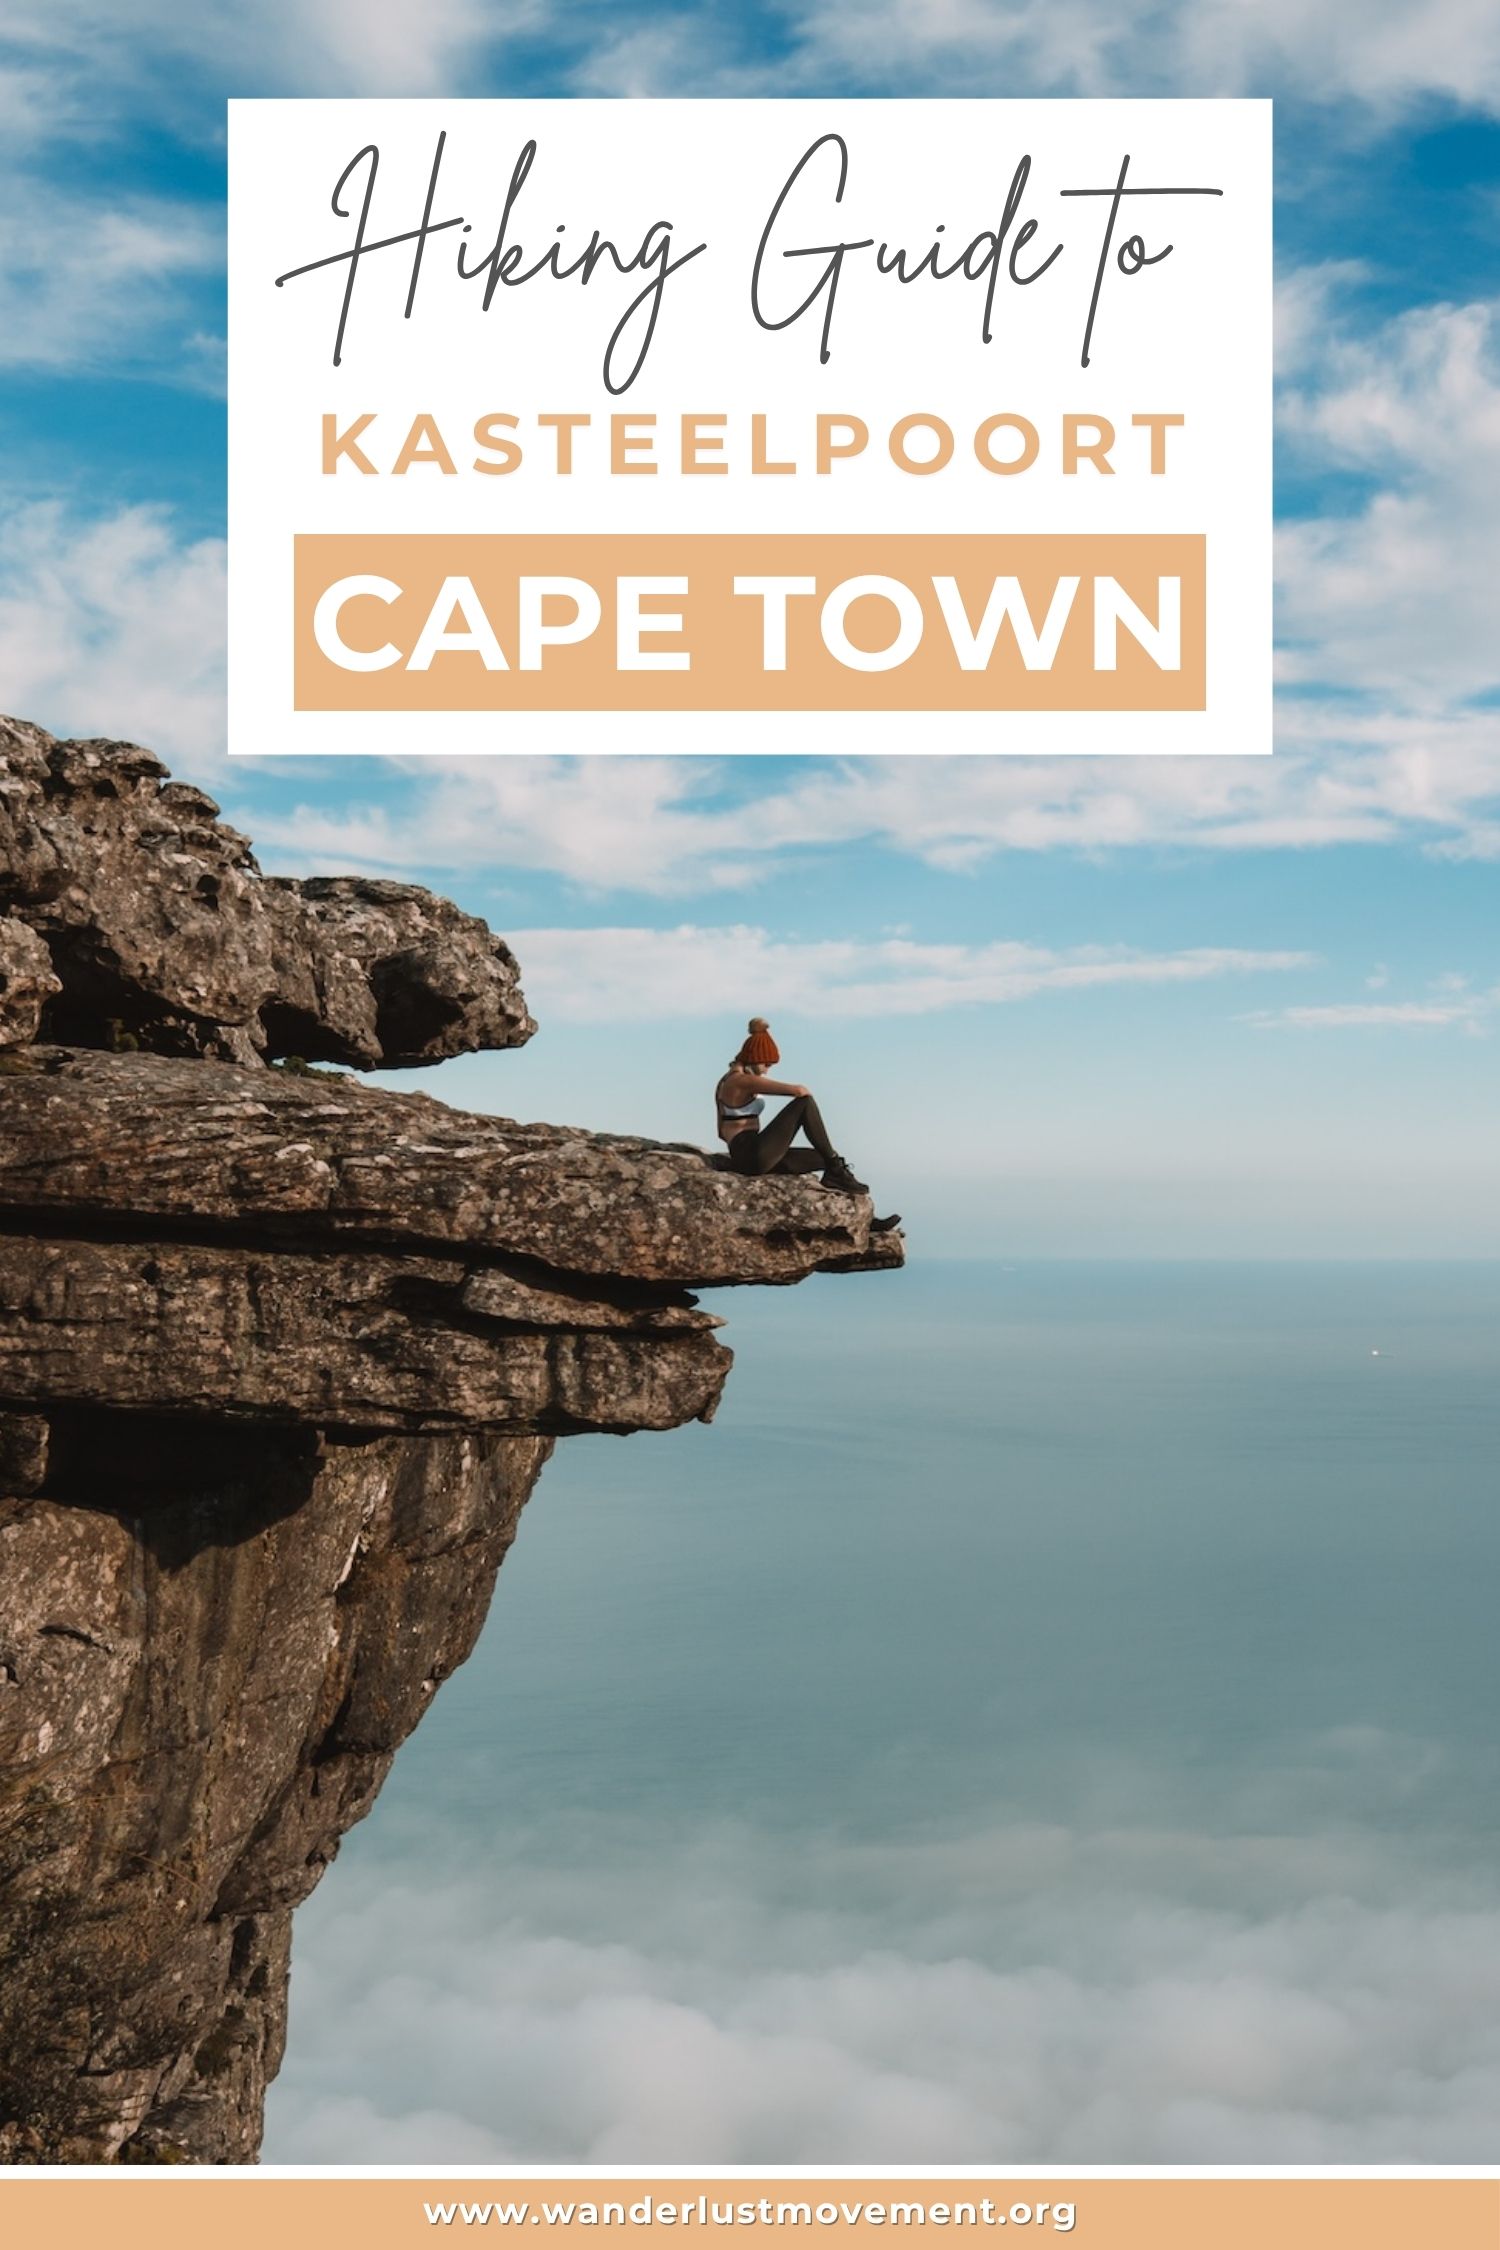
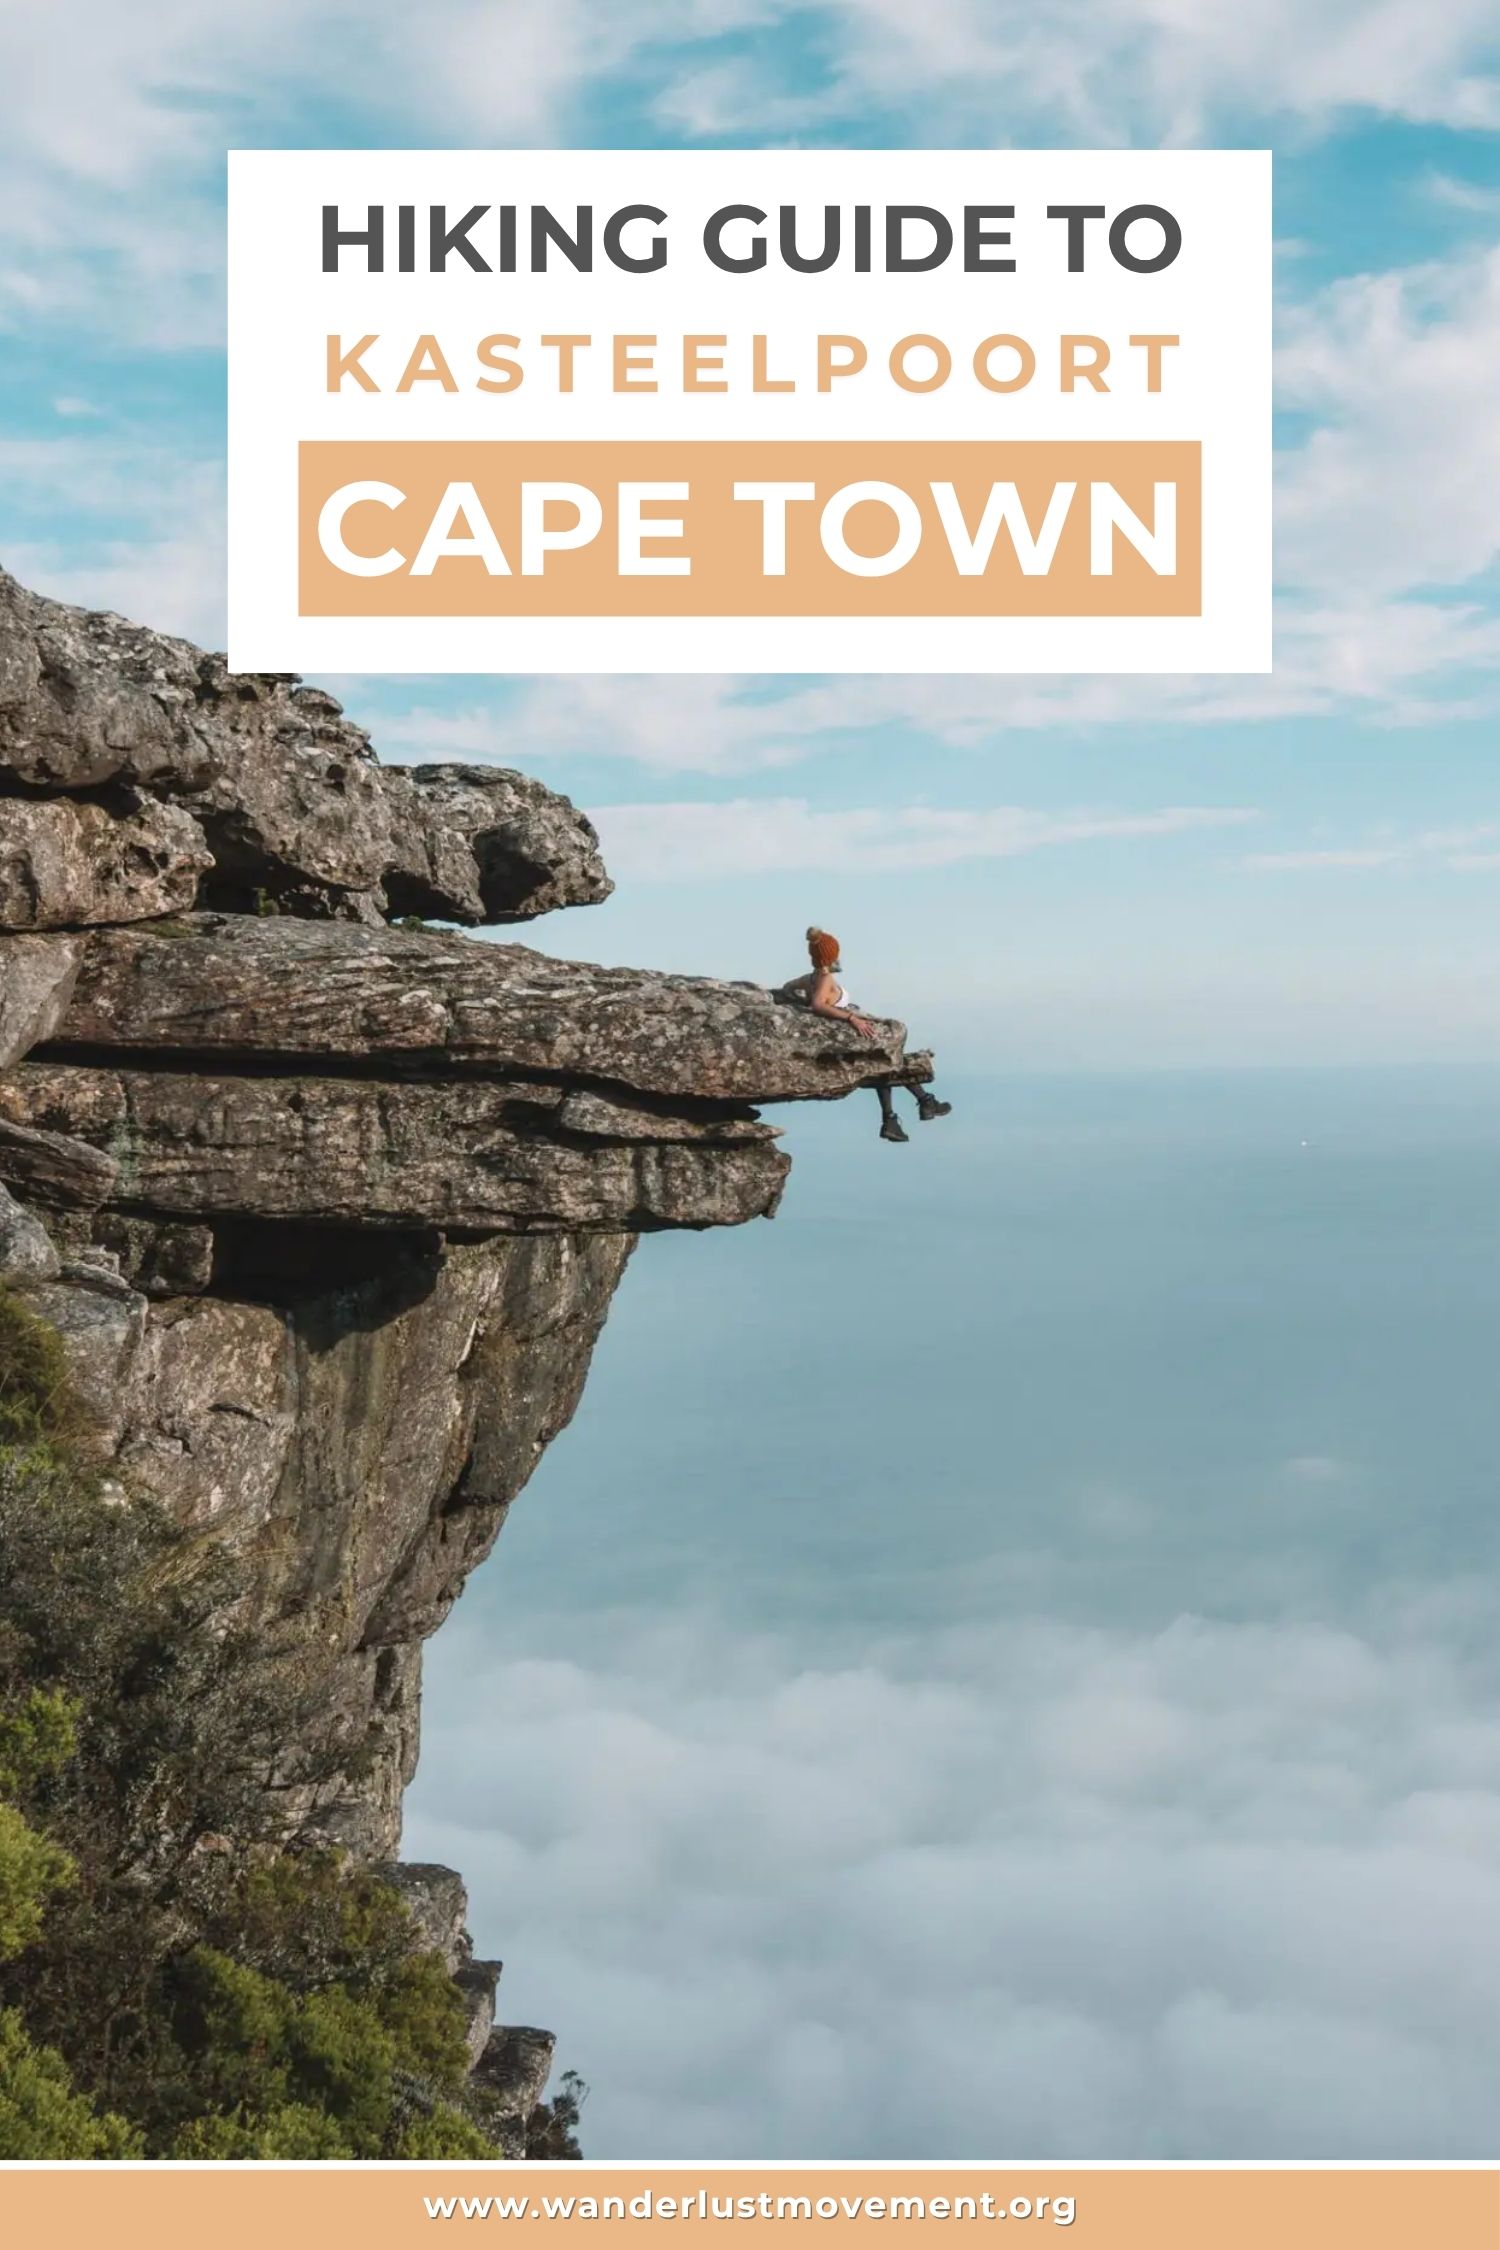
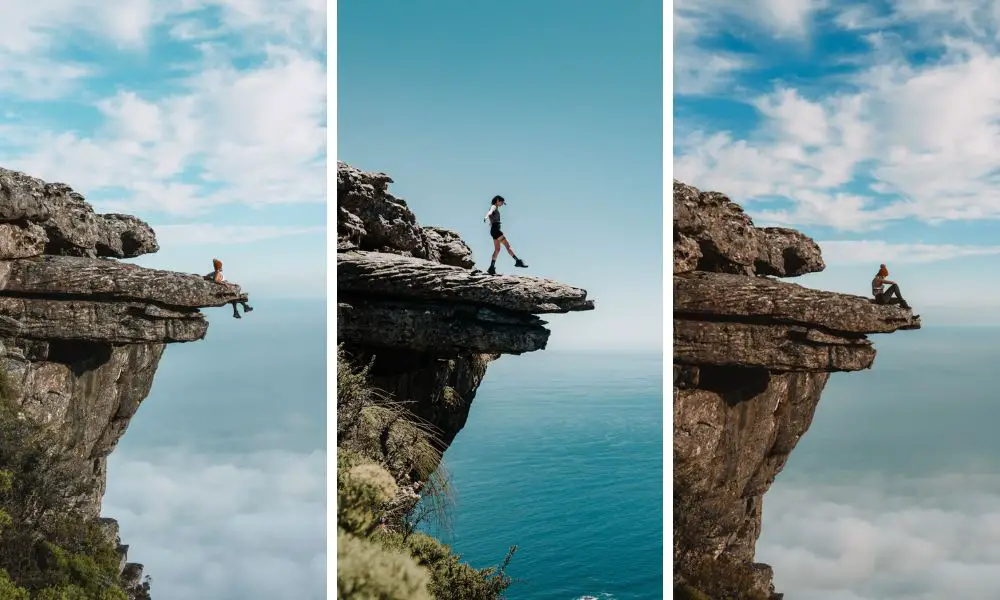
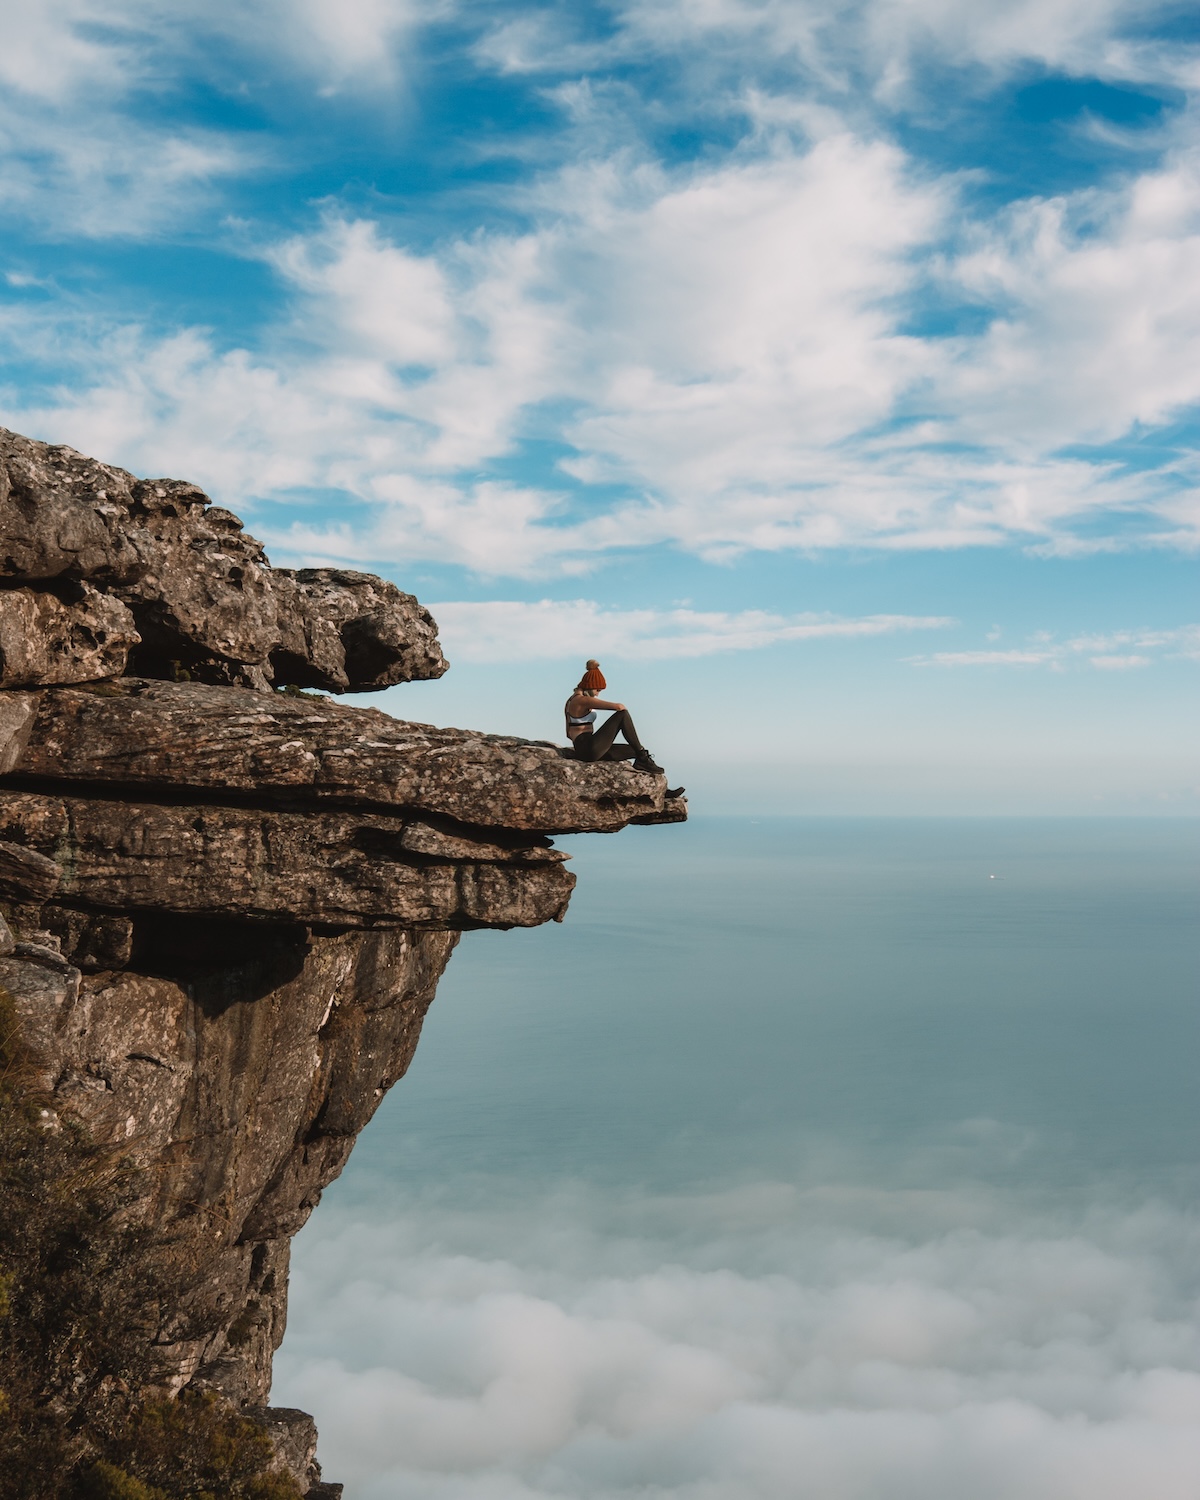
The Infamous Surfboard Rock, aka the Diving Board
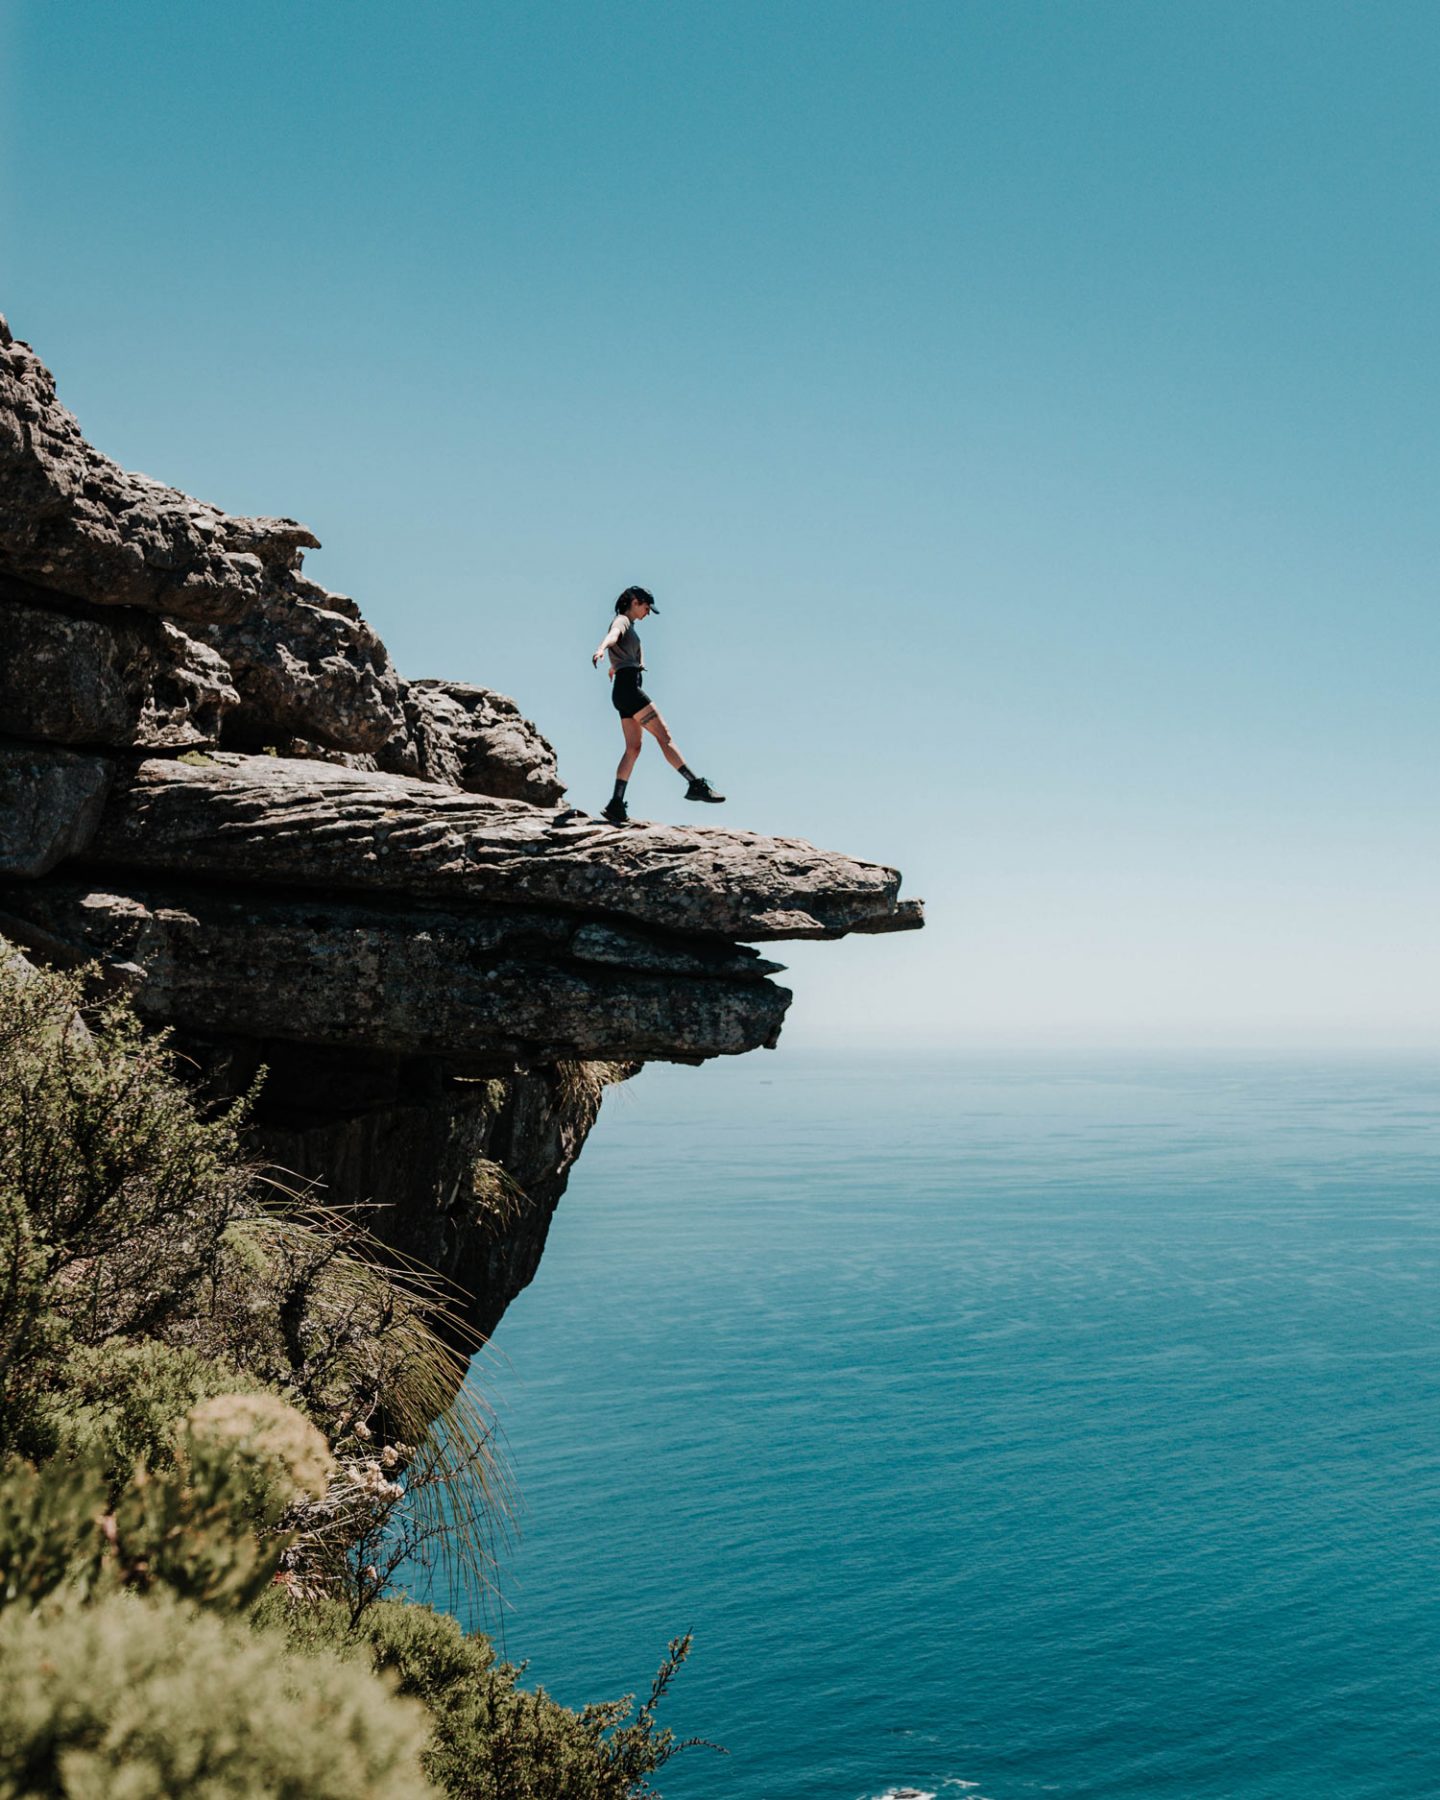
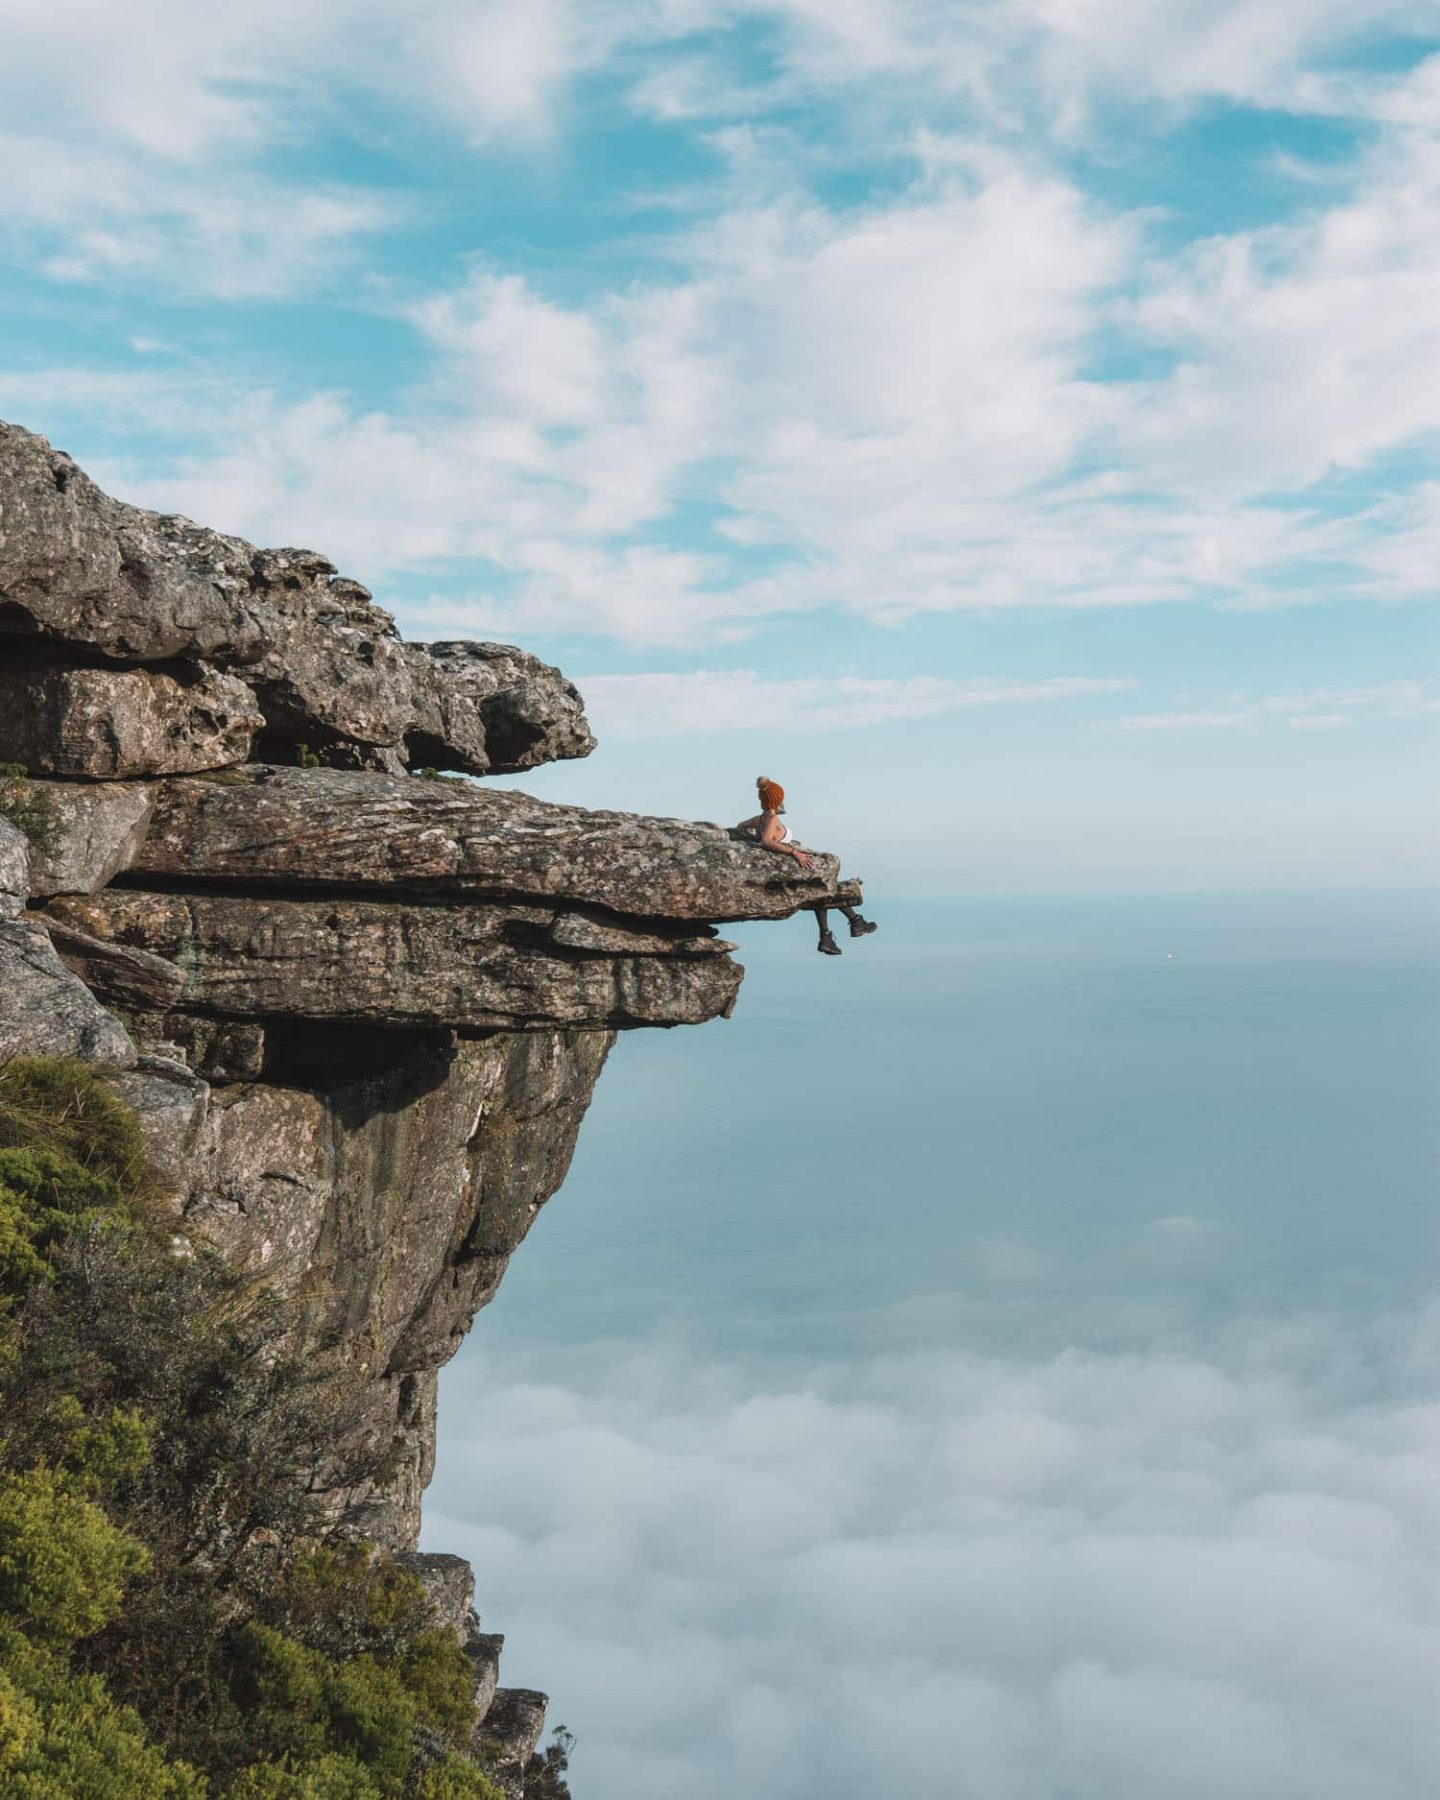
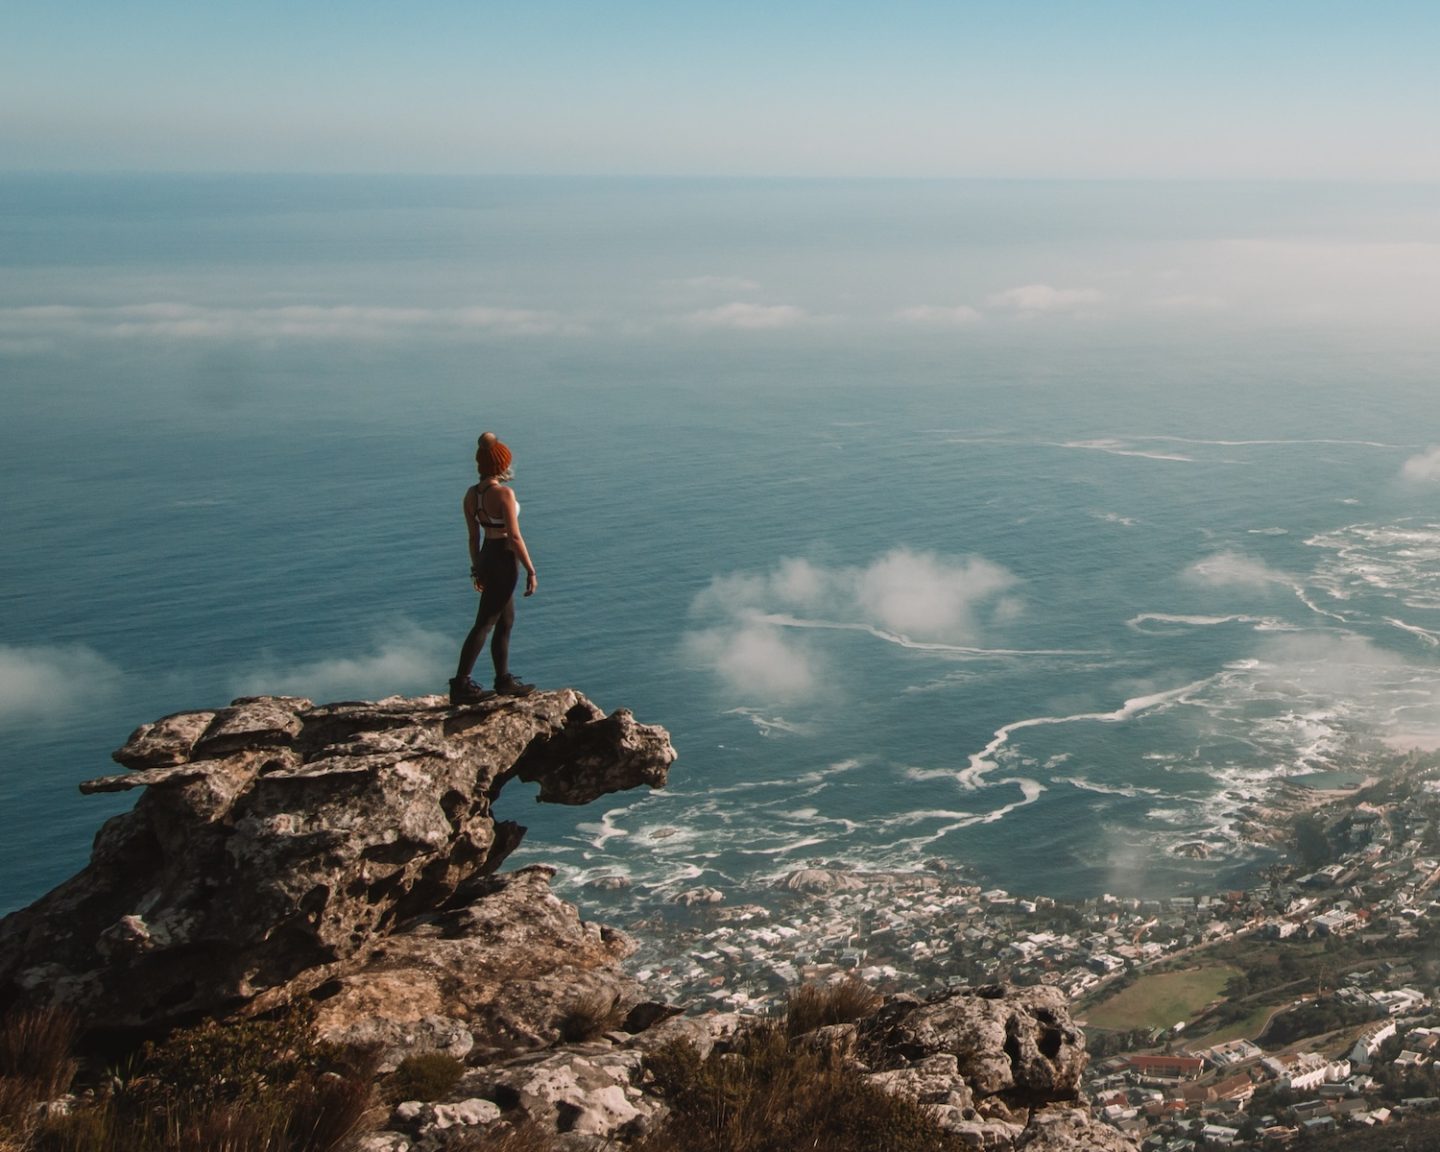
Once you make it to the top of Table Mountain, you can follow a trail to the right that will take you to “Surfboard Rock”. It’s a flat, jutting formation that hangs over the edge of the mountain.
To find surfboard rock, walk along the path marked “Twelve Apostles Spine Route”. In 10-minutes, you’ll reach another signpost. Turn right and follow the path labelled “Old Cableway Viewpoint”. From here, the diving board is in sight, and you’ll follow the path in the direction of the sea.
Safety note: The rock is slippery when wet. Don’t attempt it in wet conditions or when it’s windy.
The Summit

From the surfboard rock, you can stay on the plateau and explore.
There’s plenty to see!
You can explore Tranquility Tracks (another all-time favourite of mine), hike to other viewpoints like Valley of Isolation Lookout, Hely-Hutchinson Reservoir, or Maclear’s Beacon – the highest point of Table Mountain.
Descending Table Mountain: Your Options
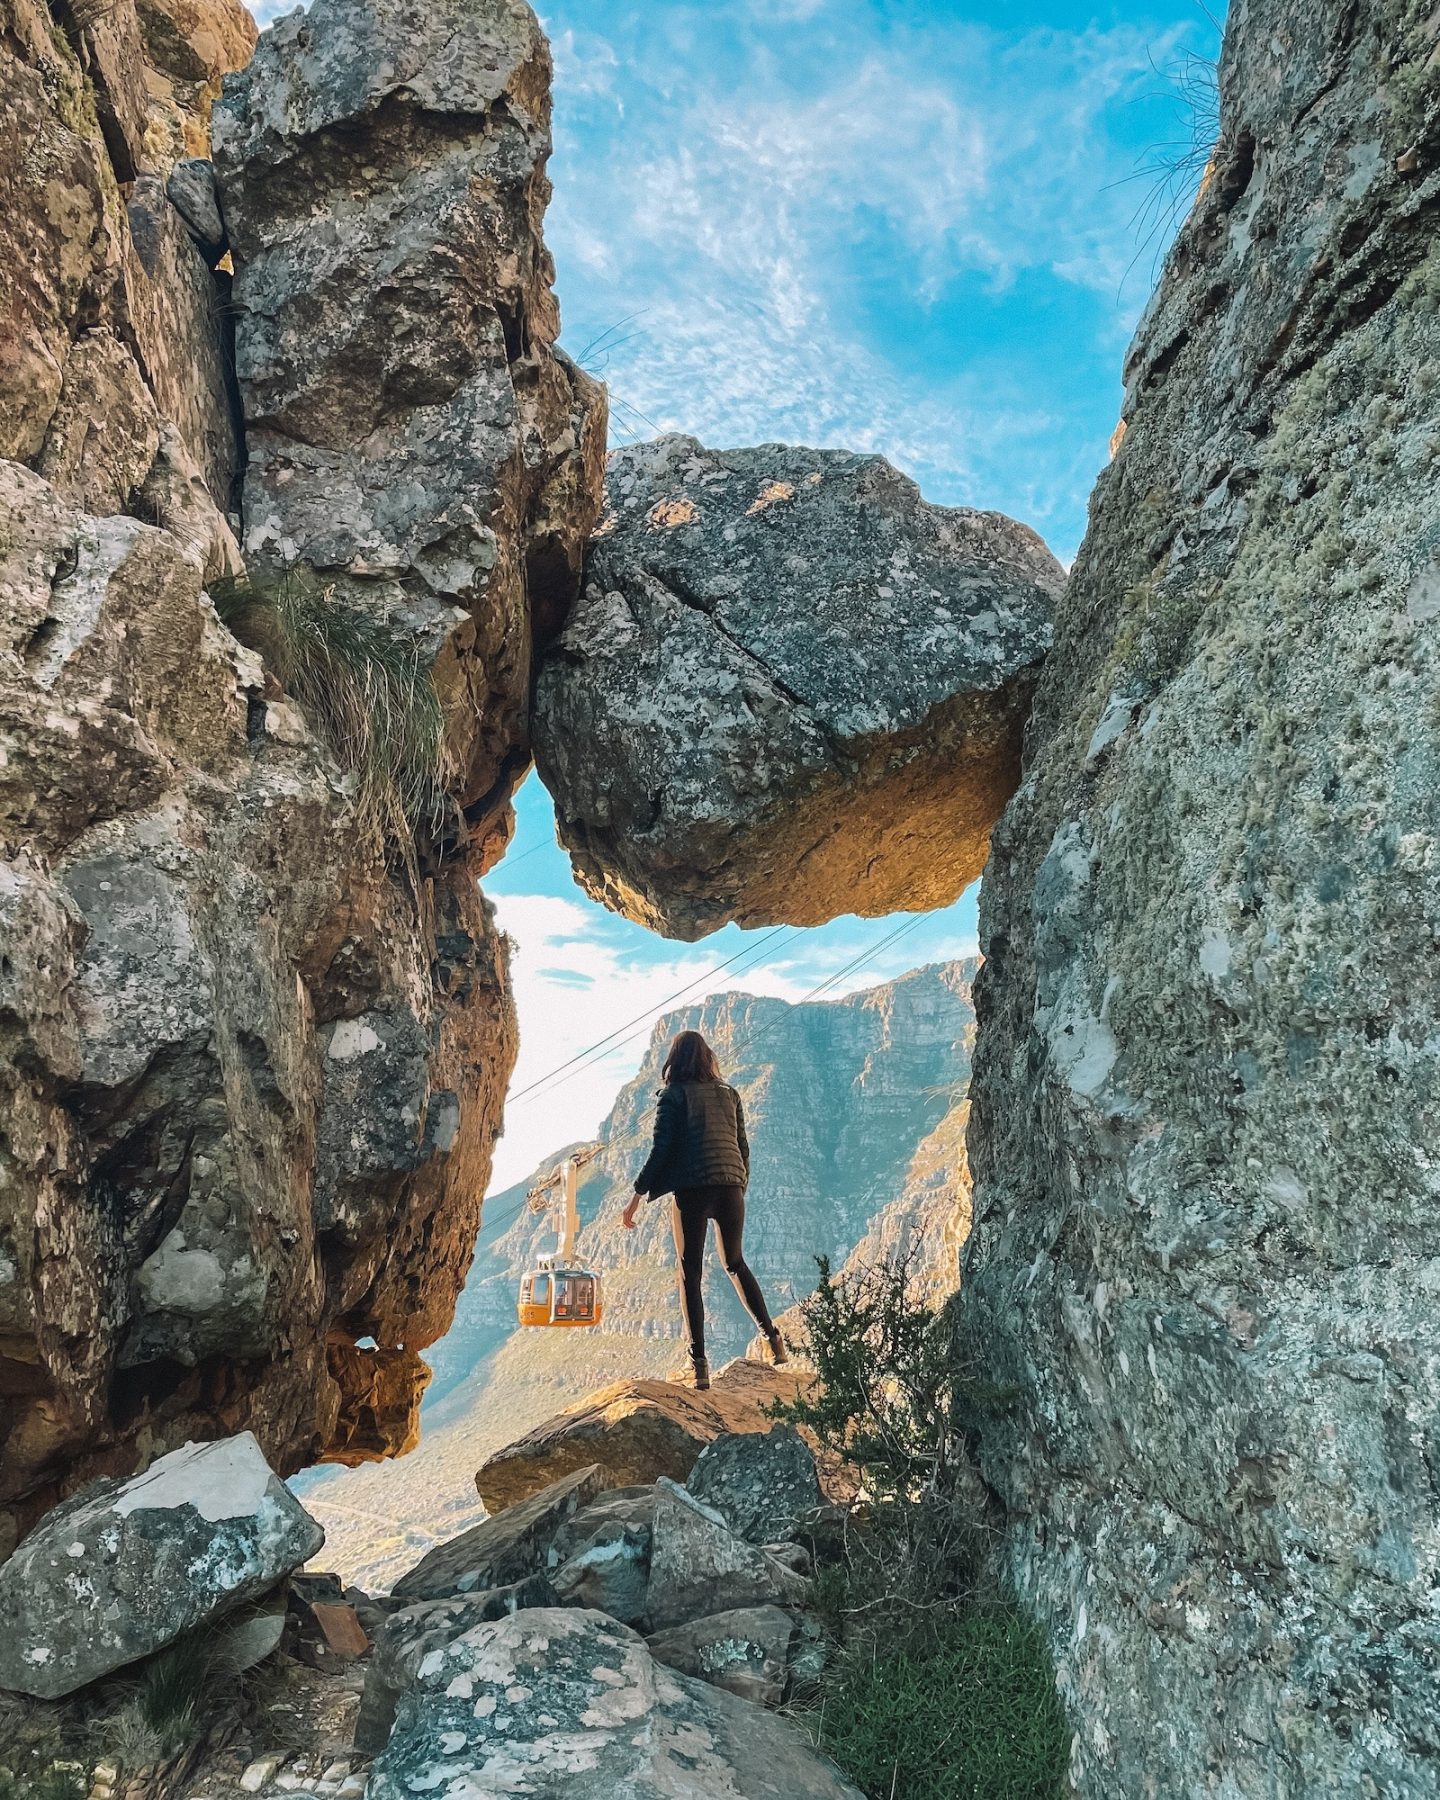
From the top, you have four options to get back down:
1. Back down Kasteelspoort: Follow the same way you came up.
2. The Cable Car: The easiest option if your legs are done. A one-way ticket costs around R250. Check current operating hours at tablemountain.net before you go. Remember, the cable car doesn’t run in bad weather and has a last car time that varies by season.
3. Platteklip Gorge: One of the quickest ways down Table Mountain. It’s basically a giant staircase, and not exciting, but you’ll end up on the city bowl side of the mountain. So if your car is parked on Theresa Avenue, you’ll need to grab an Uber.
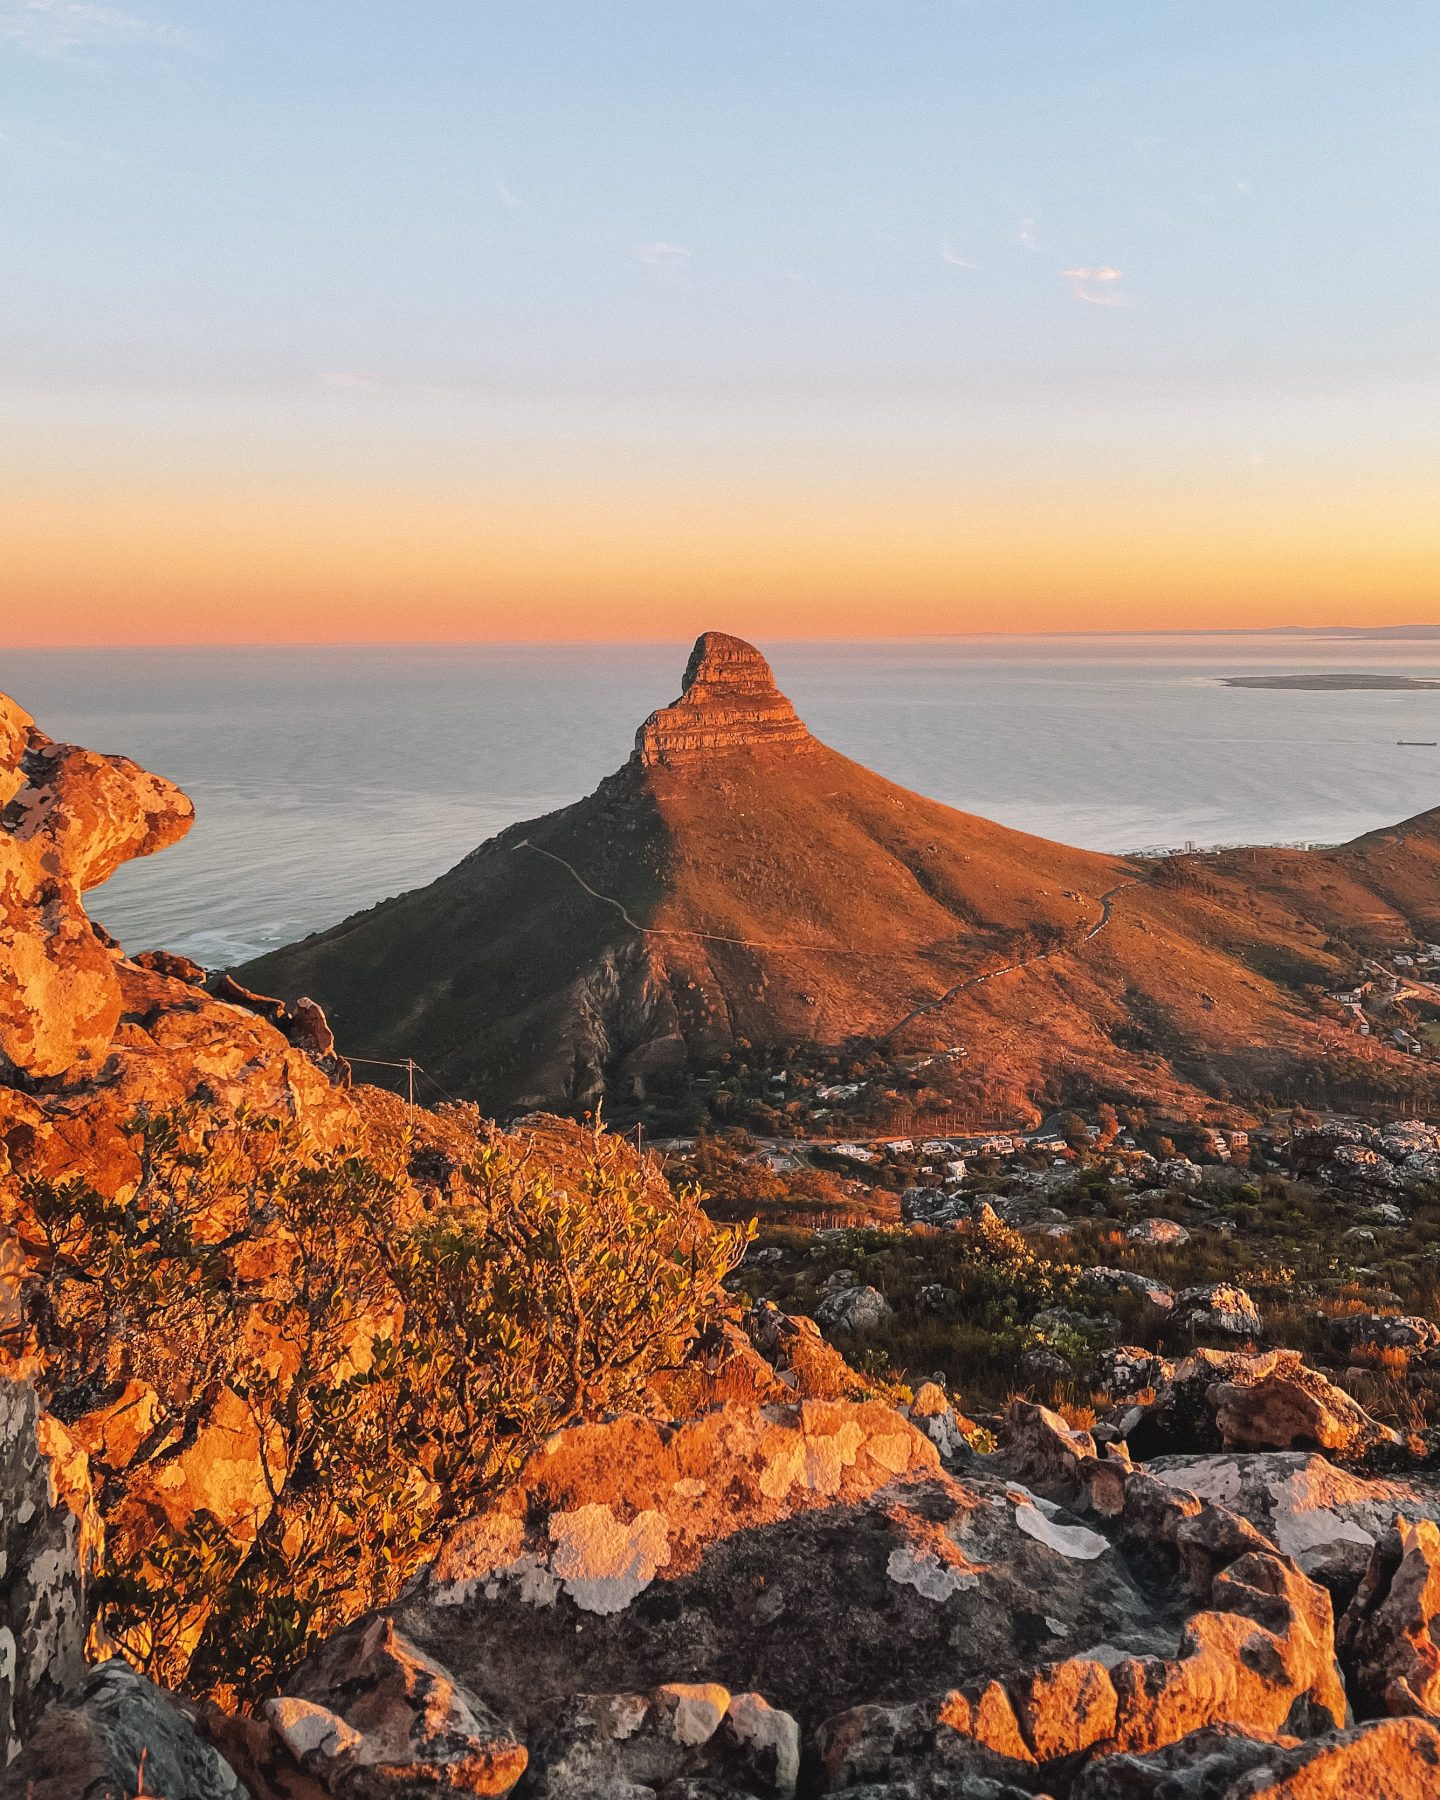
4. India Venster to Kloof Corner: My favourite descent option if you want to stay on the mountain a bit longer and you’re not a beginner hiker. Drop down via India Venster, follow the Contour Path along the base of the mountain back towards Kloof Corner, and stop here for sunset. Then descend the short trail down to Kloof Corner’s parking lot on Tafelberg Road.
Read More: India Venster Hike: Everything You Need to Know
Option 2: The Full Kasteelspoort Loop
Want some variety on your Table Mountain hike? Then I’d ditch the straight-up-and-down route and opt for the Kasteelspoort loop.
Instead of starting from Theresa Avenue, you’ll begin your hike from the Pipe Track parking lot on Tafelberg Road. From there, you’ll ascend via the Corridor Ravine and Tranquility Cracks, cross the top of the mountain, stop at the Diving Board for a photo op, and descend via the Kasteelspoort hiking trail.
Then once you hit the Pipe Track, you’ll follow it back to Tafelberg Road, where you left your car. Or you can descend to Theresa Avenue and Uber back to the Pipe Track starting point.
Here’s what to expect from this route!
Pipe Track to Corridor Ravine
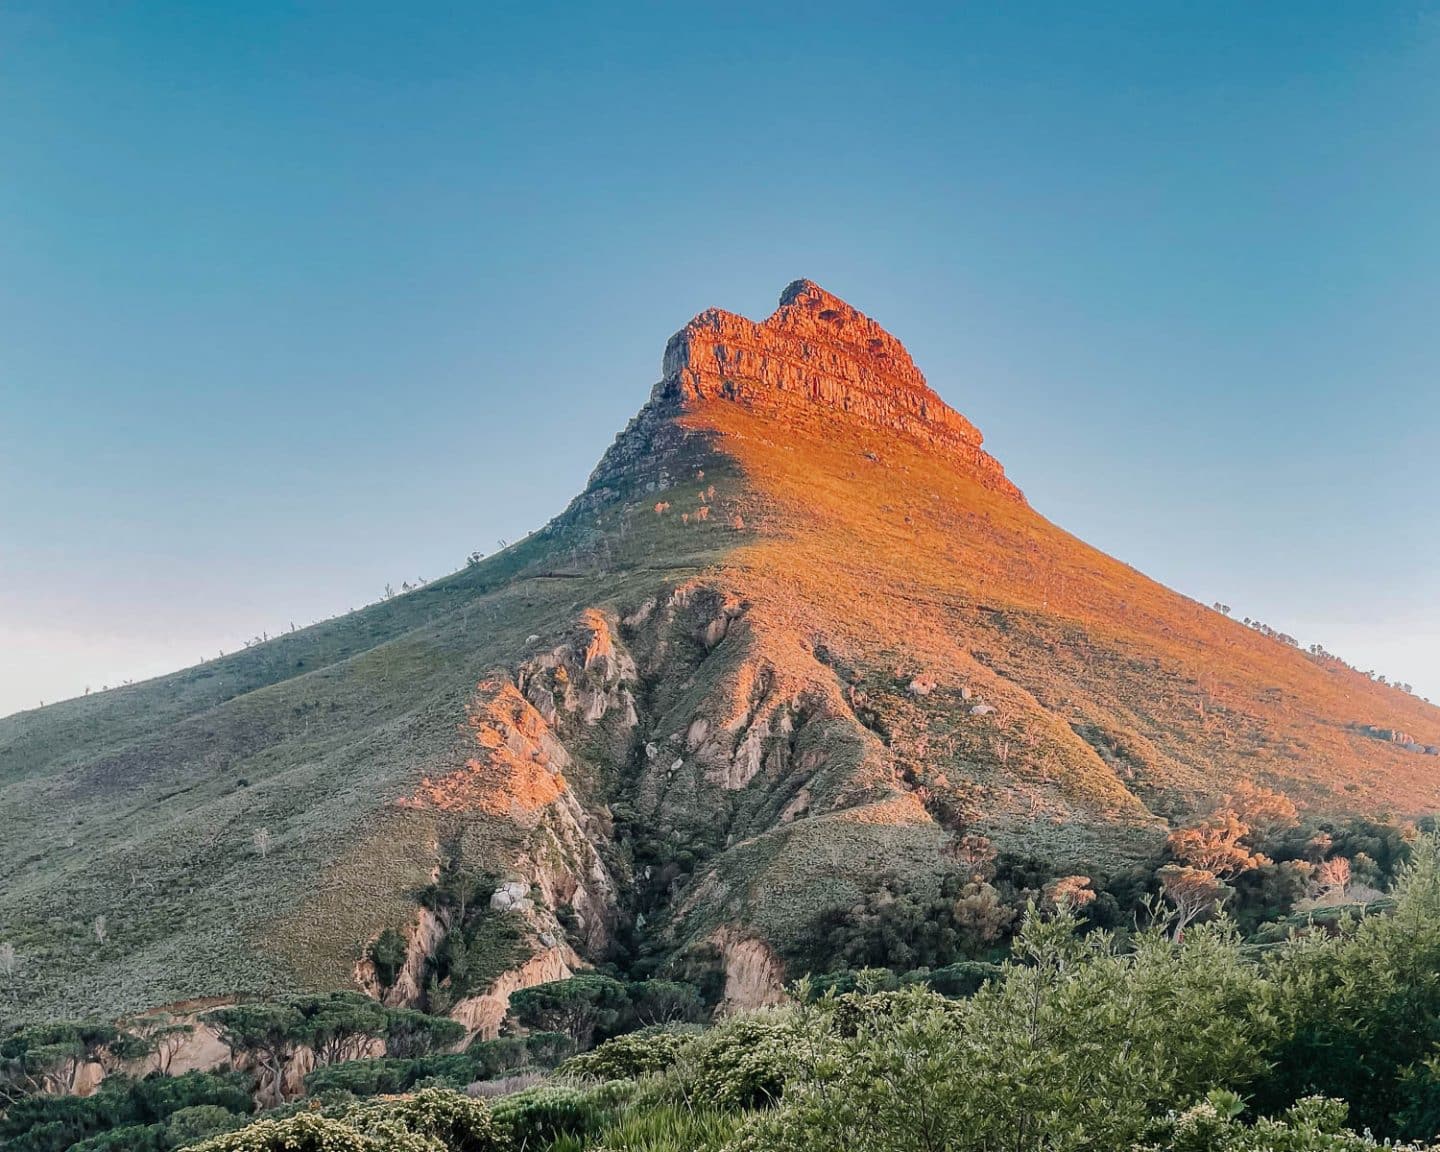
Starting at the Pipe Track parking lot on Tafelberg Road, you’ll follow the trail around the slopes of Table Mountain to Corridor Ravine.
I wouldn’t take the Woody Ravine path unless you are an experienced hiker. It’s an extremely steep and direct route to the top of Table Mountain and should not be underestimated. There are challenging technical sections.
Once you get to the Milkwood Firest just after Slangolie Ravine, keep your eyes peeled for the correct path. Once you’re out of the forest, there’s a small cave that is the perfect pit stop to catch your breath before the steep ascent begins.
Corridor Ravine to Tranquility Cracks
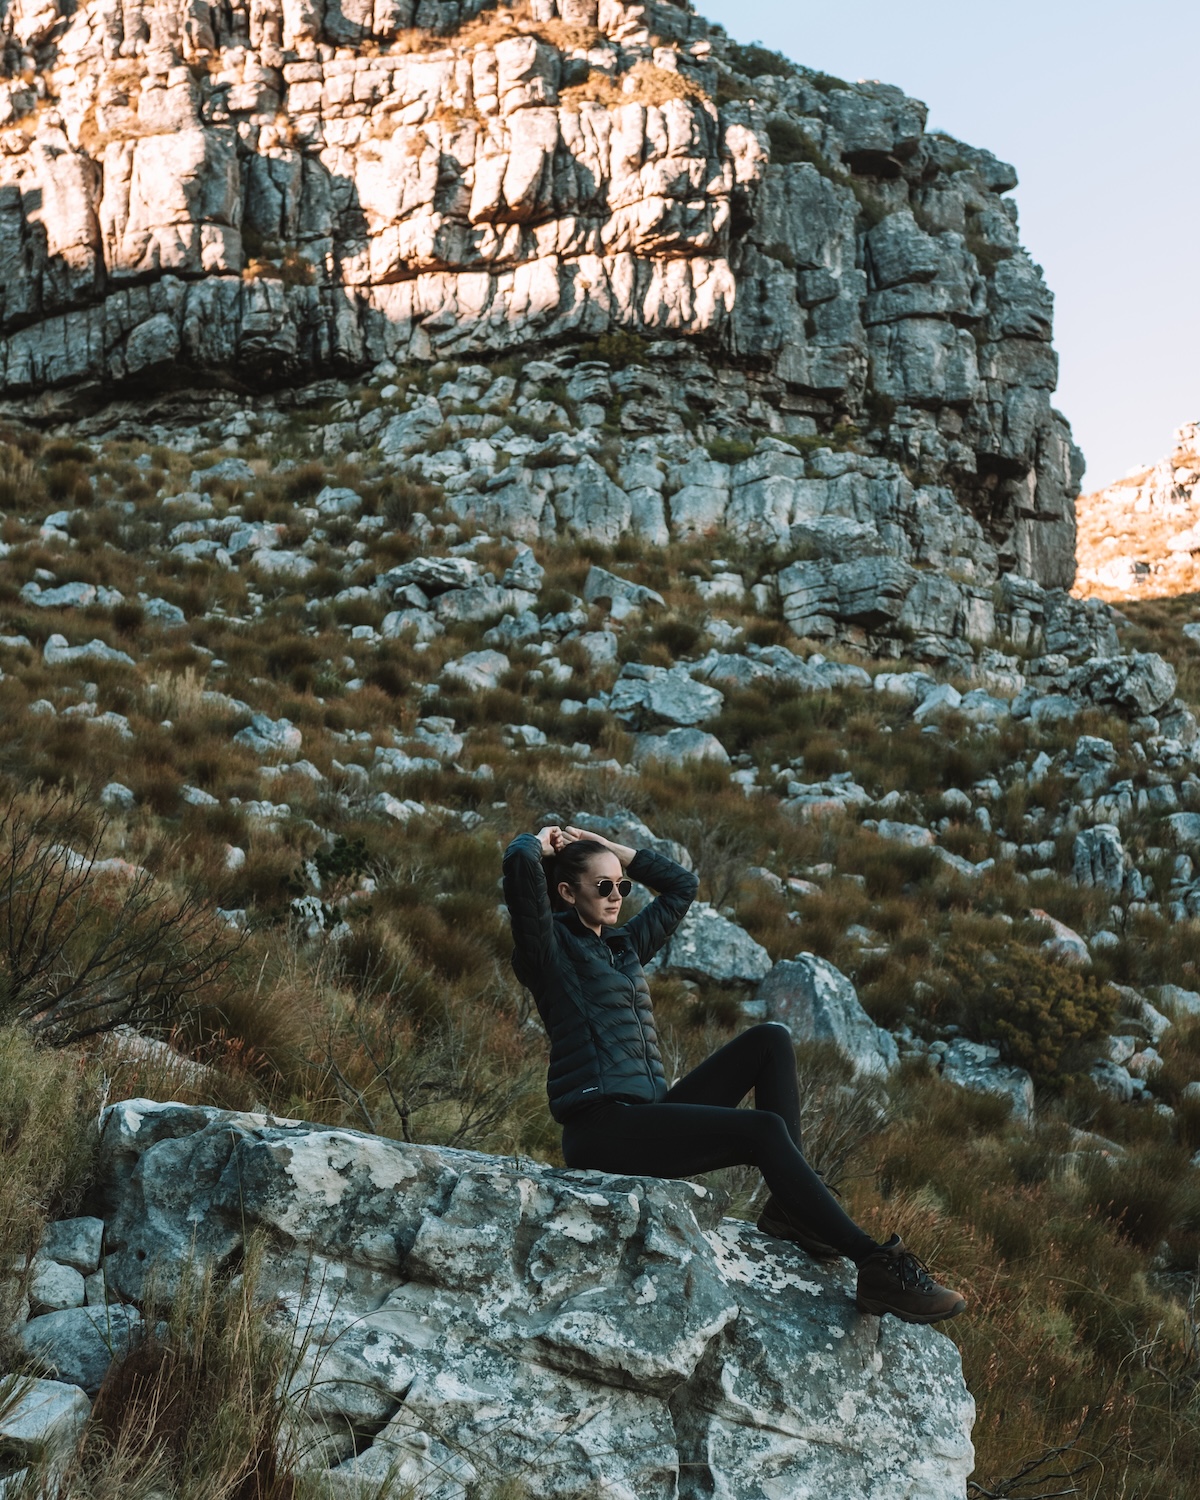
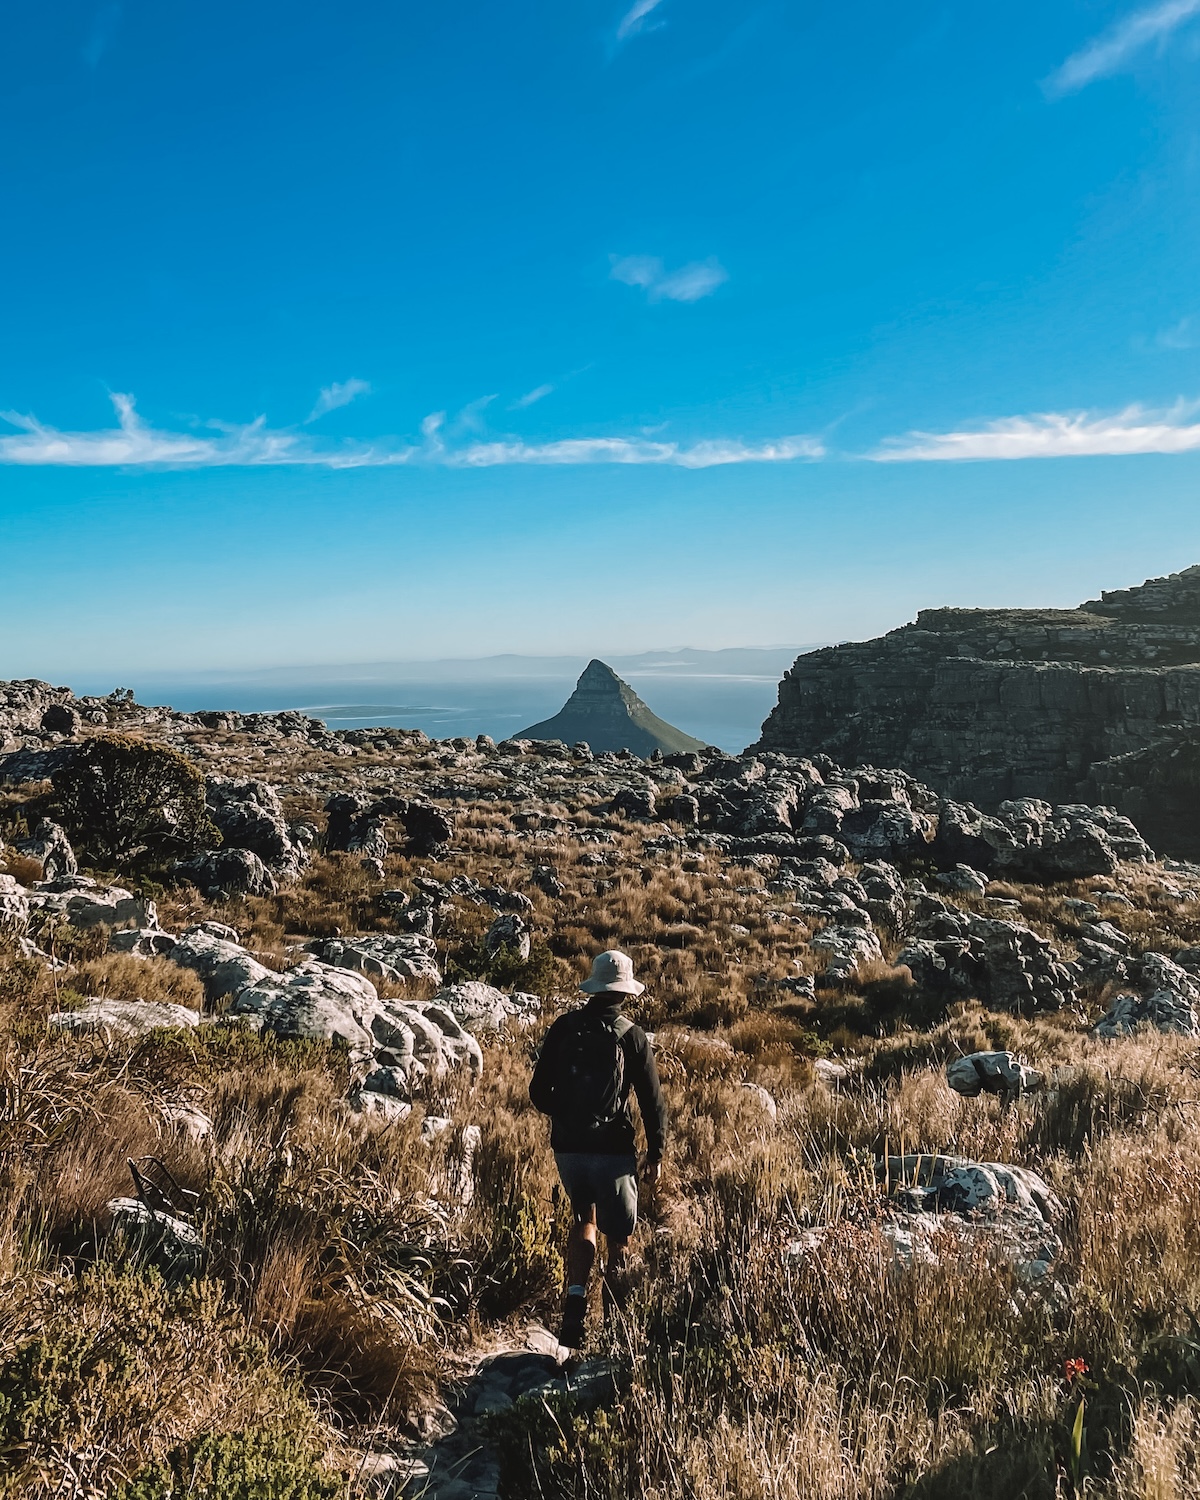
After the cave, you’ll hike around the mountain, and then the path will start to ascend. The gradient is quite steep – take your time!
The views are gorgeous, and there’s plenty of photo ops to take your mind off any burning thighs and calves.
Once you get to the top, look out for a cairn. You’ll want to go left of it to reach Tranquility Cracks.
Finding The Tranquility Cracks
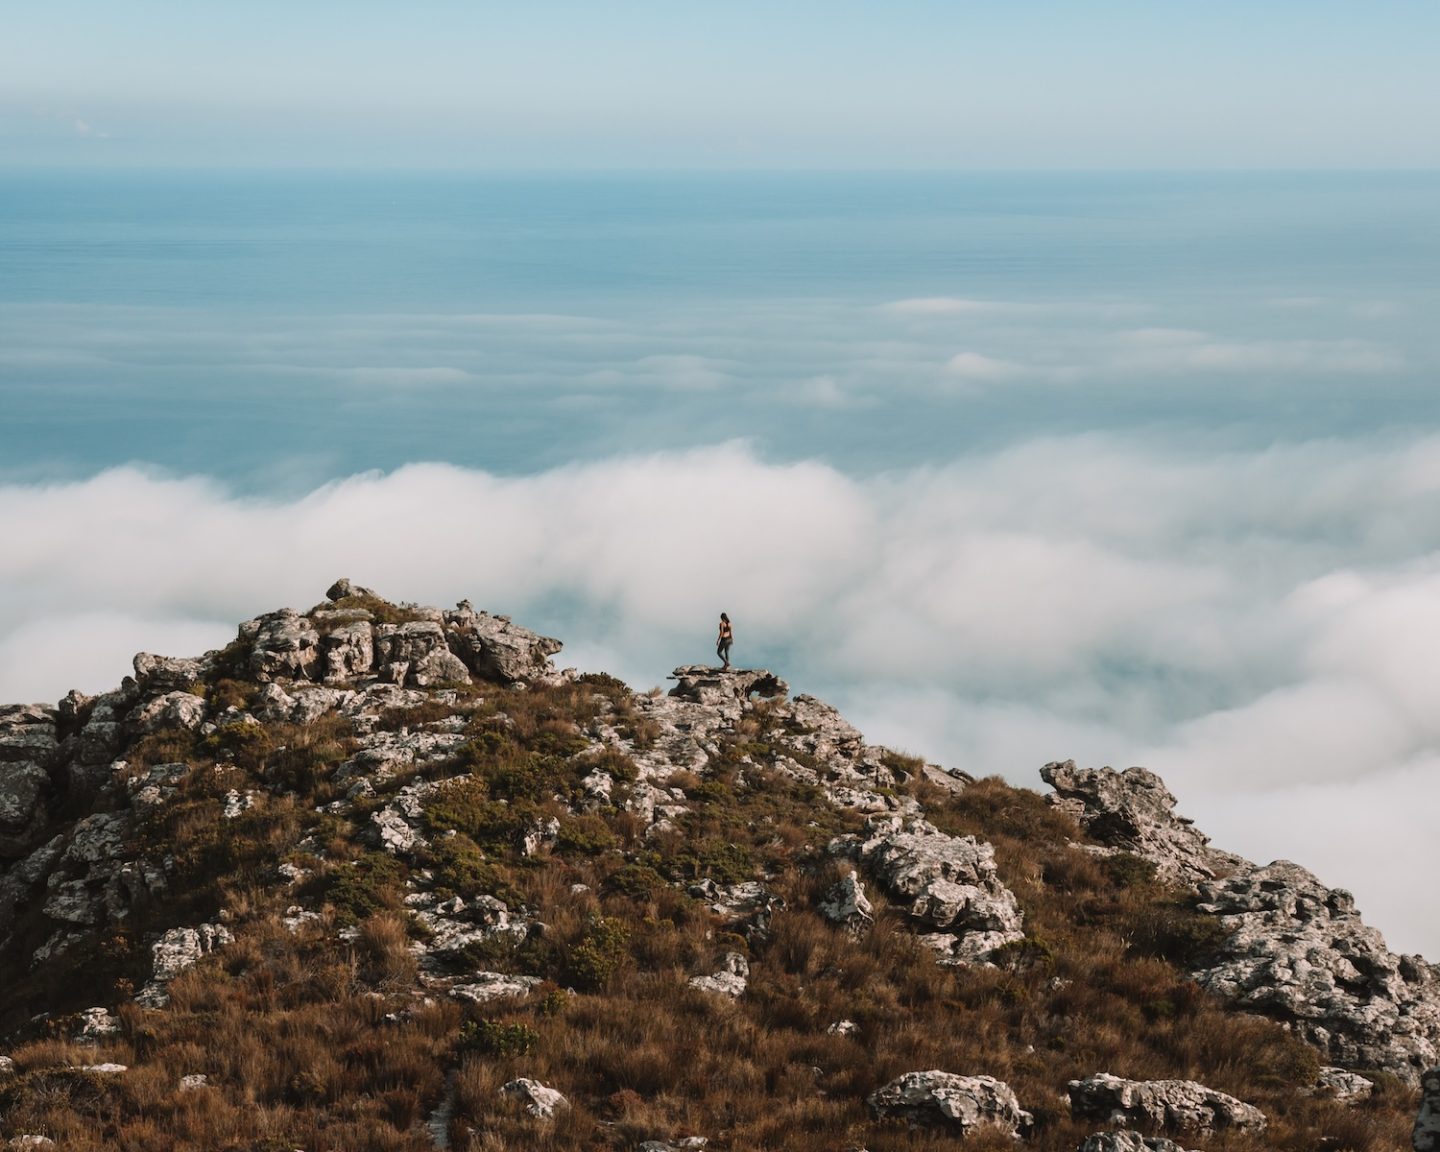
Keep walking towards the Cable Car Station (you’re walking back towards where you parked your car).
You want to look for a path that ventures to the left. It’s a bit hidden, so if you find yourself at a point where you can see Lion’s Head, you’ve gone too far.
I would recommend using an app like All Trails at this point. It makes finding the cracks so much easier if you don’t know the terrain.
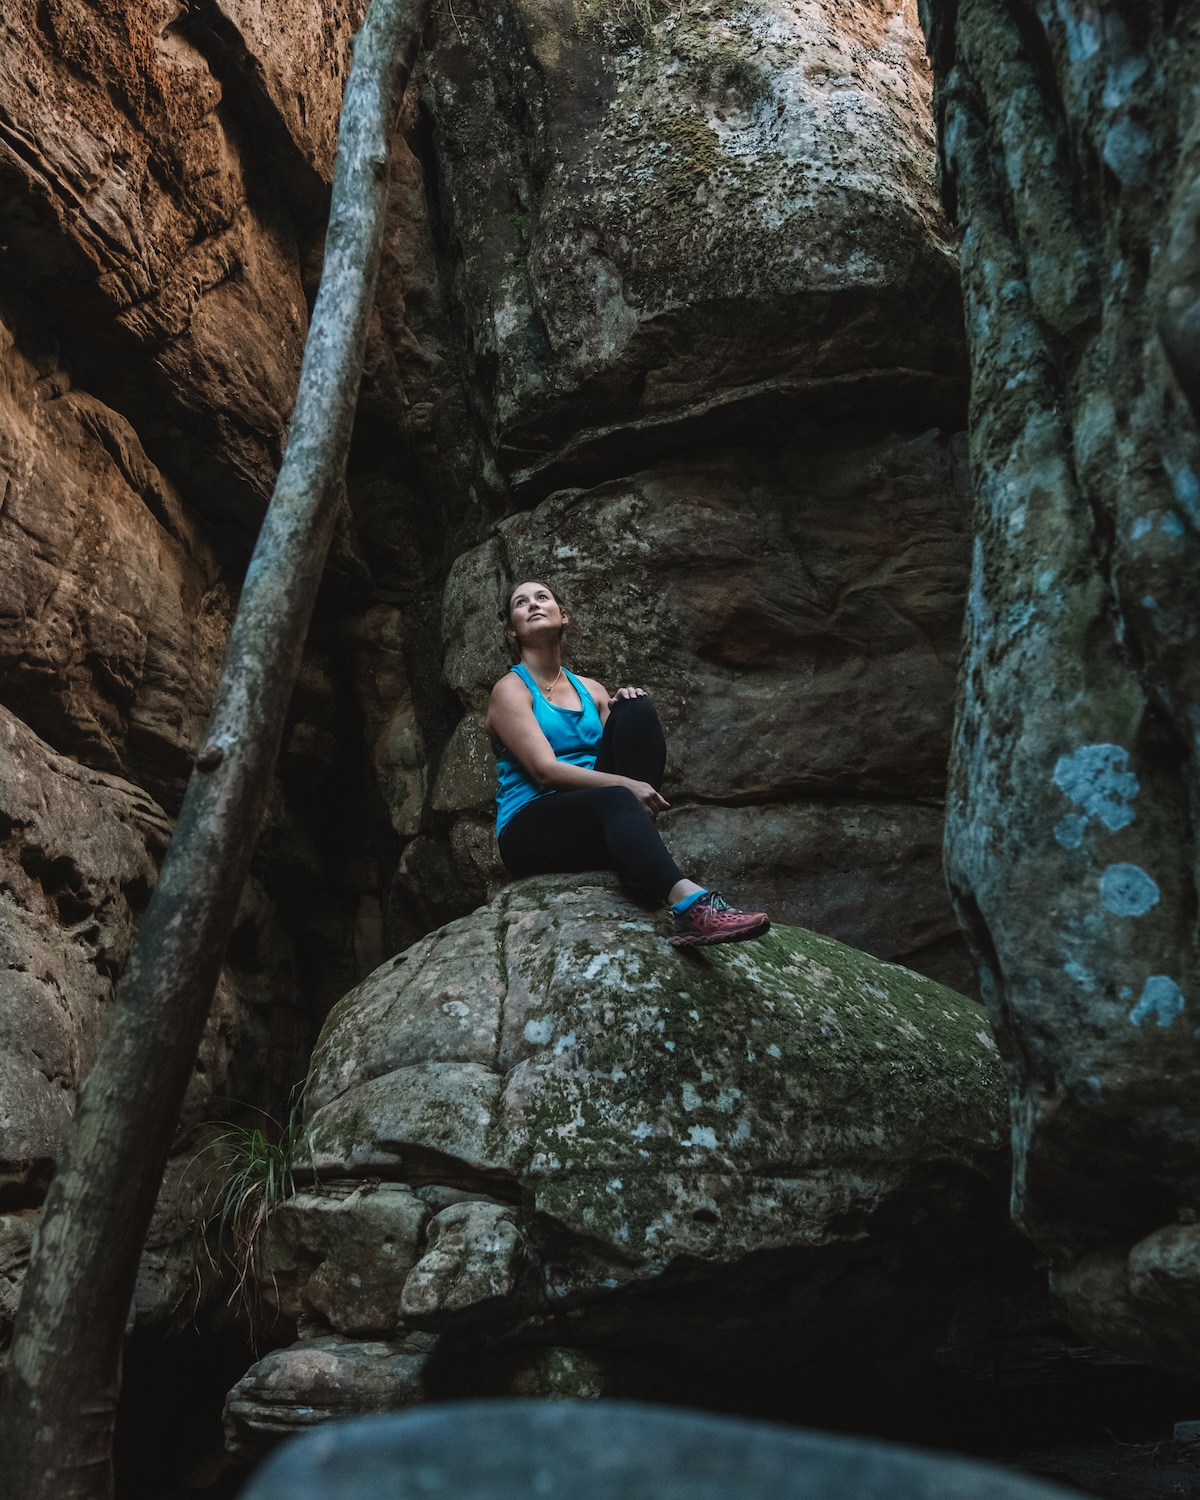
Once you make it to the cracks, there are loads to explore inside and on top!
For a detailed Tranquility Cracks hiking guide, here is one from my friend Mike. He has photos of all the key points to help you triangulate your location on the mountain.
Once you’re done exploring the cracks, you’ll continue walking on the plateau towards the Cable Car Station. The crossing is relatively flat and takes about 30 minutes or so to reach the Dive Board and the descent point for Kasteelspoort.
Descend via Kasteelspoort
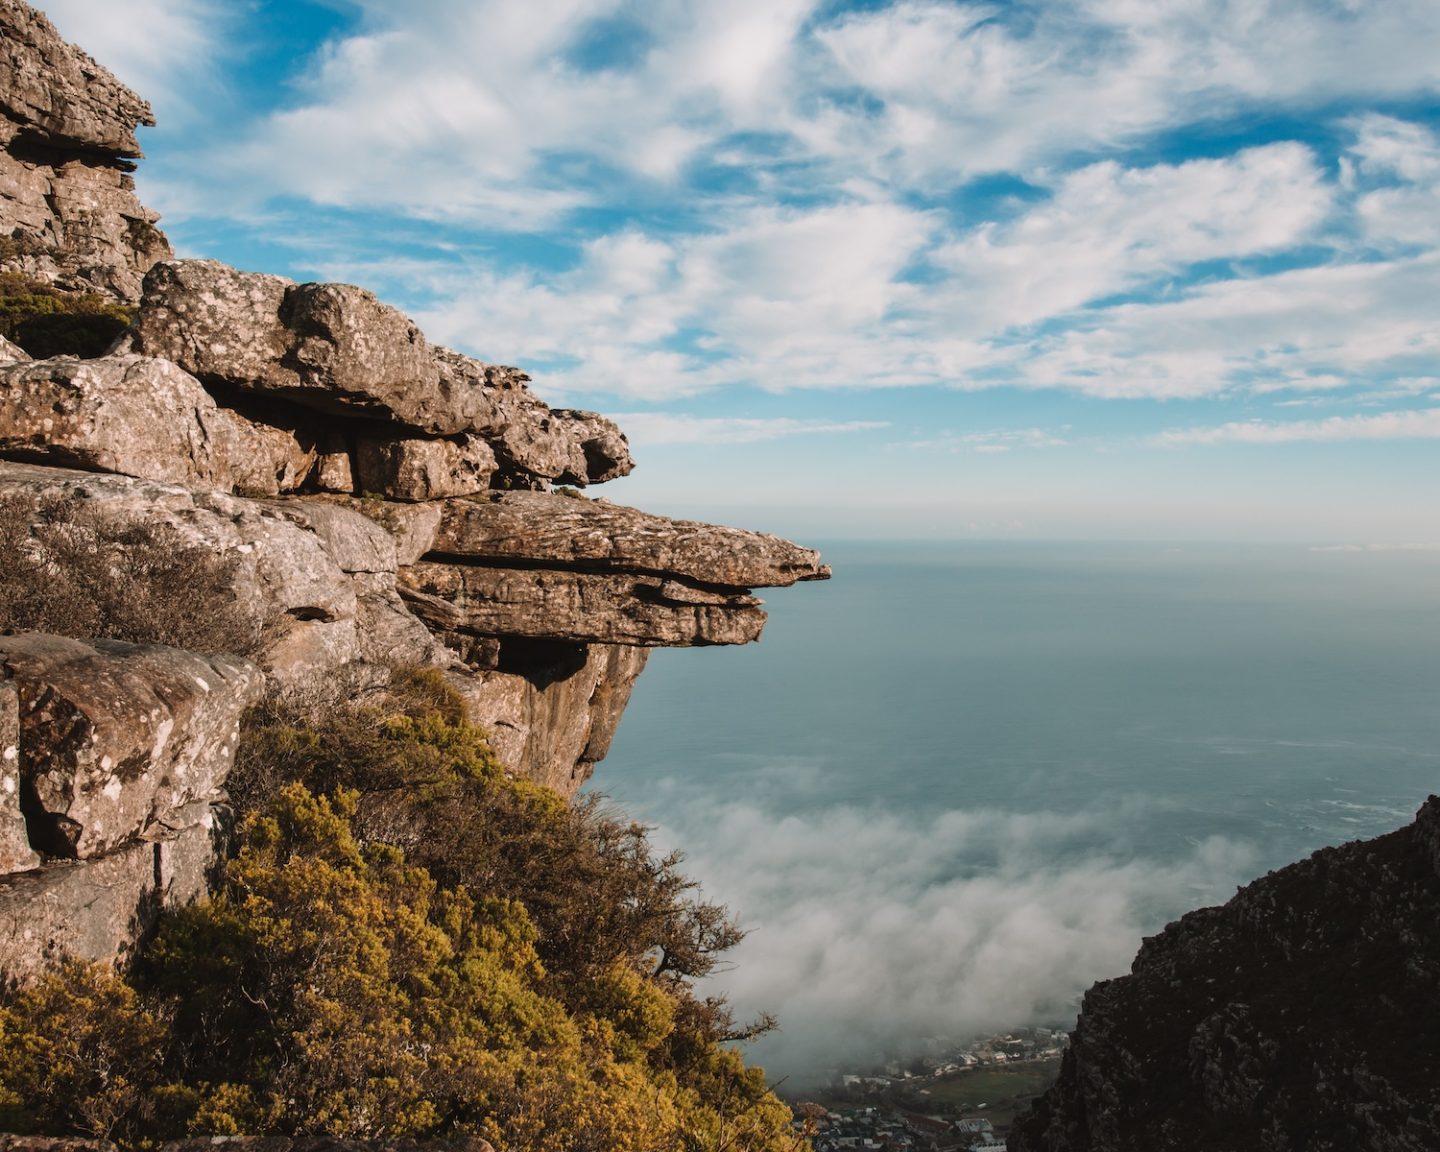
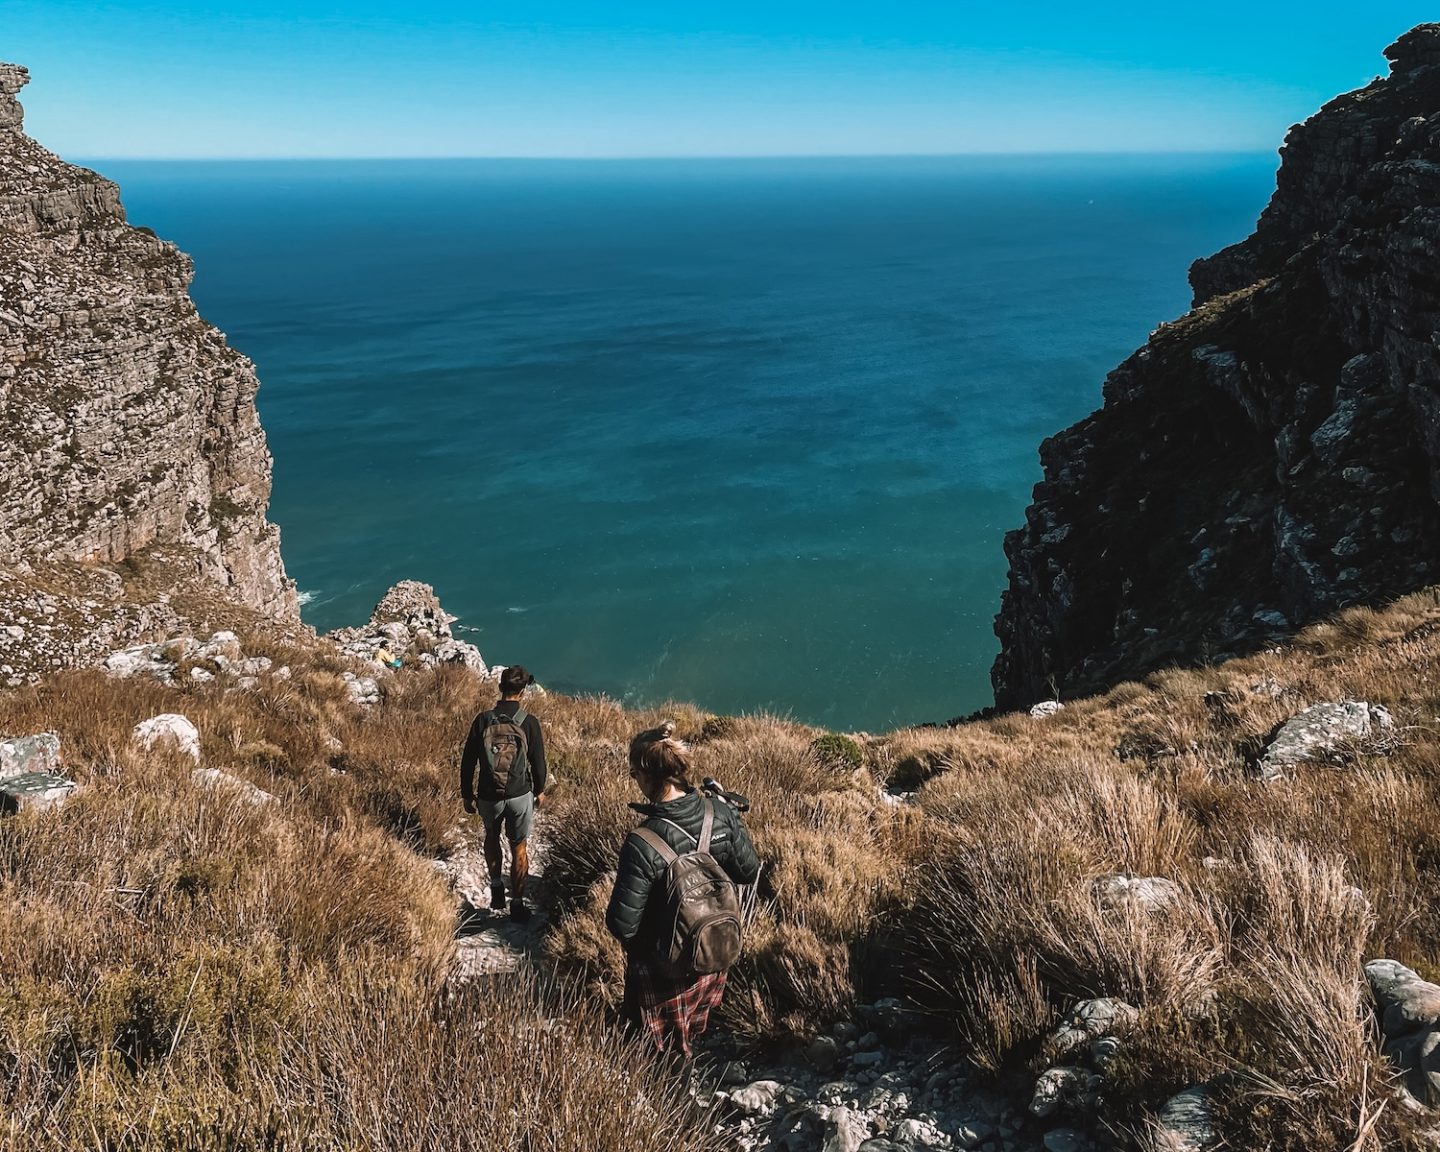
From the surfboard rock, begin the descent down the Kasteelspoort hiking trail. Take your time here, there is lots of loose gravel and light rock scrambling in some places.
But the views are worth it!
Once you hit the Pipe Track, you can follow it back to where you parked your car. Or if you want to end your hike early, continue walking down the Jeep track and grab an Uber from Theresa Avenue.
The Kloof Corner Sunset Option

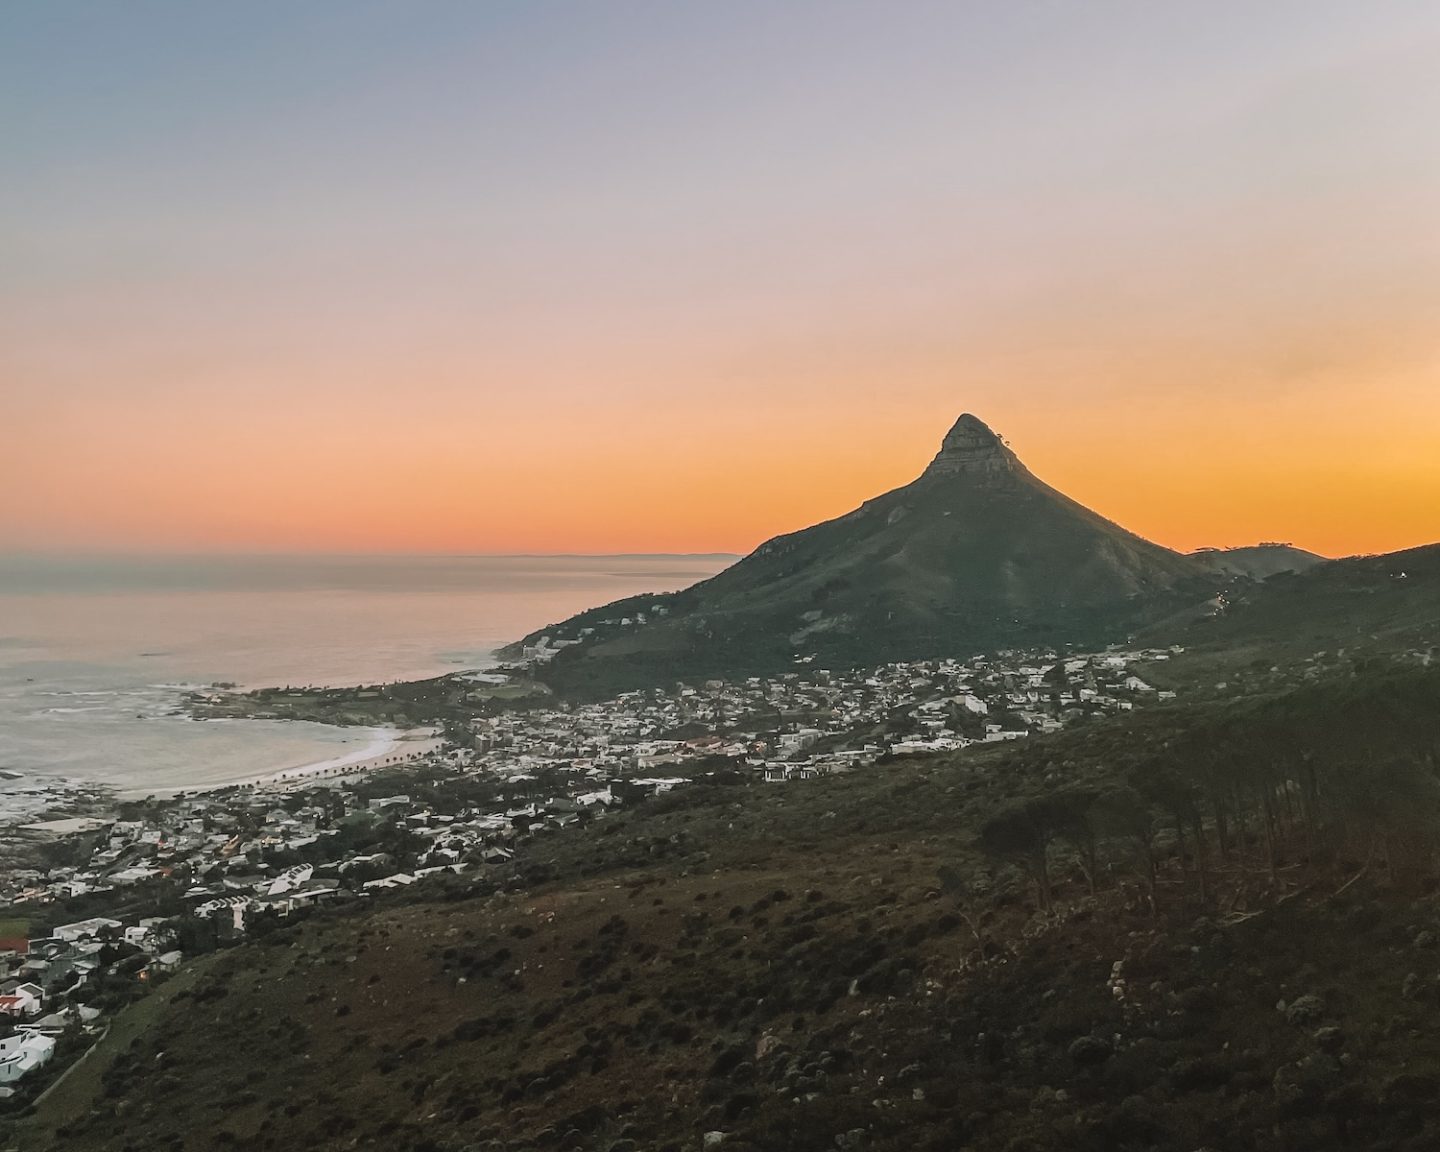
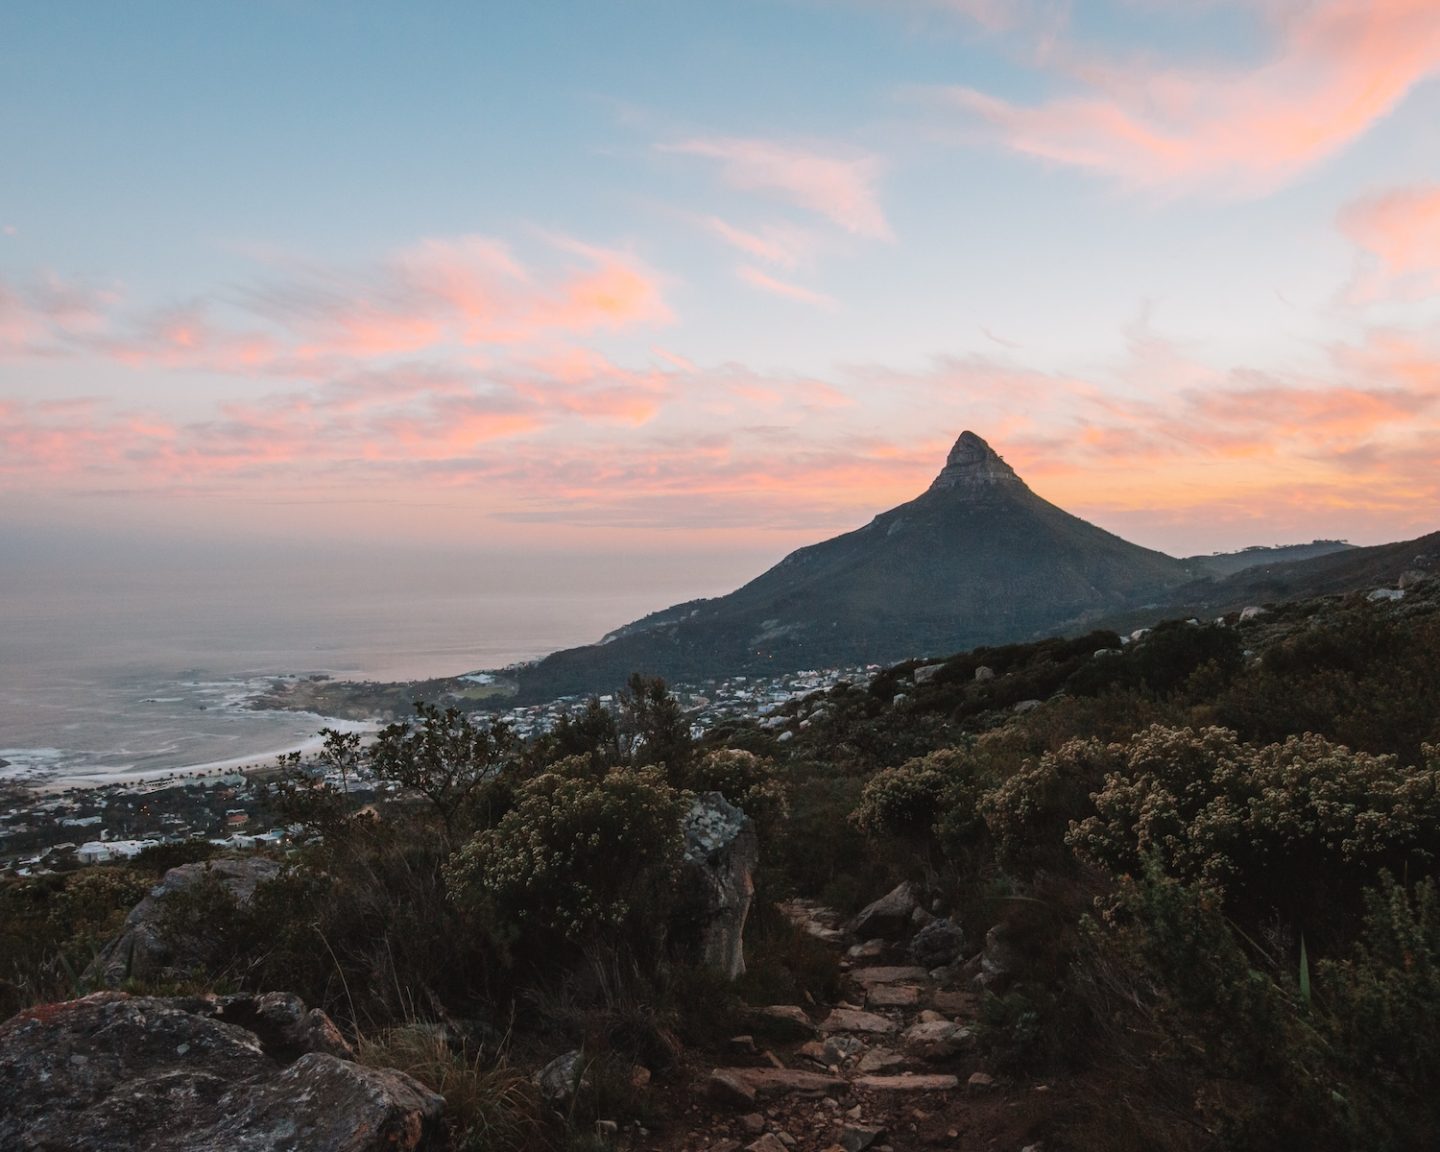
If you’ve got energy left and the timing works, drive from the Pipe Track parking lot to the Kloof Corner parking lot. It’s a short 20-minute trail up the slopes of Table Mountain and one of the best sunset spots in Cape Town!
You’ll have incredible views of Lion’s Head and Camps Bay.
Read More: 10+ Magnificent Sunset Spots in Cape Town You Need on Your Bucket List
The Best Time to Hike Kasteelspoort
The best time to tackle the Kasteelspoort hiking trail (and any full-day hike in Cape Town) is to start as early as possible. The trail is exposed, and in the summer months, temperatures get hot before 9 am.
By starting at sunrise, you can hike in cooler temperatures (plus the light for photos is unbeatable) and reach the diving board before the trail gets busy.
My favourite time of year for hiking in Cape Town is autumn. From March to May, the temperatures are mild, the winter rains have yet to begin, and you won’t feel like you’re hiking in a sauna.
Spring (September to October) is another good option if you’re a fan of fynbos and want to see Disa’s and other flowers in bloom. Winter (June to August) is a bit of a hit-or-miss. It’s Cape Town’s rainy season, which means the weather is against you. If you do find a dry day with good weather (check the wind gusts!), be careful. After a lot of rain, the trails are slippery, and there might have been minor rock falls.
Personally, I love a Cape Town winter hike because the sunrise is only at 8 am, which makes getting out of bed way less painful. In summer, the sun already starts its light show at 5 am. It’s rough. But because the days are shorter in winter (the sun sets around 5 or 6 pm), you have less time on the mountain. In the summer, it’s light until 8 or 9 pm, giving you more daylight hours to explore the top of Table Mountain.
Read More: The Best Time to Visit South Africa
What to Pack for the Kasteelsport Hiking Trail

Here is a quick rundown on the basics you need to have with you for a full-day Table Mountain hike.
- Hiking shoes with good grip and ankle support
- At least 2 litres of water. I use a water bladder
- Sunscreen SPF 50+, hat, sunglasses
- A light windbreaker and warm layers in case the weather suddenly turns
- Snacks
- Trekking poles (optional but helpful, especially if you need the extra stability)
- Headlamp. I always bring one on full-day hikes just in case.
- Day pack hiking bag. I recommend First Ascent or Osprey. A proper hiking bag has built-in space for your water bladder and is designed to be lightweight.
- Camera
Read More: 45+ Hiking Essentials: The Ultimate Hiking Packing List for Beginners
Kasteelspoort Hike Safety Tips
First time up Table Mountain or new to hiking? Here are some hiking safety tips to keep in mind before you hit the trail.
1. Check the weather before you go: Table Mountain’s weather is notorious for changing very quickly. If the tablecloth (low cloud) is coming in or on the mountain, it’s best to give the hike a miss. The low cloud cover reduces visibility, and you could end up lost, falling, or spending a night on the mountain. Windy.com is my go-to for checking the weather before a hike.
2. Never hike alone: Table Mountain is popular, but sections of Kasteelspoort and the Corridor Ravine don’t see a lot of continuous foot traffic. Always hike with at least one other person in case something happens, and you need to call emergency services. Plus, who is going to take your Instagram photos? 😜
3. Start early: A 4 am wake up call is rough, but it’s so worth it. The earlier you start, the more time you’ll spend walking in cool weather. Once the heat of the day sets in (especially in summer), it’s a sauna up there. For winter hikes, you have short days and need all the daylight you can get to complete a full-day hike before sunset.
4. Don’t hike in the wind: The Cape Doctor is no joke at altitude. If the south-easter is howling, it’s best to postpone. It’s just not worth the safety risk, and the wind is usually much stronger on top of the mountain.
7. Use AllTrails: If you’re new to hiking or don’t have anyone in your group familiar with a trail, I highly recommend using AllTrails. It already has the route for Kasteelspoort or Tranquility Cracks loaded and shows your location on the map. This app has been so helpful on the many occasions I’ve managed to get lost.
Kasteelspoort Hiking Trail FAQs
I would say Kasteelspoort is not a beginner hike unless you already have a high fitness level. If you’re new to hiking, tackle Lion’s Head or Kloof Corner first to gauge how you handle an ascent before attempting Kasteelspoort.
Yes, there is limited parking available on Theresa Avenue. I would recommend arriving at sunrise or leaving your car at home and using Uber. Or parking at Kloof Corner (there’s way more parking) and doing a loop to end there.
Nope! The Kasteelspoort trail is free to hike and is open year-round (weather permitting).
I wouldn’t recommend hiking Table Mountain alone. Some trails see less foot traffic than others, and if you happen to slip and fall, there might not be anyone around to help you and call emergency services. If you’re a solo traveler, you can hire a guide for the day or join a hiking group.
Whoop! You made it to the end! Got any questions about the Kasteelspoort hiking trail in Cape Town? Let me know in the comments below!