
India Venster Hike: Everything You Need to Know
Listen, if anyone is recommending Platteklip Gorge to you for your Table Mountain hike.
Run.
There’s a high chance they don’t like you, or maybe they just don’t hike.
Whatever the reason, that person doesn’t know what they’re talking about and deserves a heavy dose of side-eye.
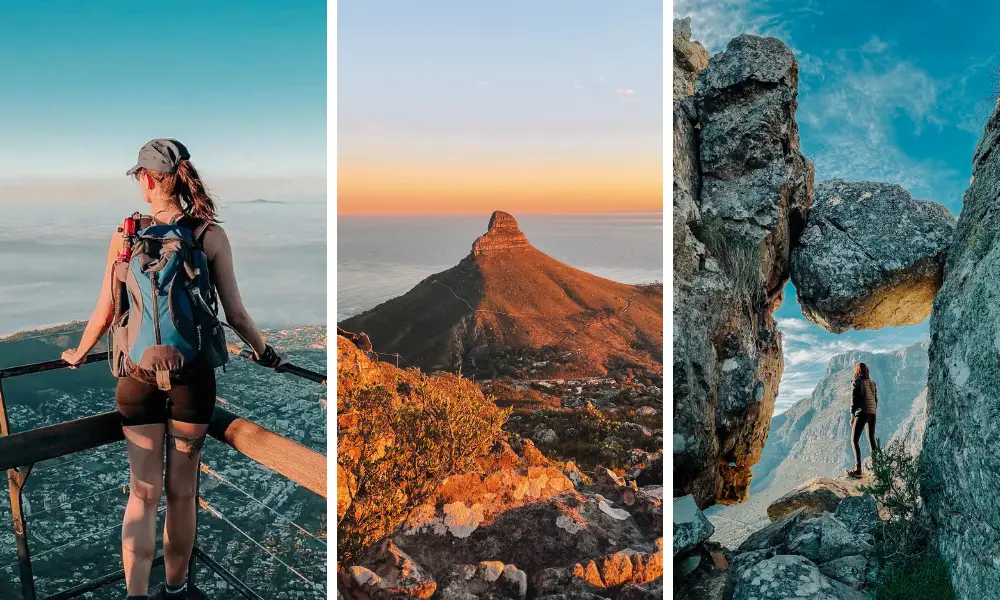
If you love hiking, don’t mind a challenge, and want EPIC views of Cape Town (instead of Platteklip’s Stairmaster death sentence), India Venster is the hike for you.
It’s one of my all-time favourite hikes in Cape Town, and I’ll never say no to a mission up this route.
Want to see what all the fuss is about? Here’s the only India Venster hiking guide you need to conquer the trail and tick off summitting Table Mountain from your bucket list.
You may also LOVE these posts
India Venster Hike Overview
- Difficulty: Difficult (three of scrambles, chains, and steep climbs)
- Distance: 3.7 km one-way
- Duration: 4 hours (one-way)
- Starting Point: Lower Cable Station or Kloof Corner
- End Point: Top of Table Mountain near the Upper Cable Station
- Dog-Friendly: No
- Best Time to Hike: Early morning for sunrise to avoid the heat.
Why India Venster is One of the Best Table Mountain Hikes
India Venster is one of the best hiking trails in Cape Town if you’re looking for adventure and a bit of a challenge.
Unlike Platteklip Gorge (which is hella busy and also not a fun hike), India is quieter. It offers plenty of rock scrambling, chains, and spectacular views.
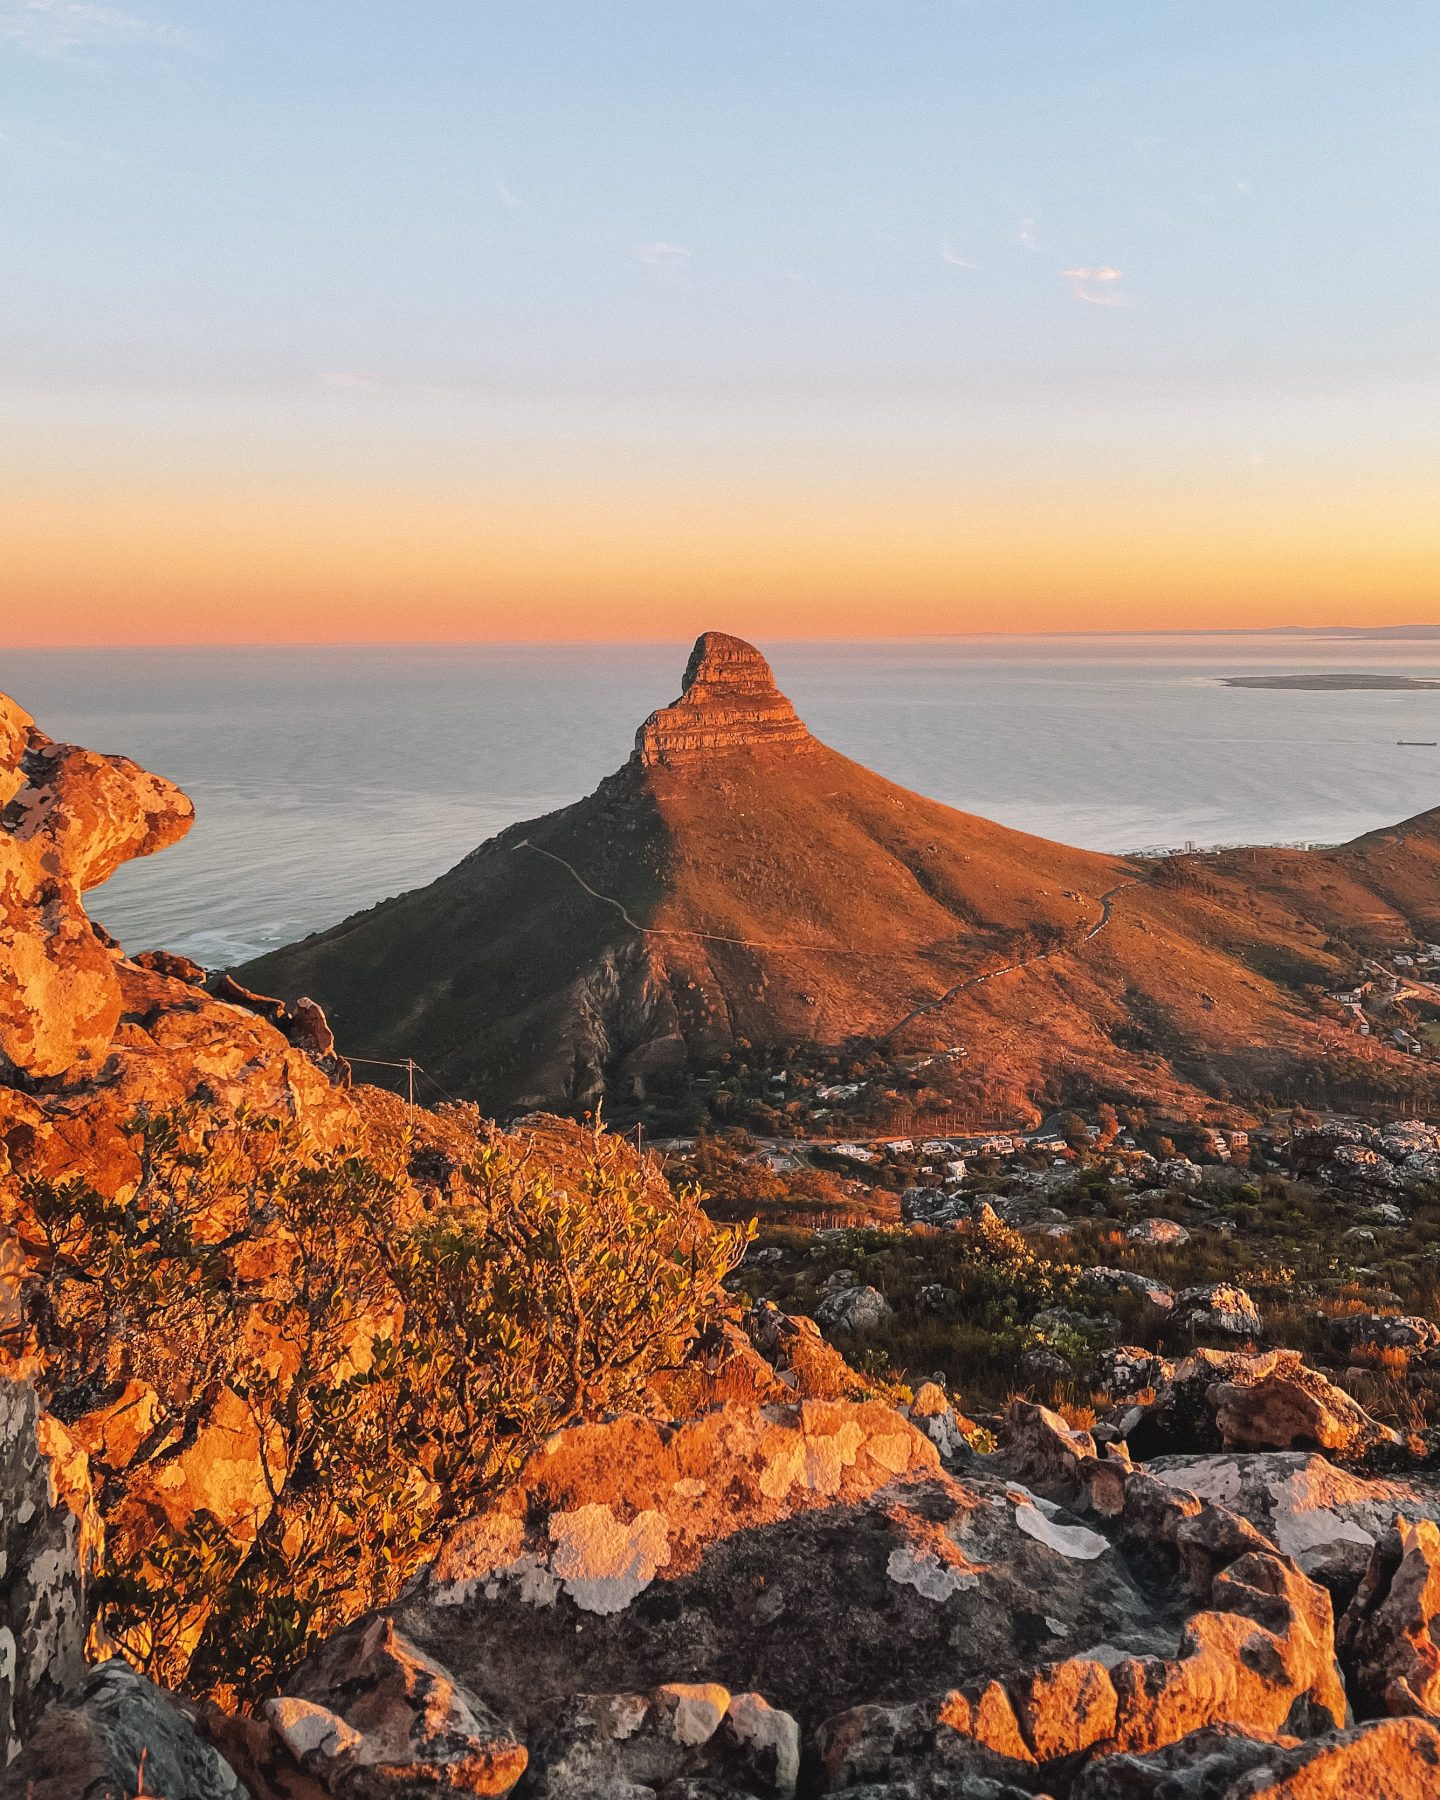
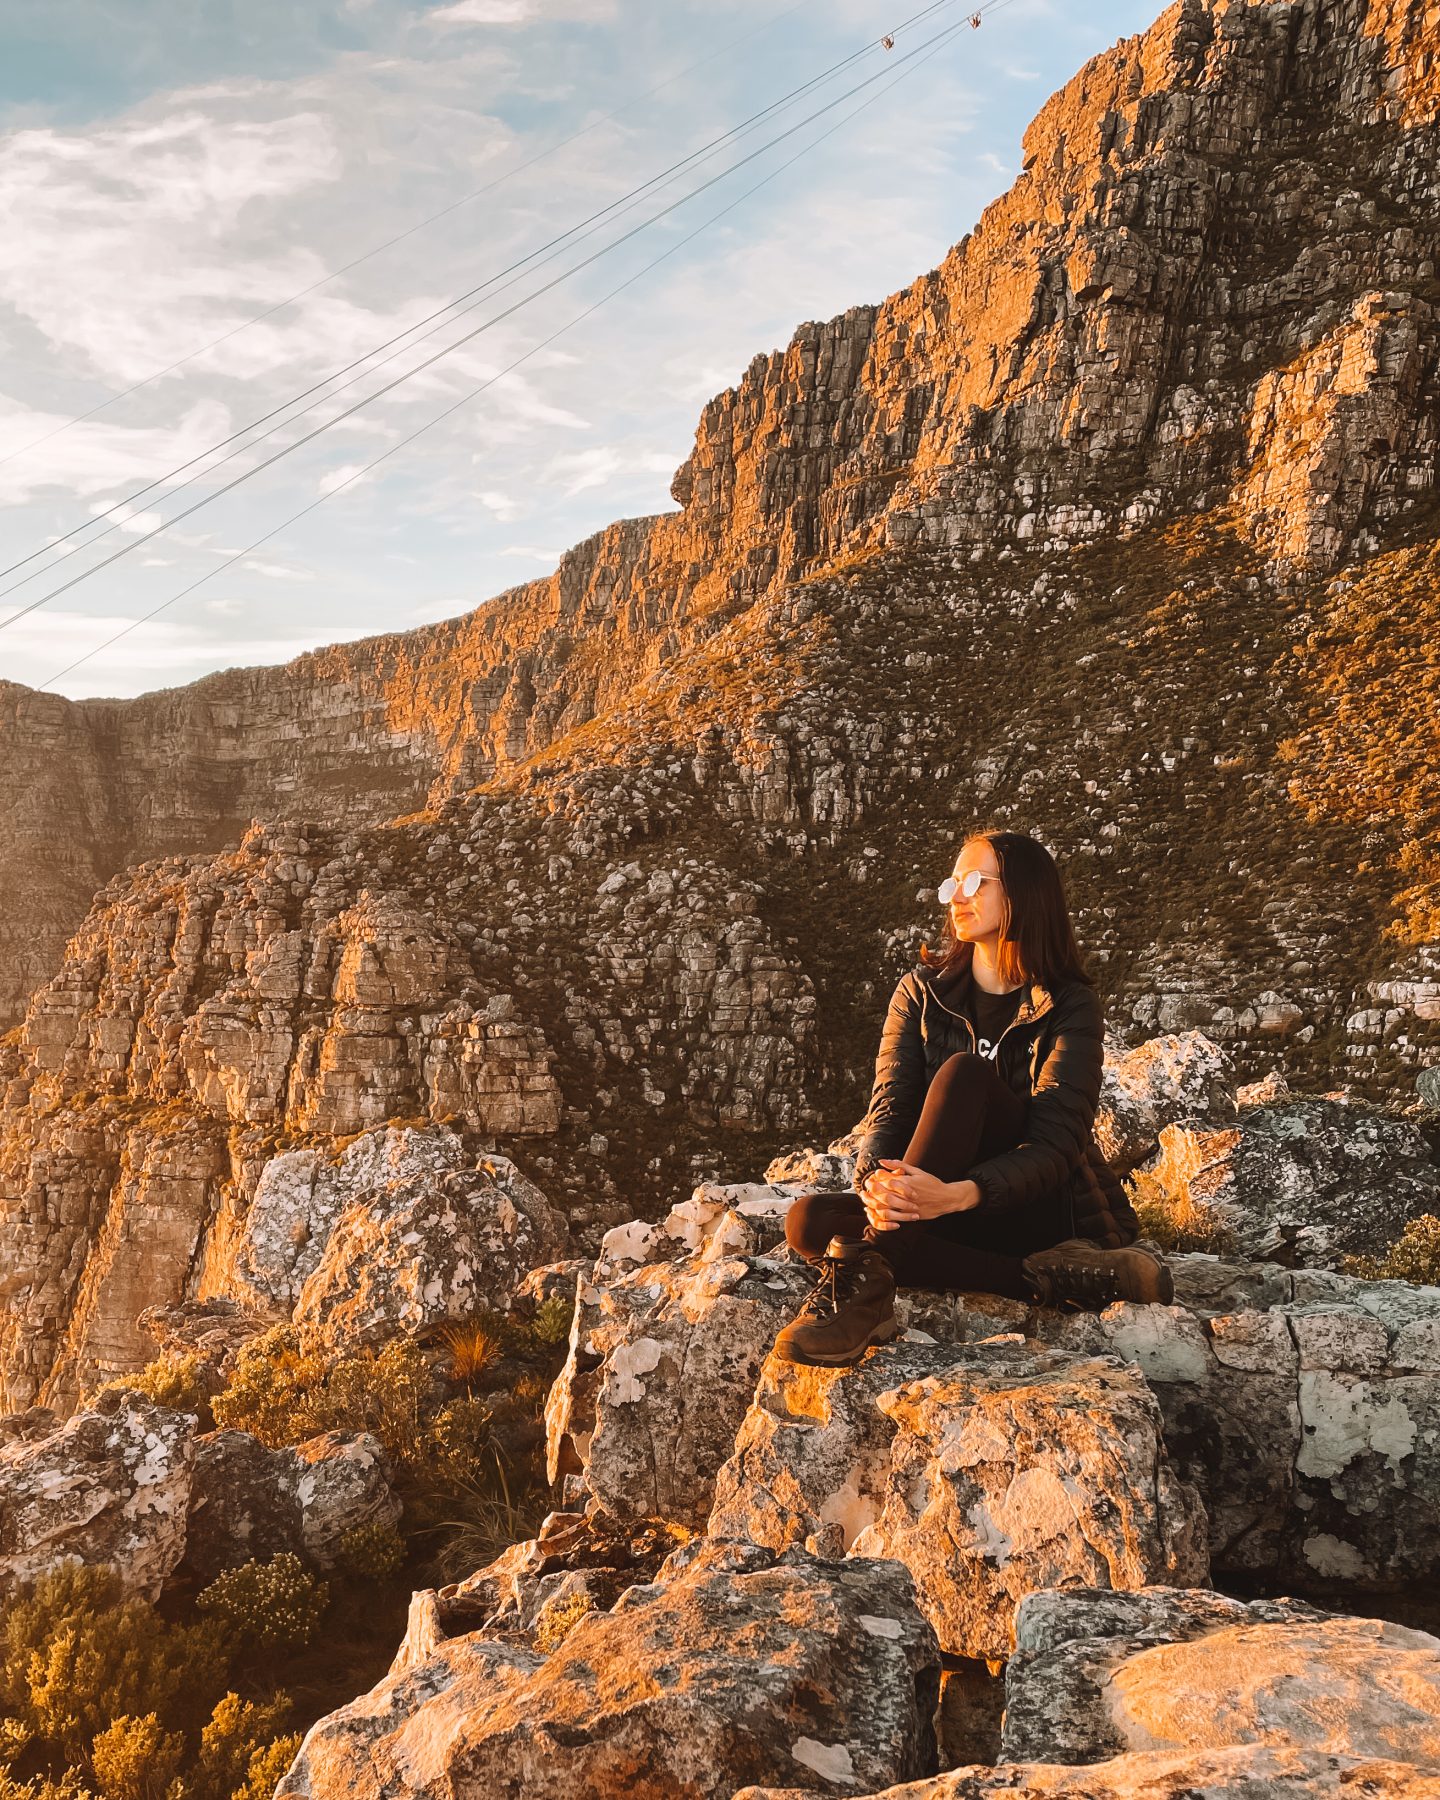
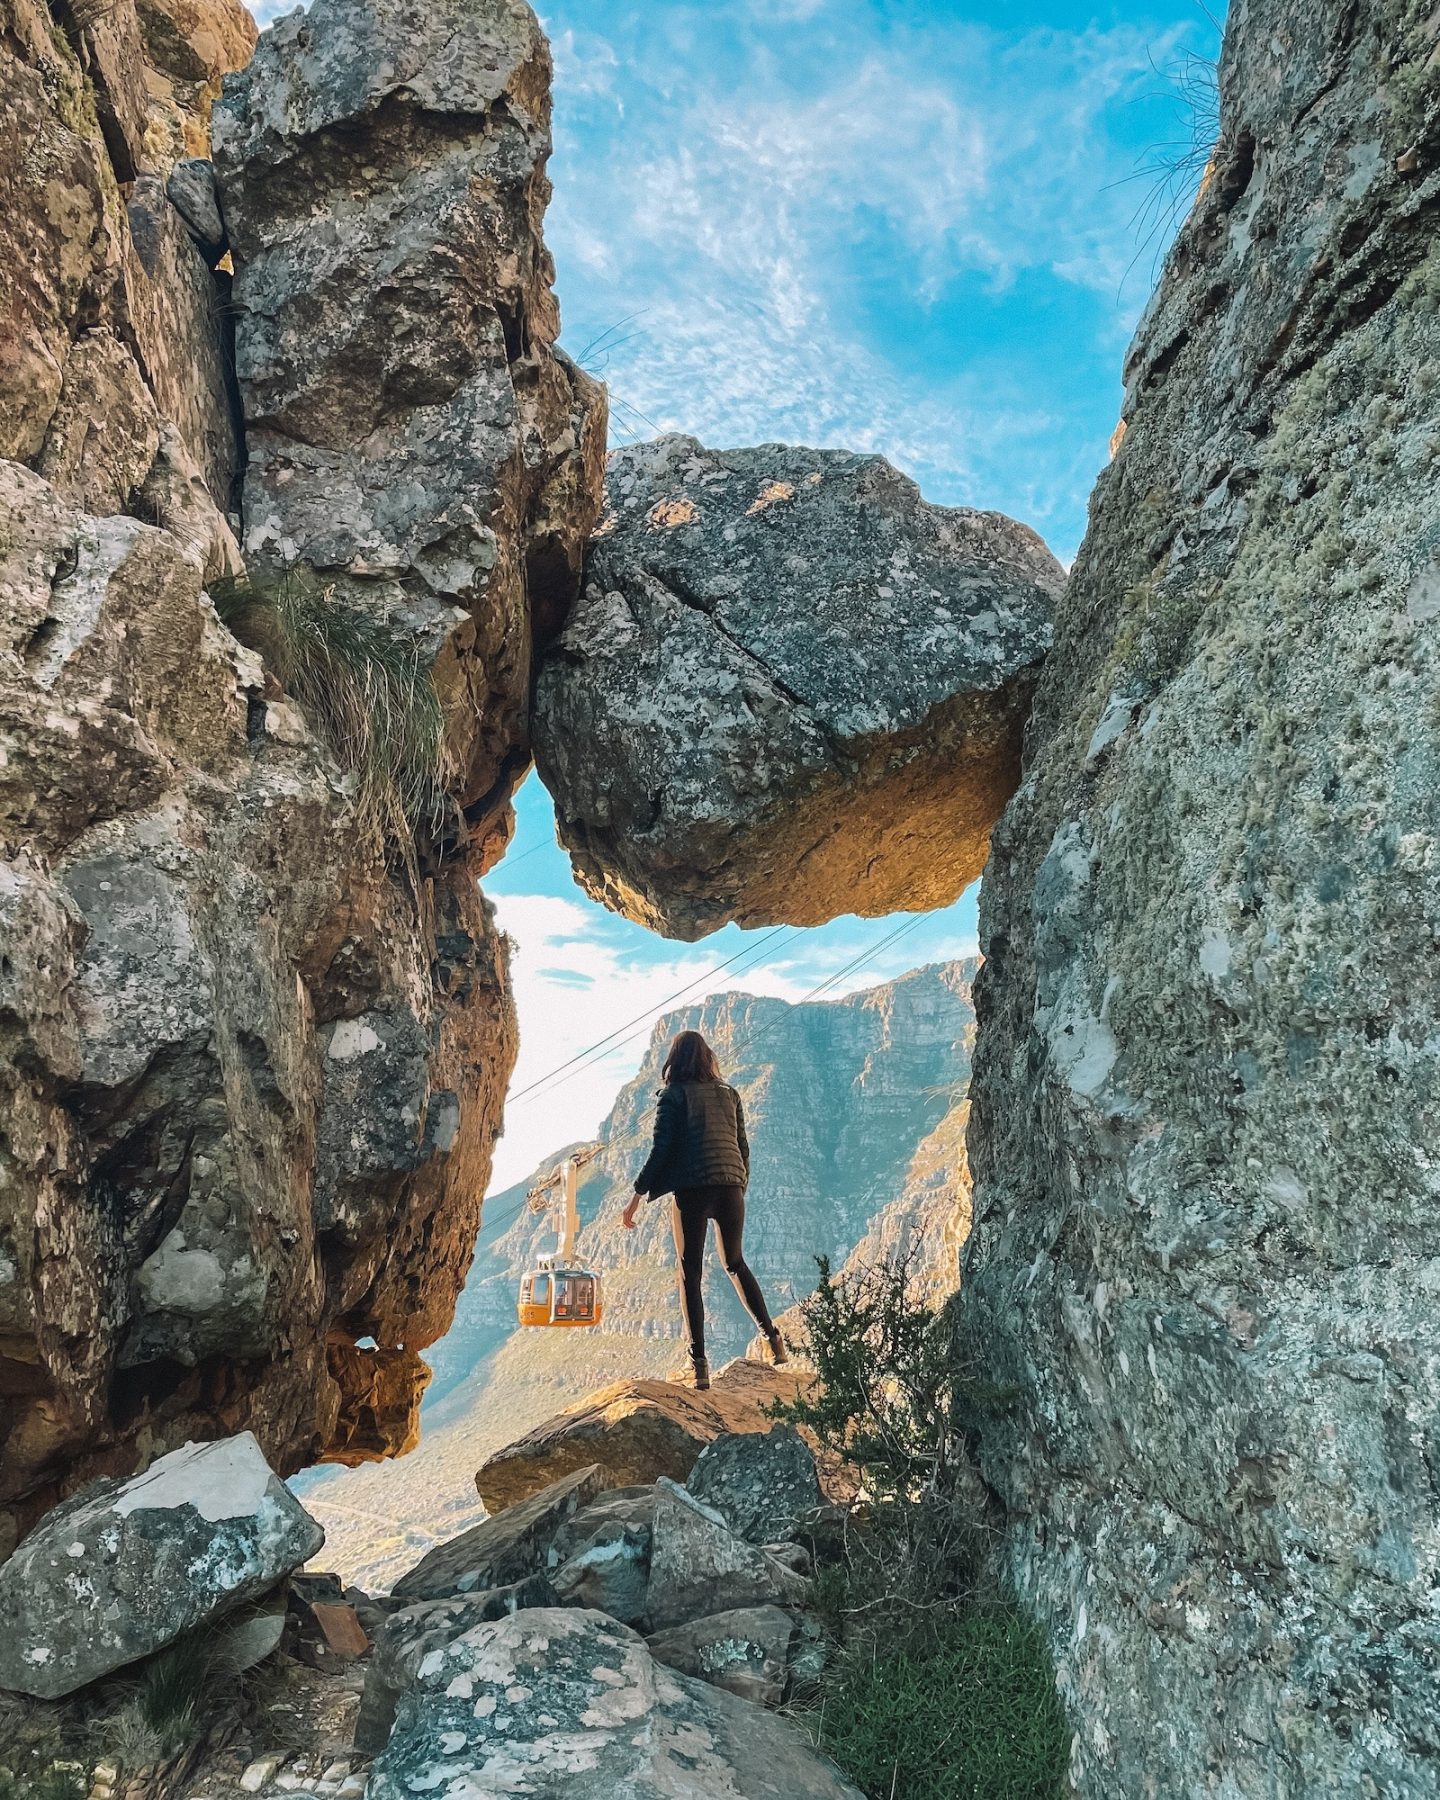
As you ascend, the trail boasts sweeping vistas of Cape Town, Lion’s Head, and the Atlantic Ocean. The iconic ‘Venster’—a rock formation framing the city below—is a photo-worthy highlight.
If you get your timing just right, you can even snap a picture of the cable car passing by the “window.”
However, India Venster is NOT for beginners or the weak. If you don’t have a head for heights, you’ll hate your life. You need to climb exposed rock faces (without ropes) and use your upper-body strength to ascend chains.
Getting to The Start of India Venster Hiking Trail
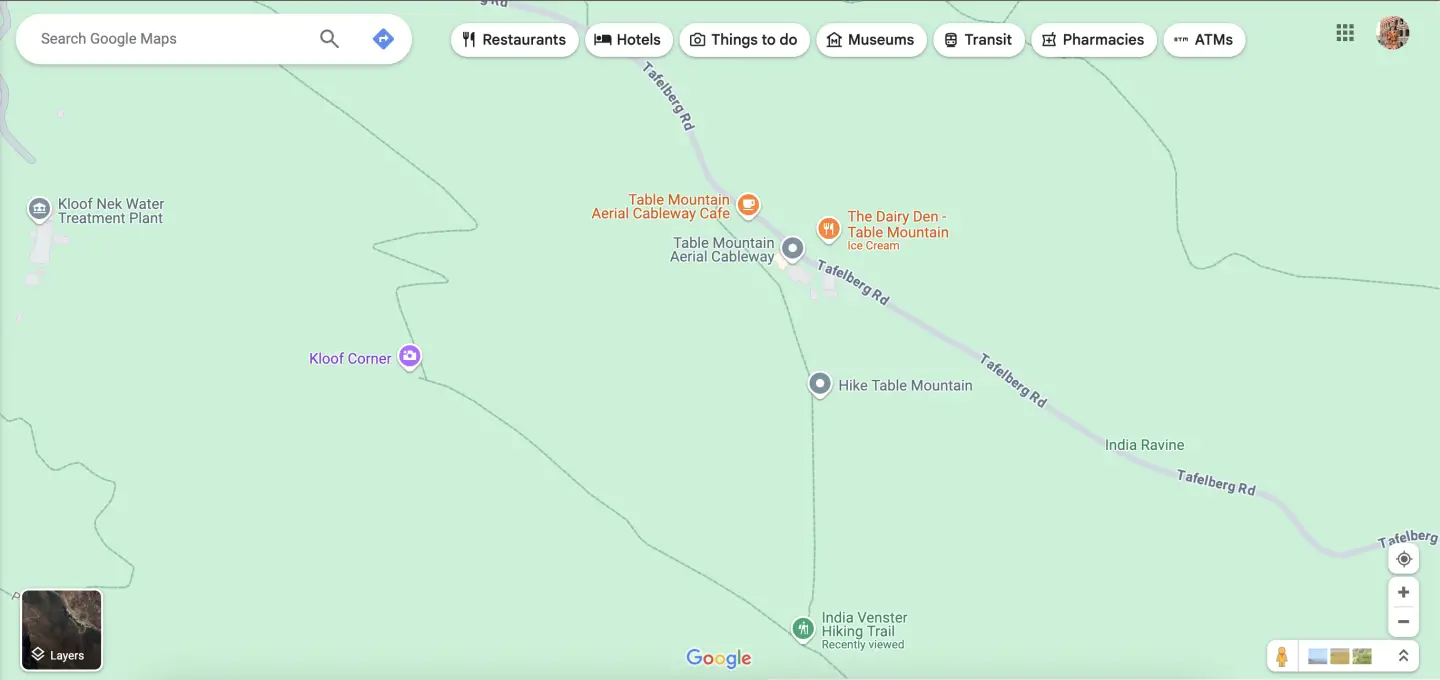
It’s super easy to get to the start of India Venster. The trail begins at the Lower Cable Station on Table Mountain Road.
Type in “Table Mountain Aerial Cableway Cafe” on Google Maps, and you’ll see the beginning of the trail to the left.
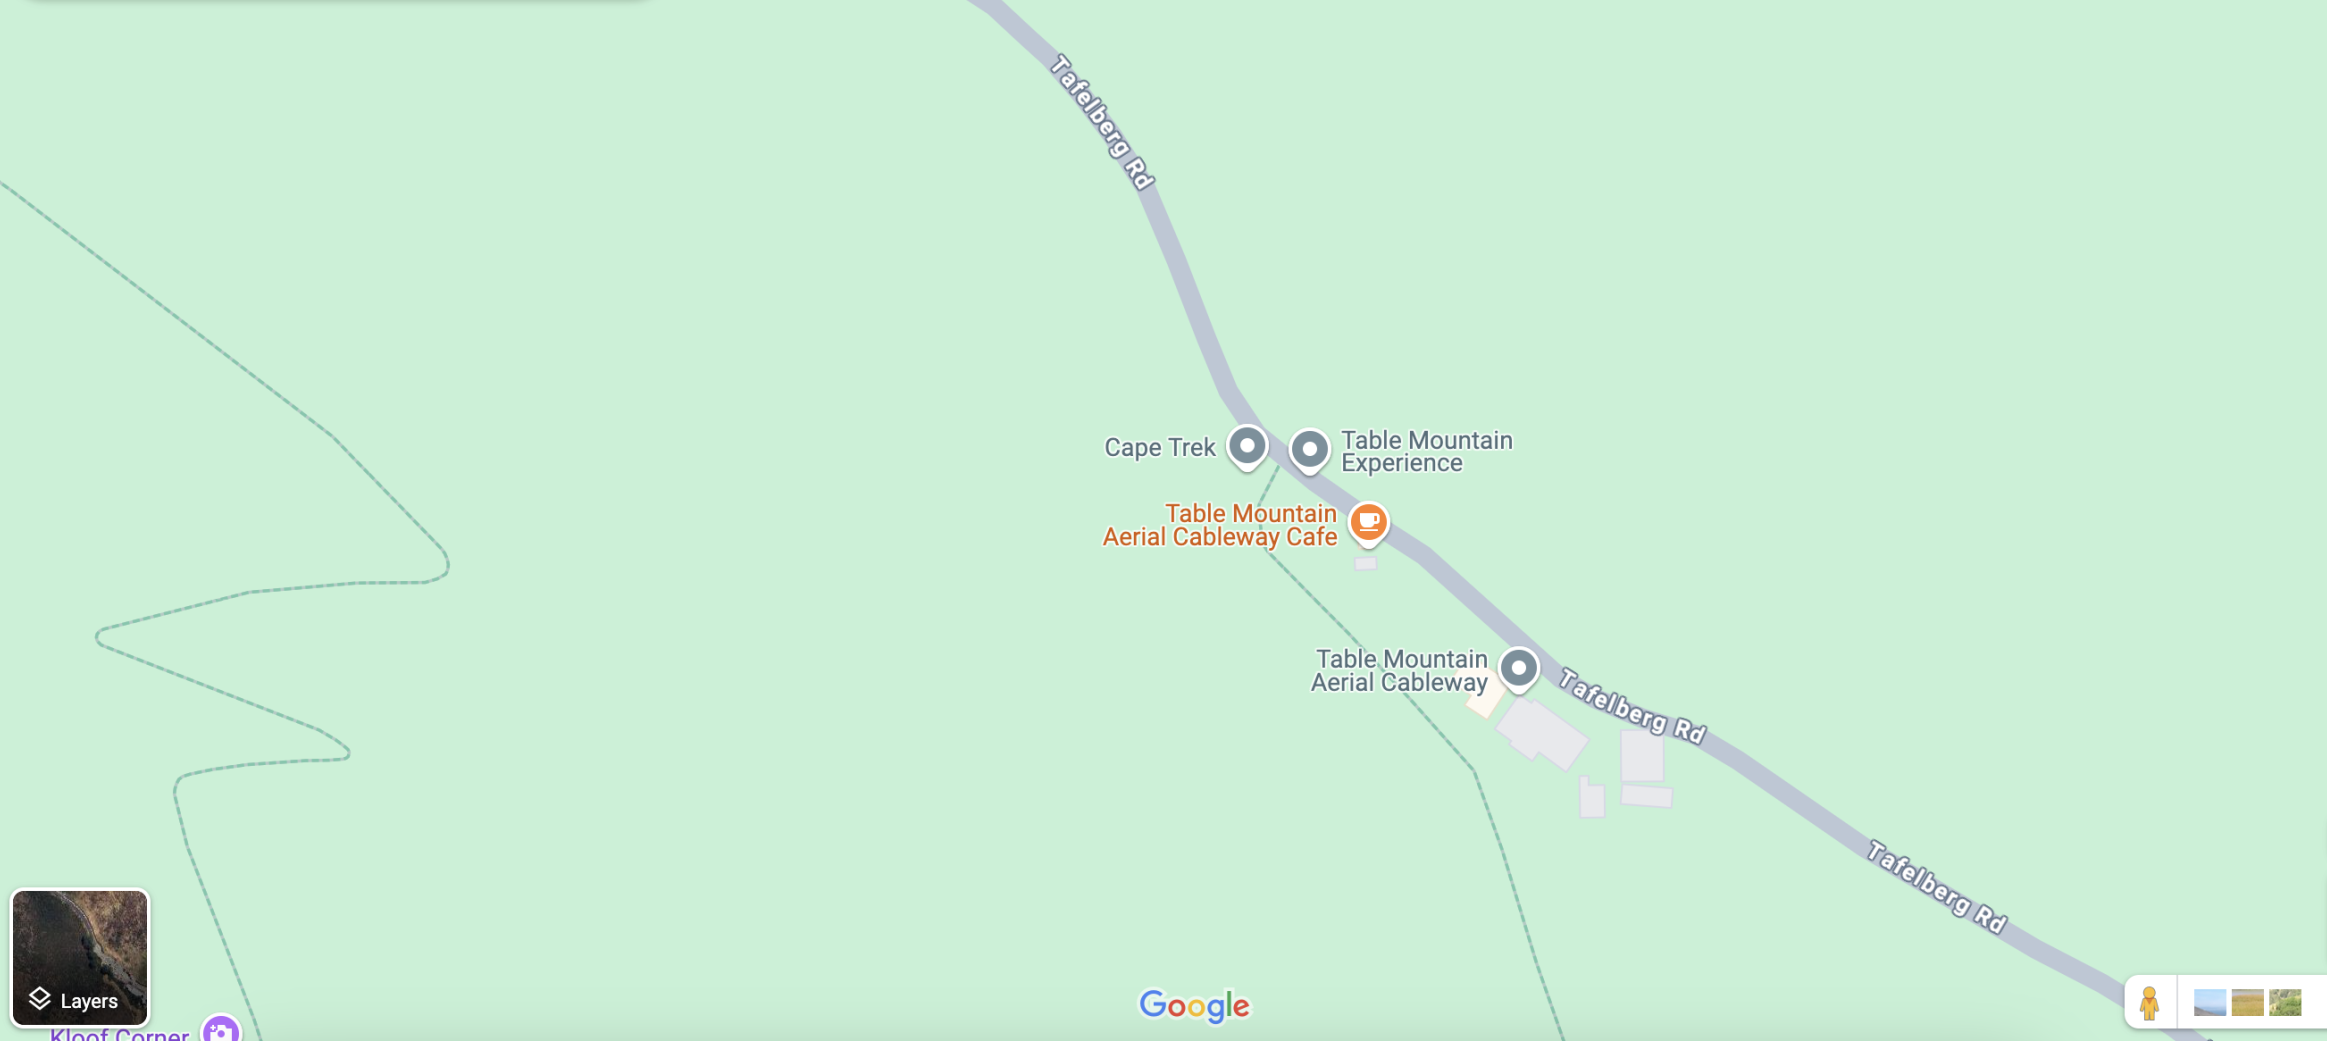
…But where to park?
There is a main parking area at the cable station, but if it’s full, you can park along the side of the road. Depending on how busy it is, you might have to walk a bit to get to the start of the trail.
Don’t have a car?
No worries. You can use ridesharing services like Uber to get to and from Table Mountain. There’s also a MyCiTi bus stop 10 minutes away from the cable station.
India Venster Alternative Starting Point
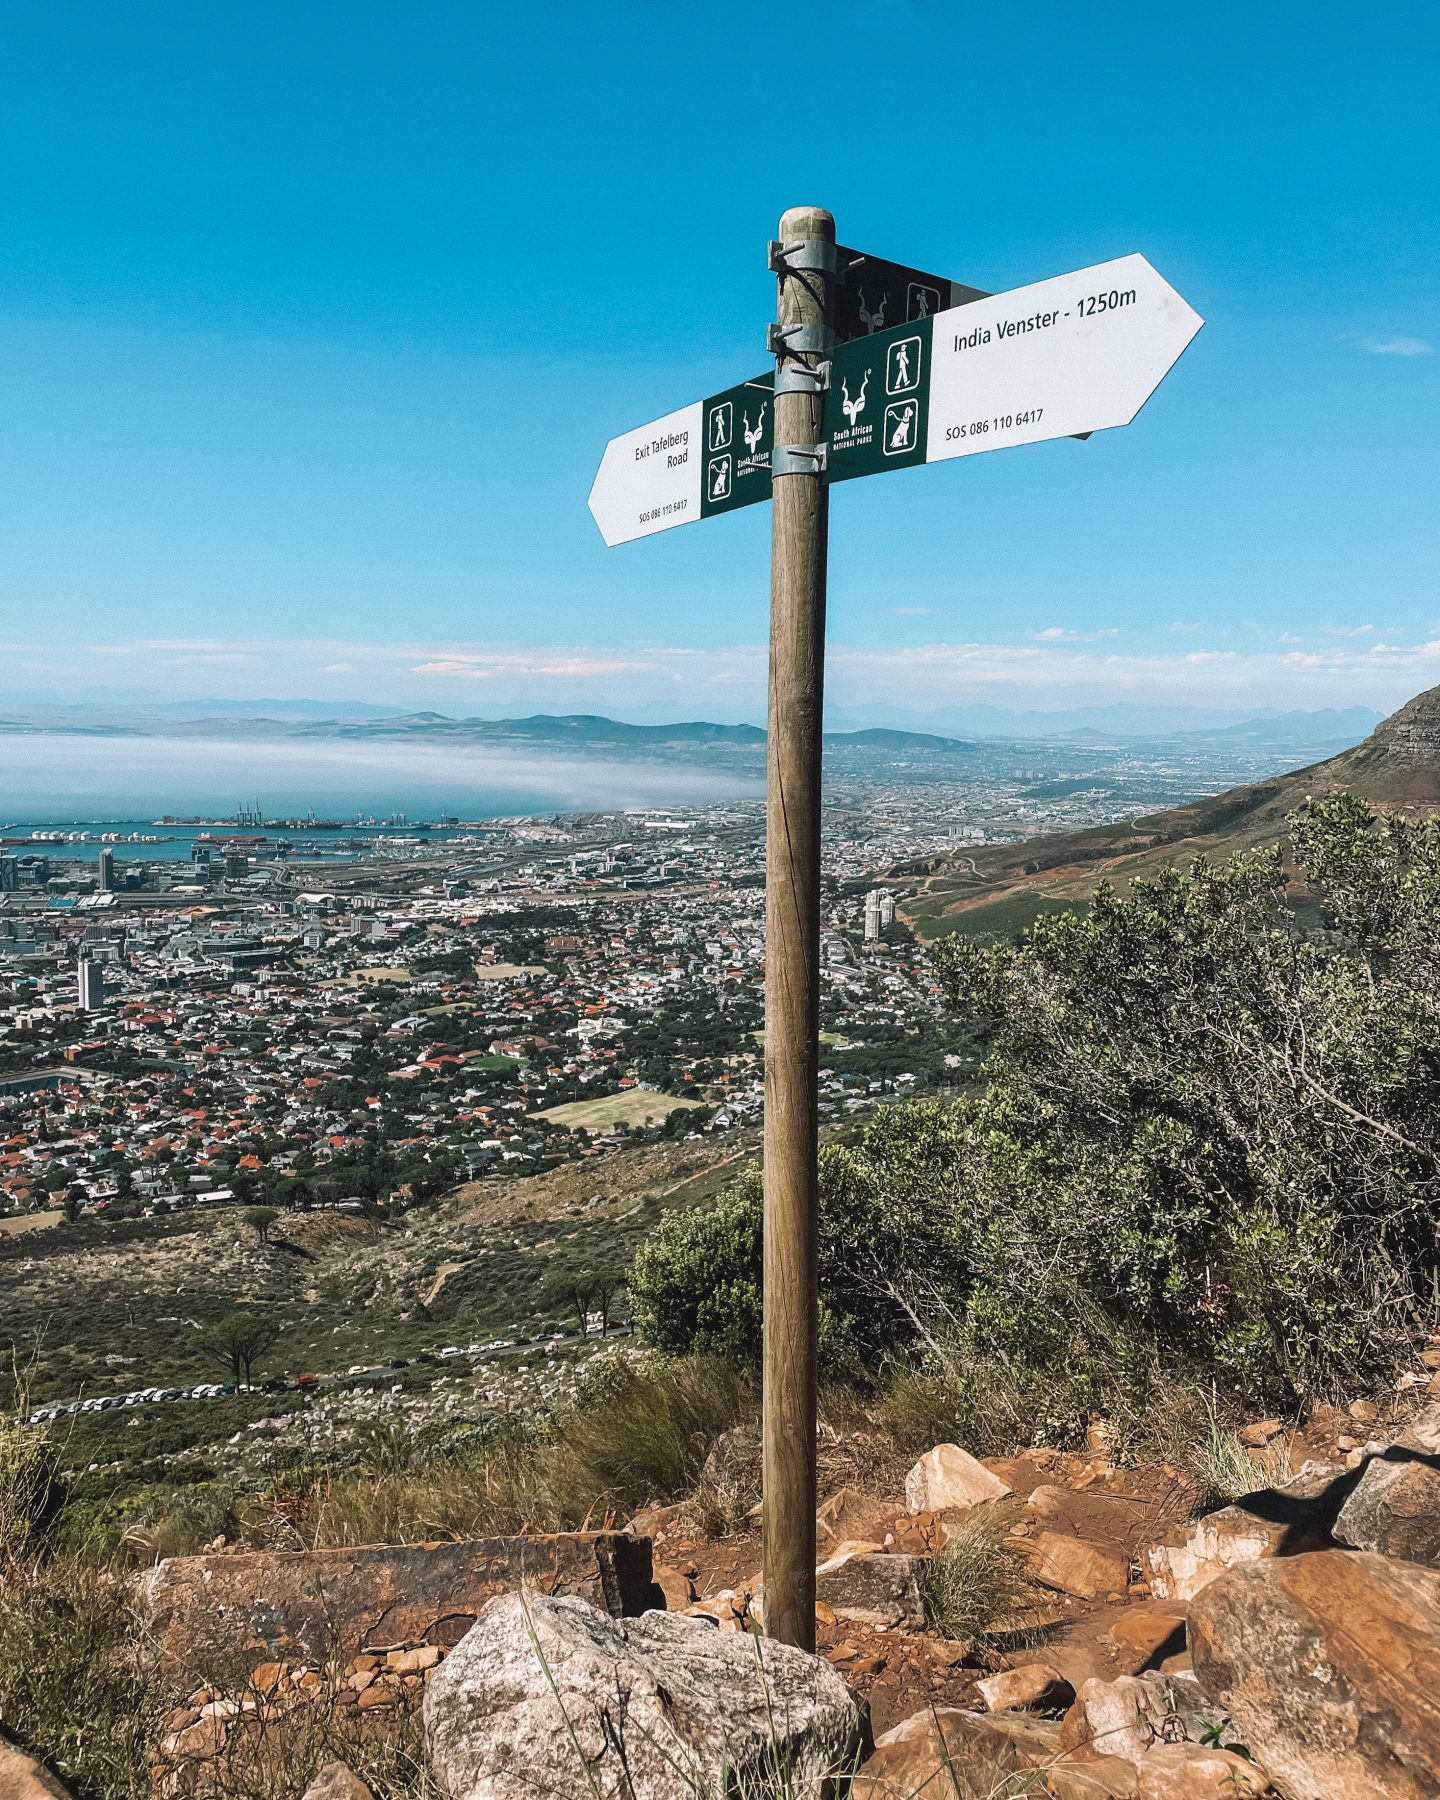
Here’s the thing.
The beginning section of the India Venster hike is a b****.
I hate it so deeply in my soul.
Why?
It’s a soul-crushing incline of stairs. It’s probably what my personal circle of hell looks like.
Luckily, there is a slightly better way to start the hike up the slopes of Table Mountain.
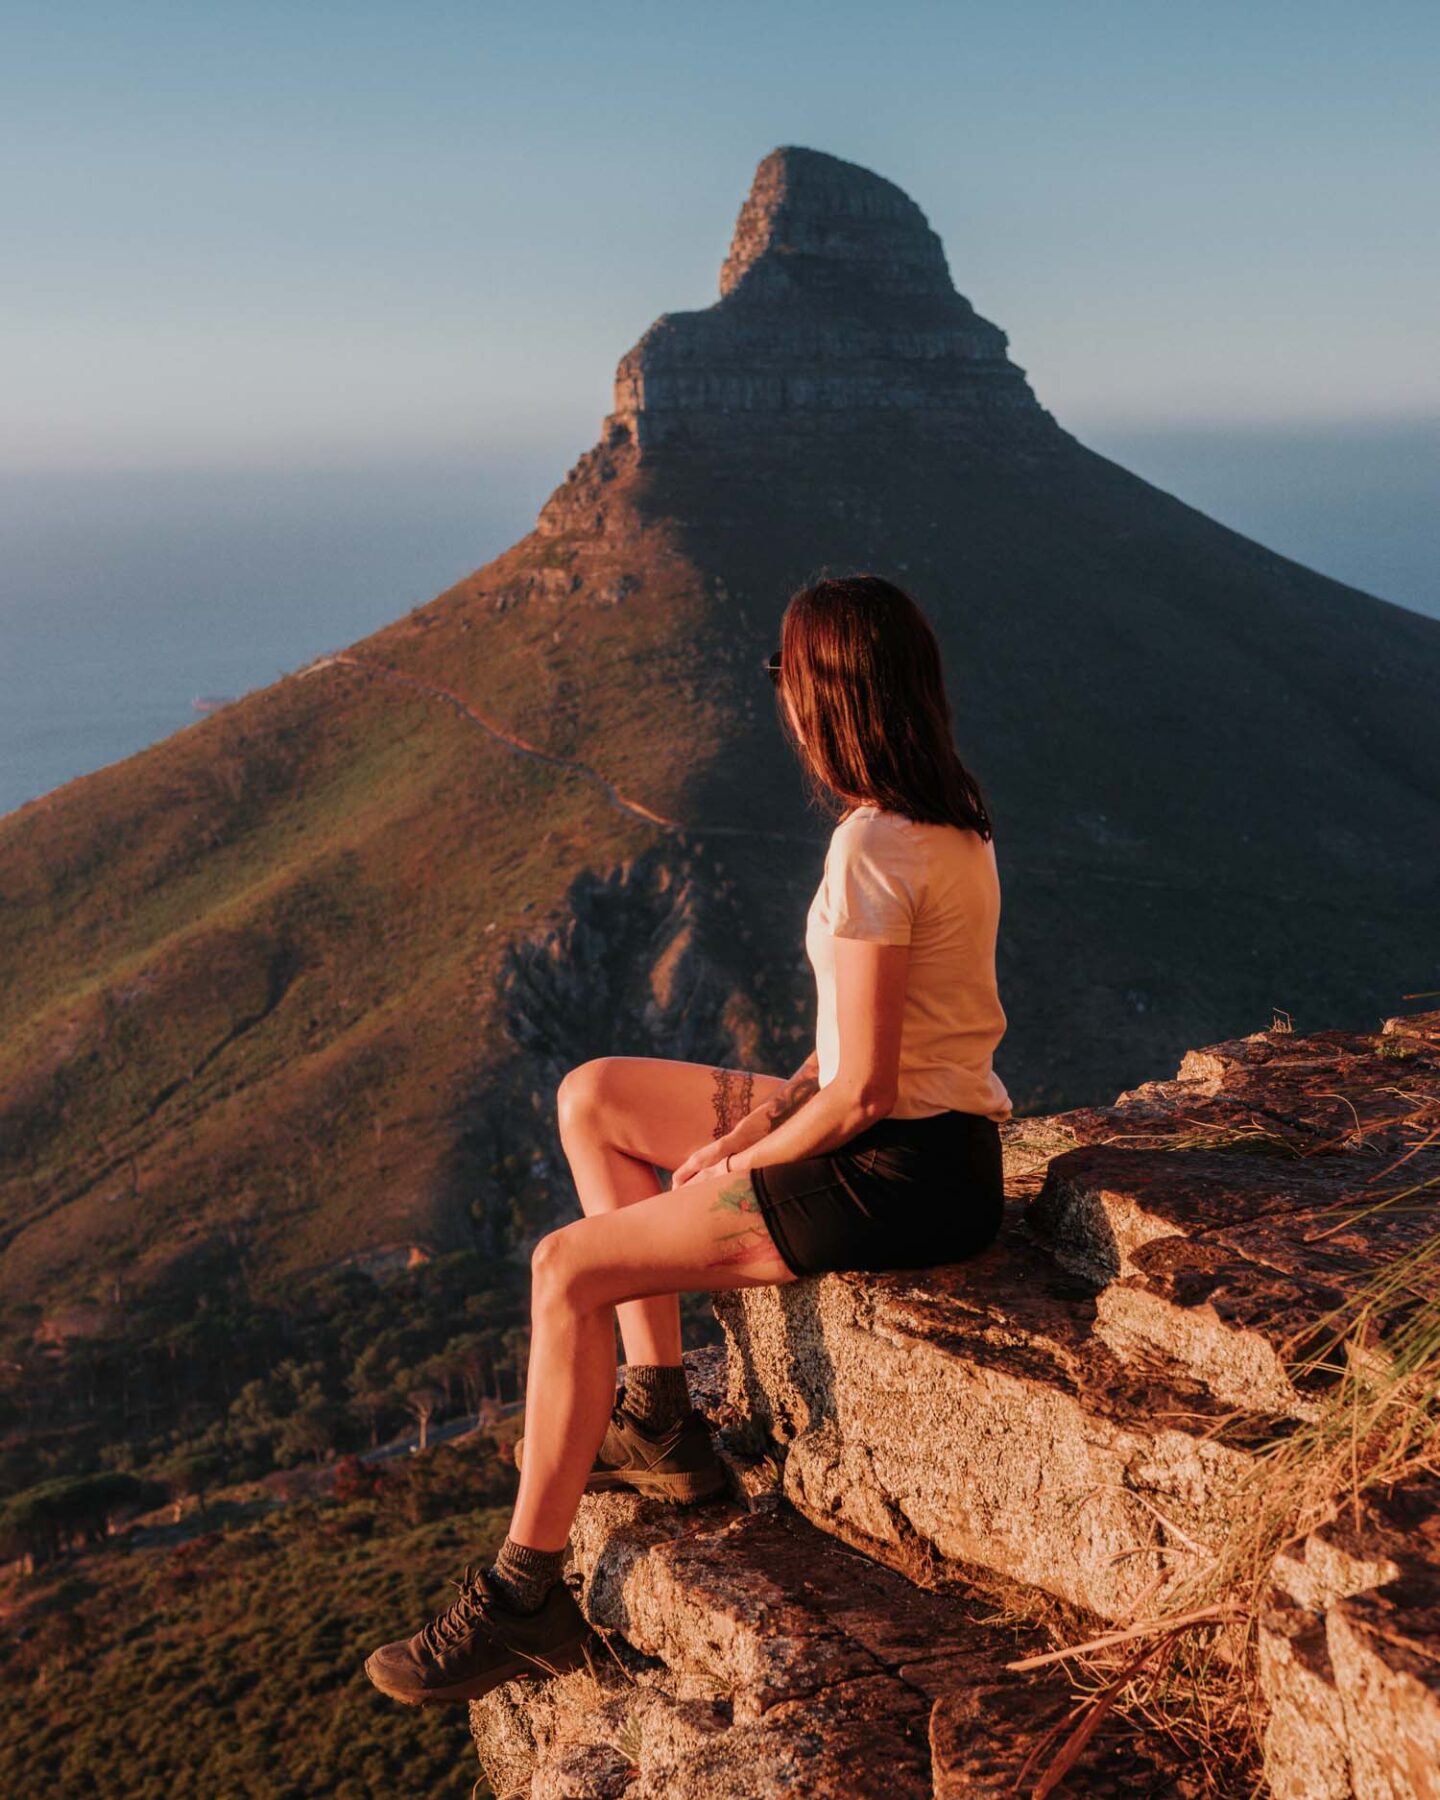
Instead of going to the Lower Cable Station, park your car by Kloof Corner’s parking lot on Tafelberg Road. It’s a quick 20-minute hike up to a ridiculously good-looking viewpoint.
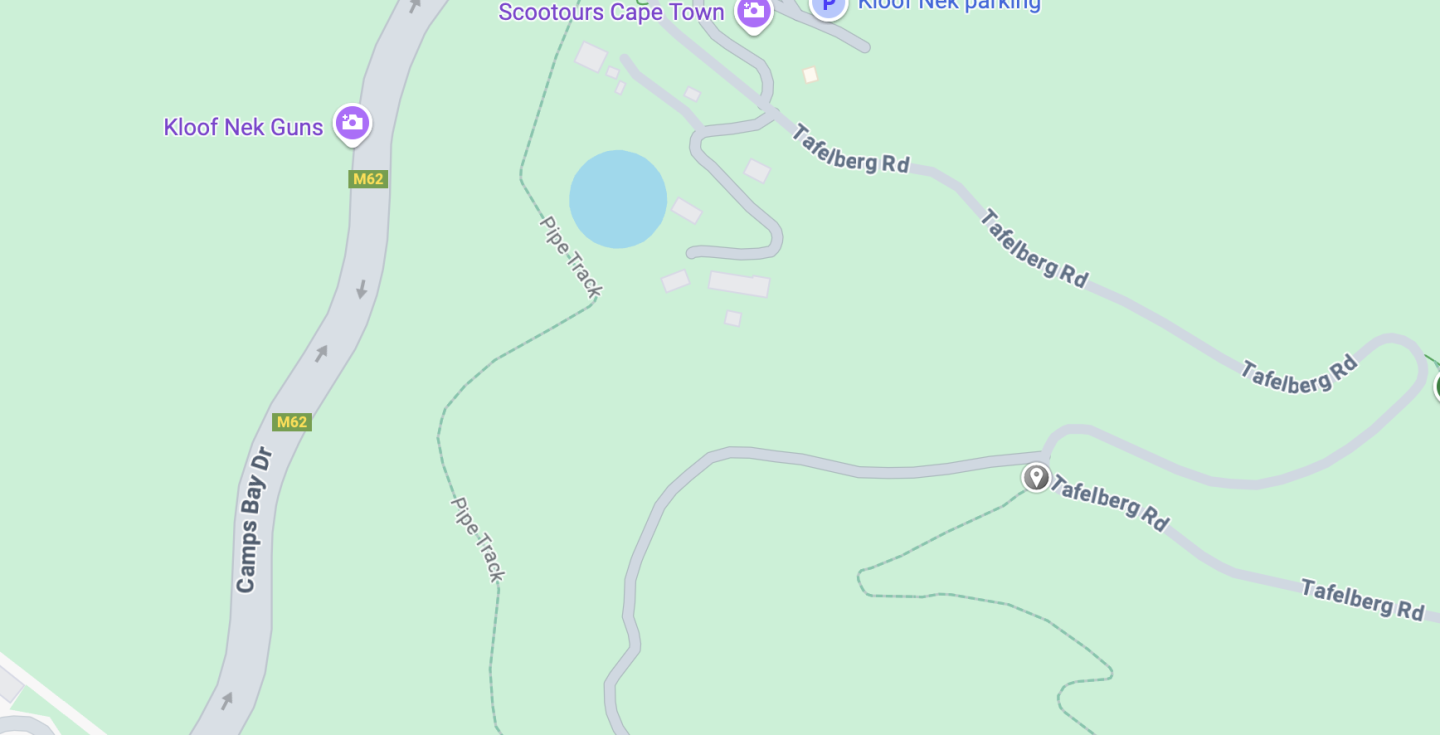
Once you’ve caught your breath, turn left and follow the contour path along the side of the mountain towards the Cable Car Station. You’ll eventually get to an intersection, and you’ll see a sign for India Venster pointing up.
India Venster Trail Breakdown: What to Expect
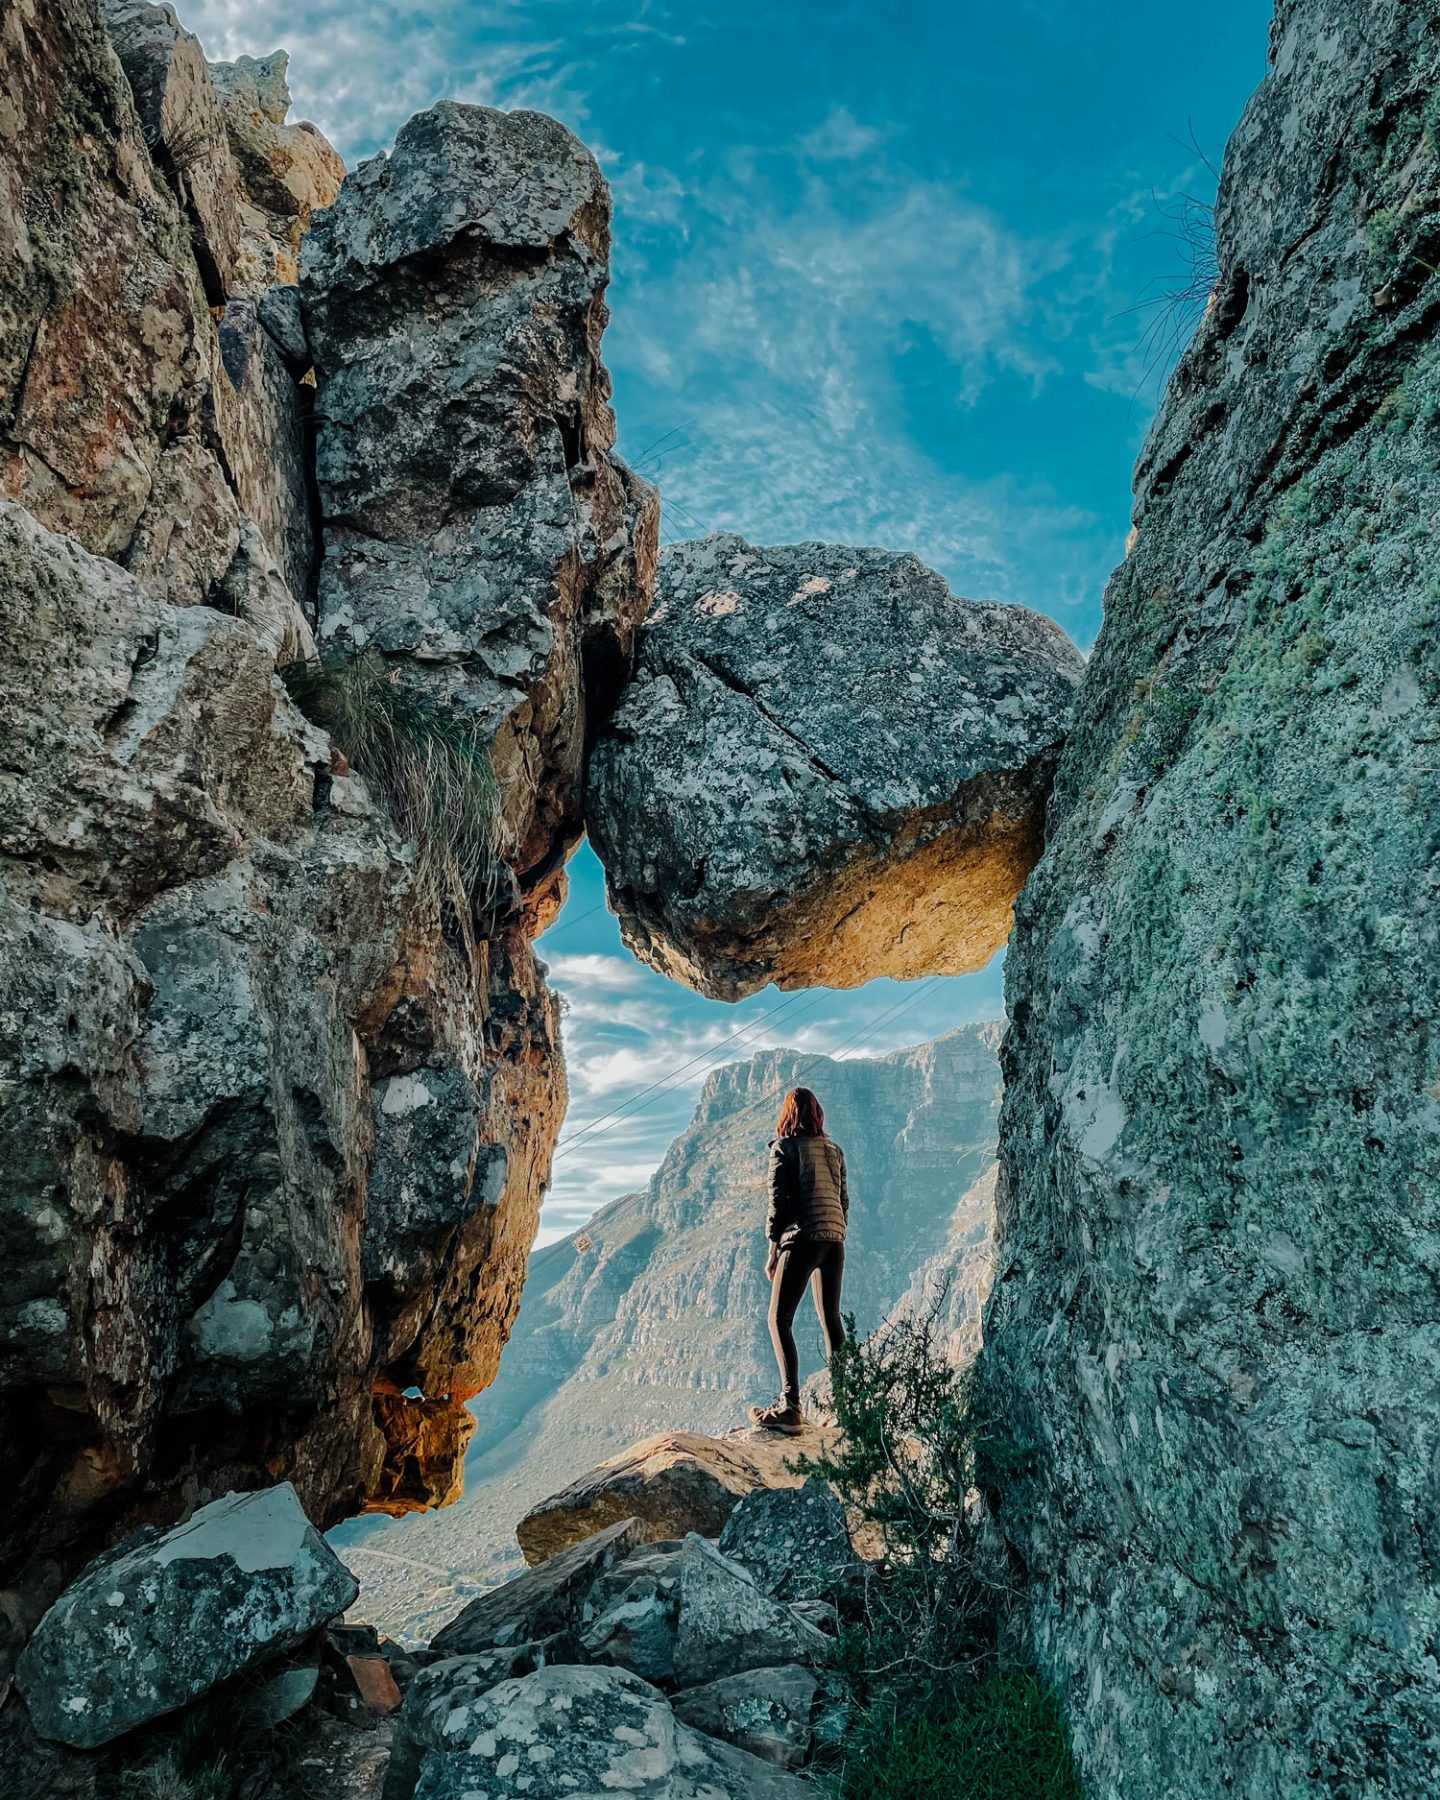
India Venster offers an exciting mix of hiking, scrambling, and breathtaking views from start to finish. Here’s what you can expect along the way:
1. The Quad-Glute-Burner Start
The trail begins at the Lower Cable Station with a steep incline. The first section is relatively straightforward, taking you through Table Mountain’s famous fynbos vegetation. As you ascend, you’ll get panoramic views over the city.
2. Scramble Time: The First Climb
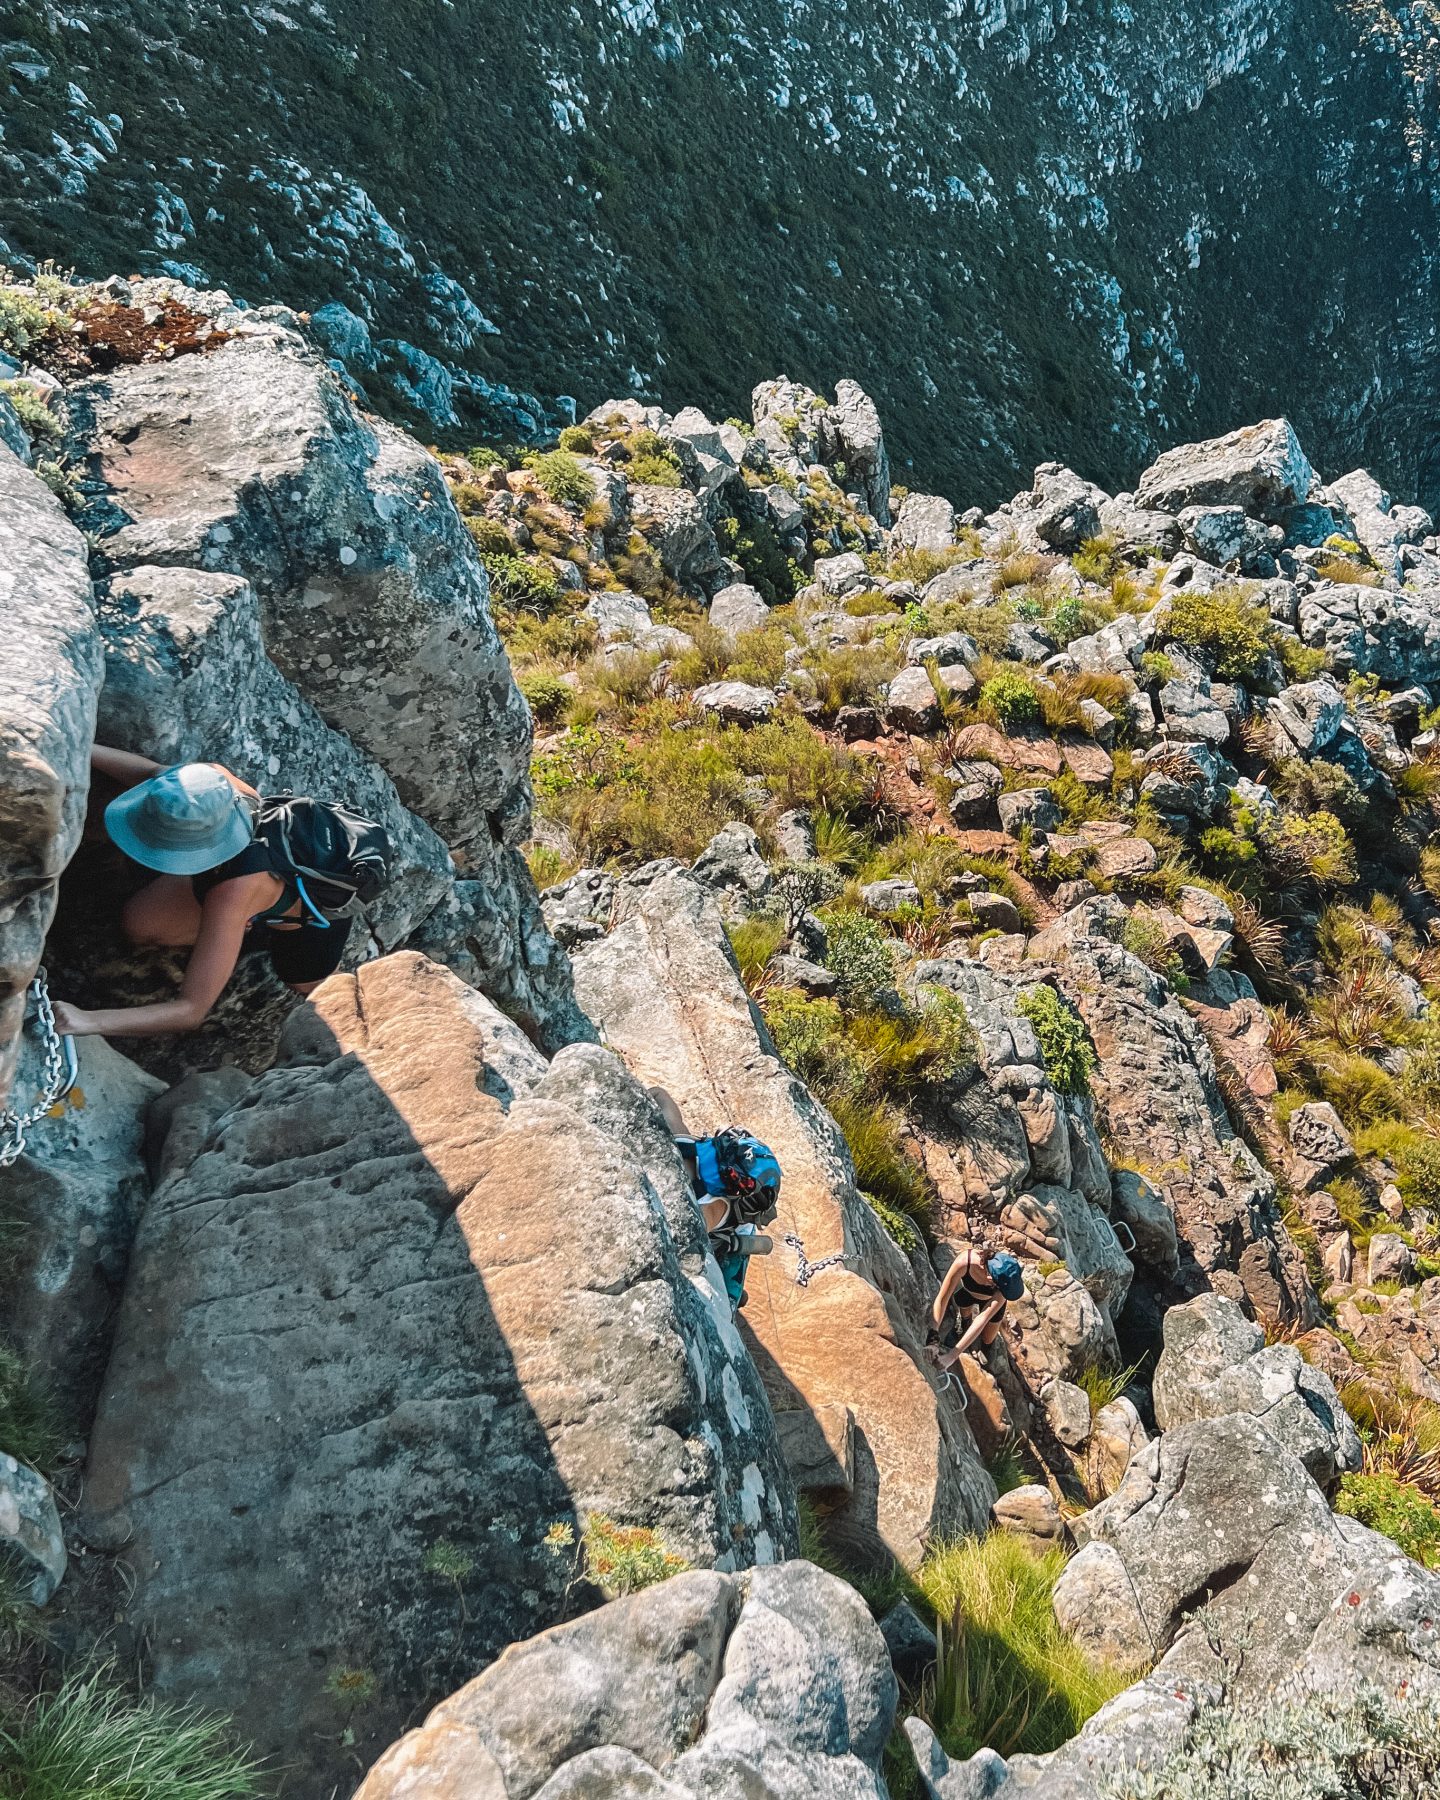
After about 45 minutes, the real adventure begins with the first scramble. Metal staples embedded in the rock help you navigate the steeper sections. The rocks are solid, and the grips are well-placed, but you’ll need to be careful with your footing and handholds. This is where the hike becomes a challenge as you pull yourself up.
3. Finding The Venster
After clearing some scrambles, you’ll need to keep a lookout for the iconic India Venster “window”. Although it’s not always easy to spot. As you make your way up the gully, you’ll see a rocky outcrop to the left. There is a trail that breaks out in that direction, but you might miss it coming up. Follow it, you’ll go around some rocks and then see the famous “window”.
4. The Crux: The Most Challenging Section
The crux is the most difficult and exposed part of the India Venster hiking trail. Here, you’ll hug the rock face, relying on your scrambling skills and metal chains to make your way up the vertical path. Take your time. This is where the adrenaline kicks in, especially if heights make you nervous.
5. The Final Stretch to the Cable Station
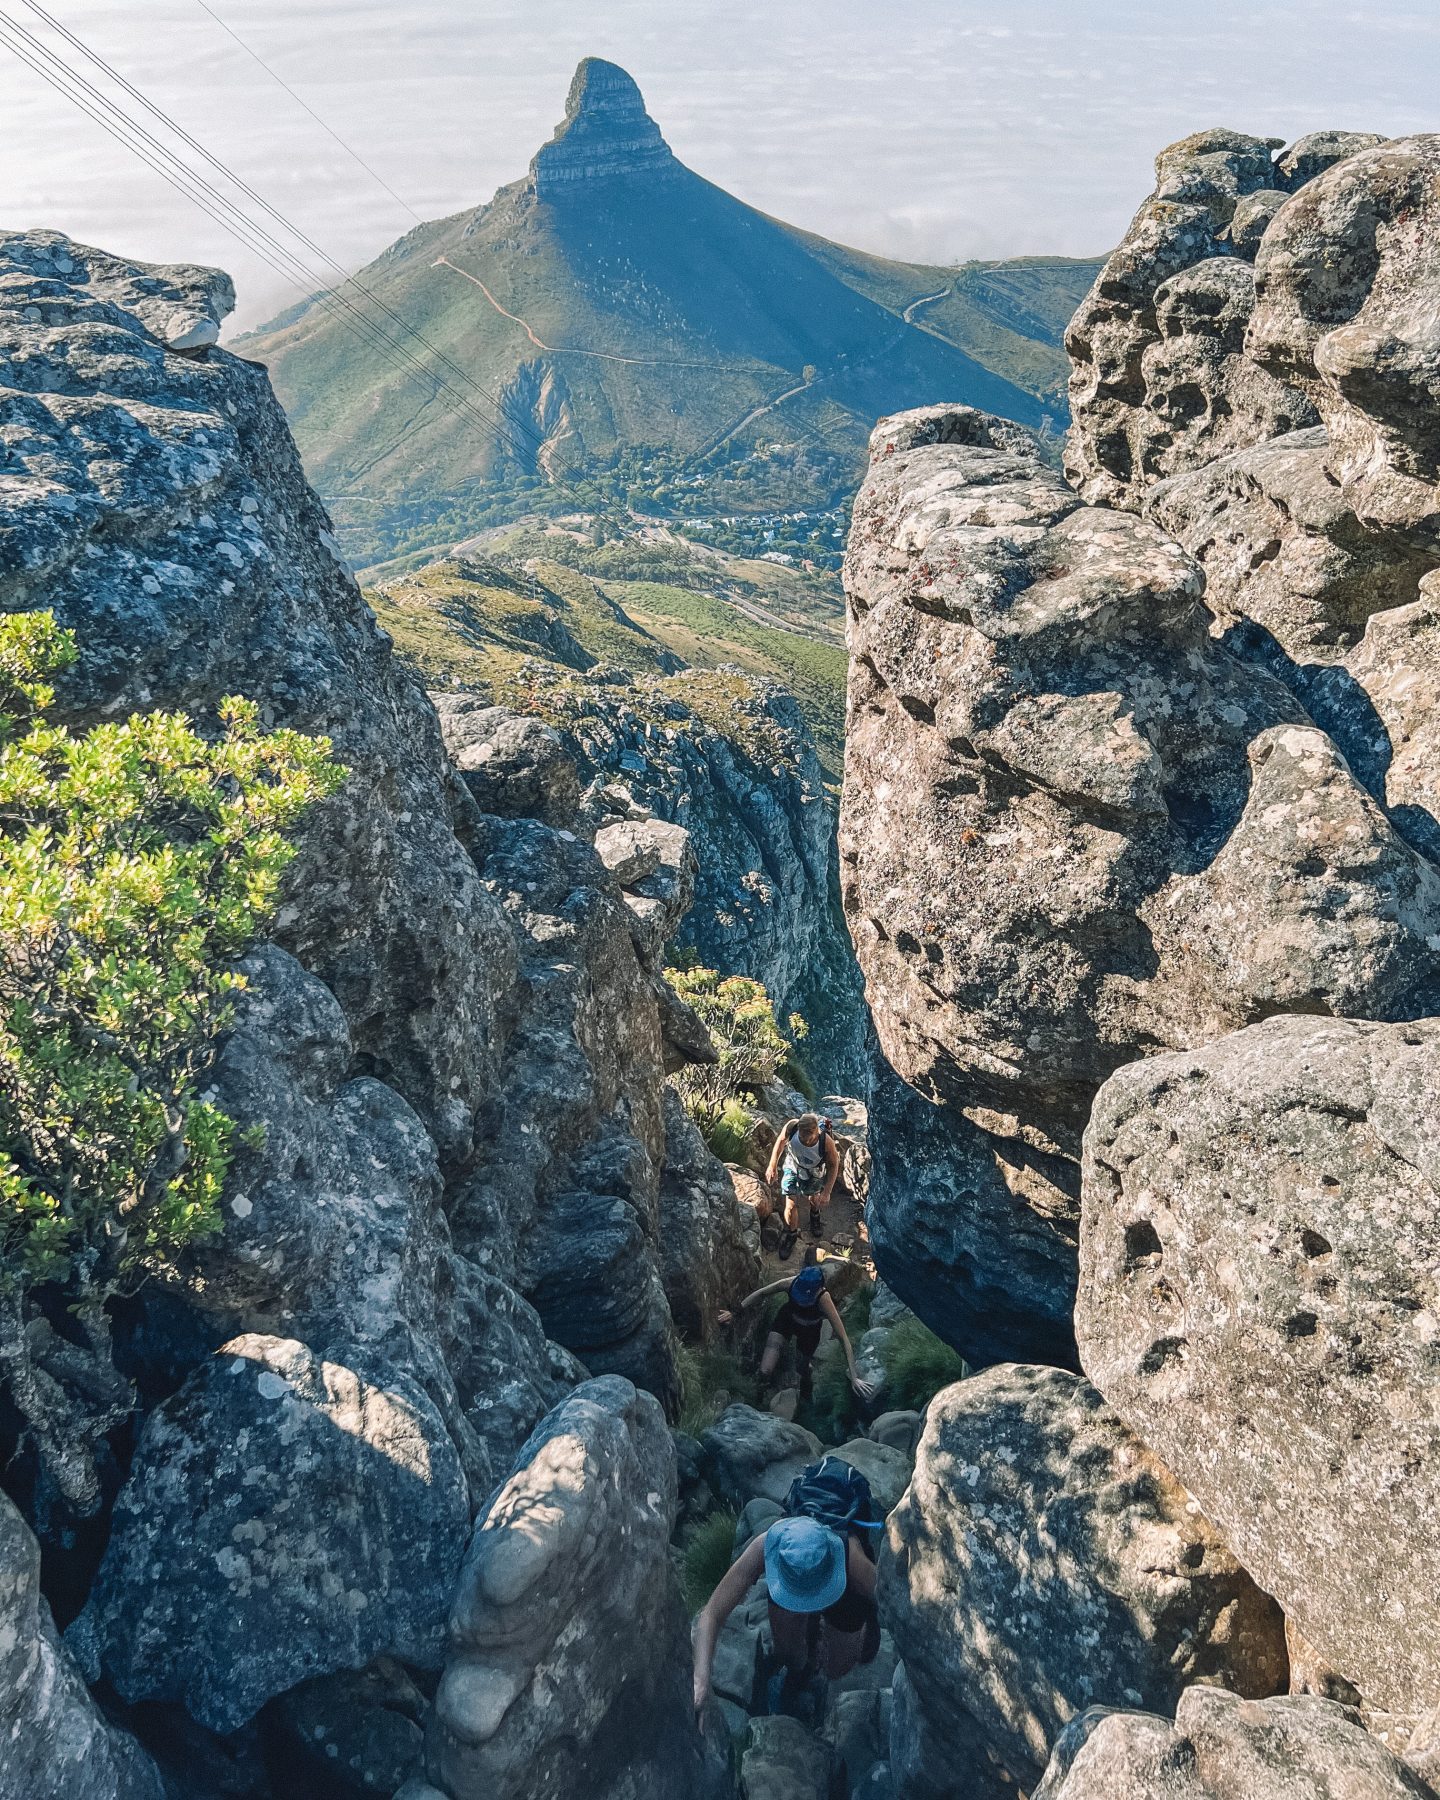
The last section is steep but less technical than the scrambles. You’ll make your way towards the Upper Cable Station, with the path levelling out as you approach the summit. Most hikers opt to take the cable car down, but you can also descend via Platteklip Gorge if you’re up for more hiking.
Descending Table Mountain: Option 1 – The Cable Car

After completing the India Venster hike, the easiest way back down the mountain is by Cable Car. A one-way ticket for adults costs around R295.00 for a single trip, and you can buy it online or at the station. I highly recommend watching the sunset from Table Mountain and taking the last cable car!
Important: The cable car doesn’t run in poor weather conditions!
- If you start your hike late, you’ll need to make sure you ascend with enough time to get to the station before the last cable car descends.
- Hearing sirens means that the last car will be leaving soon.
- If you miss the last car, you’ll need to hike down.
Always check the operating hours as the times change depending on the time of year.
Descending Table Mountain: Option 2 – Platteklip Gorge or Kasteelspoort
In the mood for more hiking?
The quickest way down Table Mountain is with the Platteklip Gorge hiking trail. As I mentioned earlier, it’s basically giant stairs all the way down and isn’t technical at all.
Want something a bit more interesting and have time on your hands?
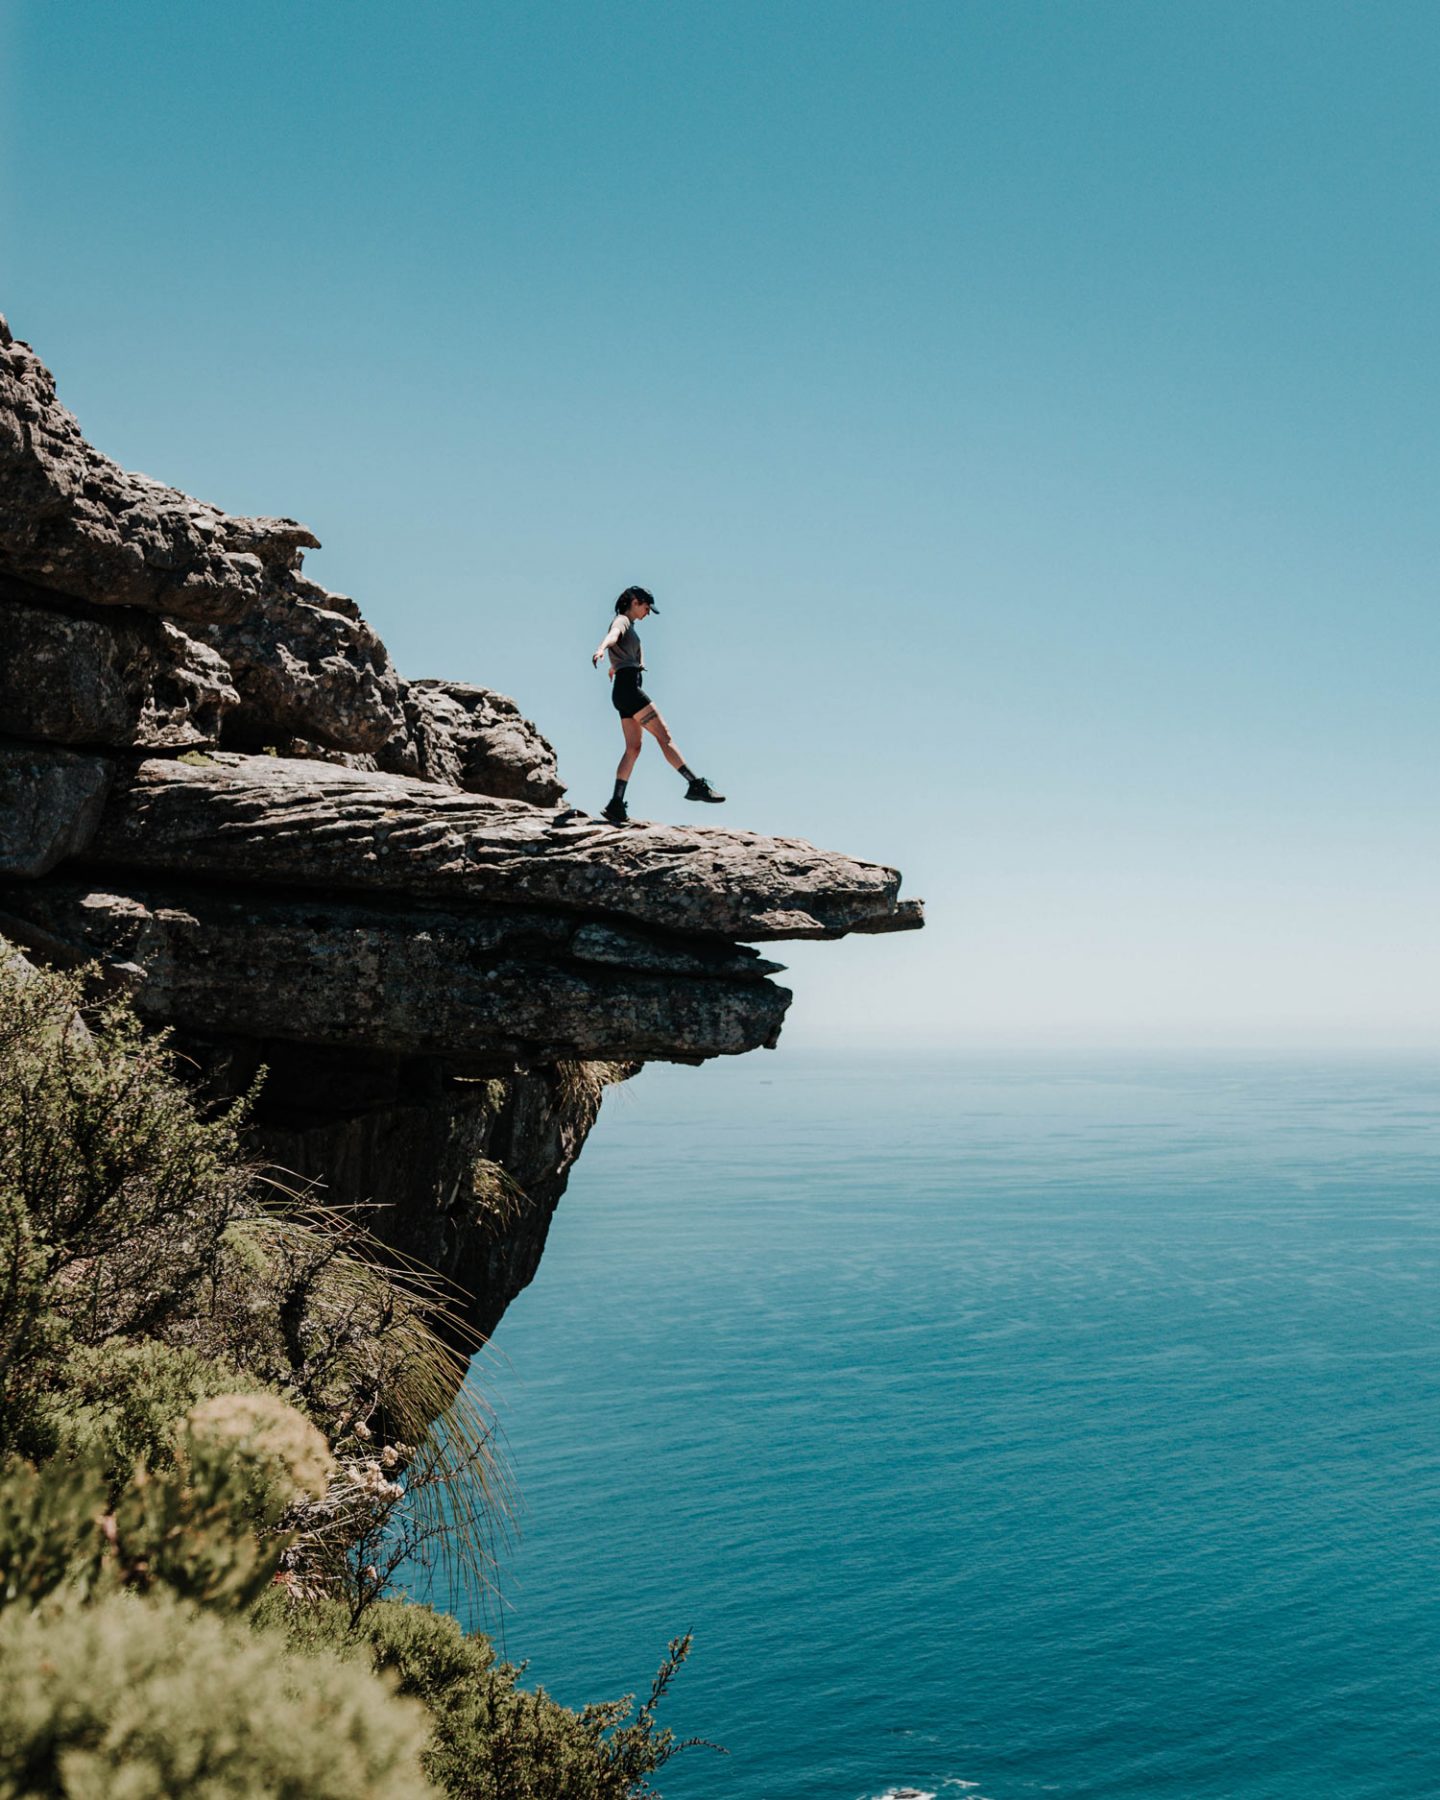
Walk along the top of Table Mountain towards the endpoint of the Kasteelspoort hiking trail. It’s another of my favourite ways to ascend and descend the mountain.
Before you head down, stop at the Insta-worthy “surfboard rock”.
Kasteelspoort goes down the opposite side of the mountain with incredible views of Camps Bay. The trail ends on a Jeep Track at the top of Theresa Avenue.
From here, you can request an Uber to take you back to your car at Table Mountain’s parking lot.
Read More: 12+ Best Hiking Trails in Cape Town With Jaw-Dropping Views
Hike to Maclear’s Beacon: The Highest Point on Table Mountain
Another option for extending your time on top of Table Mountain (without having to do a descent hike) is Maclear’s Beacon.
The additional trek will take you to the highest point of Table Mountain – 1,086 meters above sea level.
The trail to Maclear’s Beacon is relatively flat compared to India Venster, making it a nice cool-down hike. It’s about 2.5 km from the Upper Cable Station and has a well-marked path across the mountain’s plateau.
At the beacon, you’ll find a stone cairn that marks the summit, built by Sir Thomas Maclear in 1865.
Safety Tips for The India Venster Hike

Like I mentioned earlier, India Venster is for the brave. It’s a challenging and technical hike and is not for the unfit, unprepared, or inexperienced.
Here are some things to know that will help you get up and down Table Mountain safely:
1. Be Prepared for Rapid Weather Changes
Table Mountain is notorious for its crazy weather. The strong South-Easter wind, extreme temperatures, and sudden cloud cover can make conditions on the trail dangerous.
Even on a sunny day, the weather can flip in an instant. I’m friends with a few members of mountain rescue, and there are countless stories of hikers getting lost or stuck on the mountain because the cloud cover rolled in quickly and obscured the path.
Always be prepared by packing a light jacket or windbreaker and snacks in case you end up on the mountain longer than you expected and in colder conditions.
2. Stick to the Trail
India Venster is a confusing route with multiple opportunities to get lost. It’s marked by blue dots and yellow footprints, but it’s easy to miss these in the more technical sections.
Deviating from the trail can lead to dangerous terrain or getting stranded. Many hikers have had to be rescued after losing their way. If in doubt, go with an experienced hiker or guide who knows the route.
3. Hike with a Partner or Group
Never hike India Venster alone. The trail’s technical nature, combined with the potential for sudden weather changes, means having someone with you can be life-saving in an emergency.
SANParks has reported numerous rescues in this area due to hikers underestimating the level of fitness and skill required. Always prioritize your safety by hiking with a buddy or group.
4. Wear The Right Gear
Proper hiking gear is a must on this trail. Wear sturdy hiking shoes with excellent grip to navigate the scrambles and rocky sections. Sun protection—like a hat, sunscreen, and sunglasses—will keep you safe from the sun’s harsh rays.
Always carry at least 2 litres of water (there are no water sources along the way) and snacks to boost your energy. I always hike with something sweet and salty.
5. Avoid Descending via India Venster
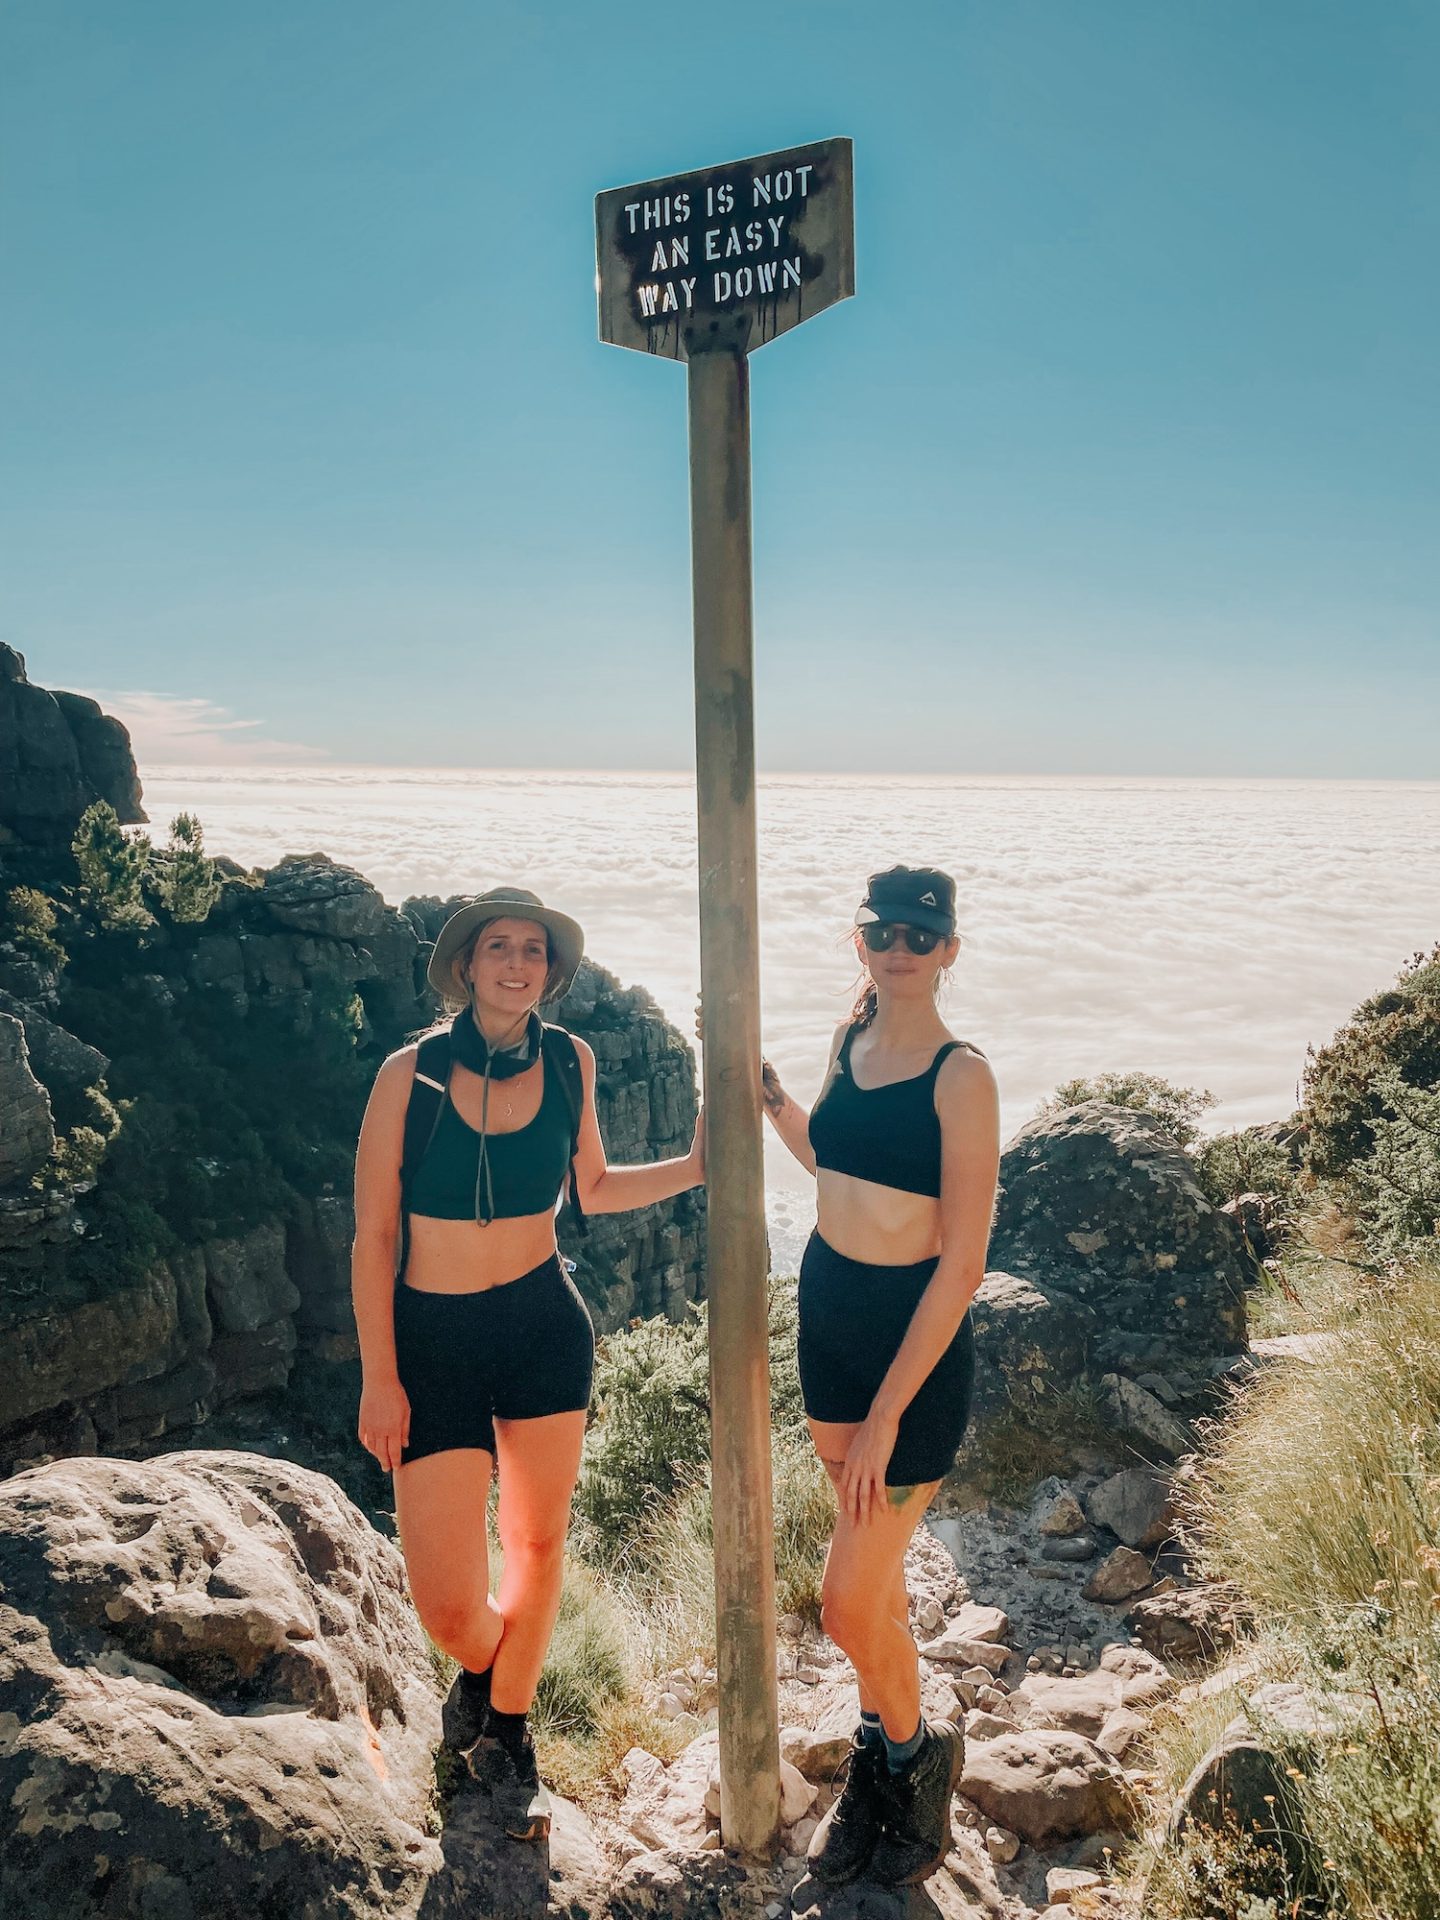
Due to its steepness and technical scrambles, descending India Venster is not recommended. The trail is much harder to navigate going down, increasing the risk of accidents.
If you want to hike back down, Platteklip Gorge is a safer, more straightforward option. Otherwise, you can’t go wrong with taking the cable car down.
6. Don’t Attempt in Poor Weather
Attempting the India Venster hike in bad weather can be extremely dangerous. Wet or windy conditions make the scrambles slippery and hard to navigate, increasing your chances of falling or losing your footing.
Always avoid this trail when there’s rain or strong winds in the forecast.
Read More: 45+ Hiking Essentials: The Ultimate Hiking Packing List for Beginners
India Venster Hike: FAQs
While it’s possible to hike alone, it’s recommended to hike with a partner or group due to the technical scrambles. If you’re unfamiliar with the route, a guided hike is a safer option.
Early mornings are the best time to start the hike to avoid the midday heat, especially in summer. Late afternoons are also great for golden-hour views, but make sure you leave enough time to reach the top before the cable car closes.
Skeleton Gorge is a more gradual, forested route starting in Kirstenbosch, perfect for nature lovers who want shade and a less technical climb. India Venster is more challenging, with steep rock scrambles and exposed sections. It’s more technical and not for beginner hikers. If you’re looking for a scenic but less intense hike, Skeleton Gorge is better. For thrill-seekers after a more adventurous ascent, India Venster is the trail for you.
Got any questions about hiking India Venster? Hit ya gurl up in the comments below!


Wow, the India Venster hike sounds absolutely thrilling! The combination of challenging routes and stunning views must make it a truly rewarding experience. I’ve always wanted to hike Table Mountain and exploring the India Venster route seems like an amazing way to do so. Thanks for sharing such a detailed guide! I’ll definitely keep this in mind for my next adventure.
I’m visiting Cape Town in March and it has always been a goal for me to hike up Table Mountain. I would love to hike up India Venster and down via Skeleton Gorge. I’m going to be on my own and now after reading your article I’m wary of taking on India Venster alone. Can you recommend any guides or link ups for this hike? Was planning on Sat 8 March.
Hello! You can find guides on Airbnb experiences, that’s probably the easiest option or Googling to see if anyone is selling a guided hike. I don’t have any deets on hiking groups in the city at the moment. If I was in Cape Town, I would 100% take you. Otherwise, maybe post on Meet-Ups?
Hi Lauren, thanks for the beautiful post. It definitely has encouraged us to go for the India Venster and we loved the trek! For the sake of other readers I would like to add a few points:
Your trail breakdown was a bit confusing for us. The first part you describe until scrambling starts took us more than 1 hour. This made us think that the other parts also will take longer. But actually the scrambling is overall only about 20% of the hike. There are just three short critical passages in our experience. And only the middle one had some chains and metal clamps. The first and the third one are just climbing over the rocks which has been relatively easy for us who have experience with hikes and simple climbs. The rock is wonderfully firm and has lots of grips and natural handles. Even though you wrote that helpful “warning”, we sadly did miss the Venster. As there were no metals in the first scramble we were waiting for more to come, but may be it has been in that first bit? We had locals who knew the path before us, so trusted they would move to the left when it comes, but that did not happen. So better look out for that path to the left soon after the scrambling starts. After may be an hour of passing the three scrambles and in-between walking on a regular path, we were just below the big steep rock going up to the cable car station. There some real rock climbers were climbing up with ropes. The marked path goes to the right along the rock and up a beautiful valley until the dip where the Platteklip trail ends. No more steep path and no more scrambles.
It’s a really great hike, mostly on a well marked path, with some good scrambling in the middle part – definitely not for inexperienced climbers, but perfectly wonderful for people who know mountains and rocks.
So Platteklip is a stairmaster that must be avoided but the first 45 min of Indian Venster is stairs going up that is your personal hell?
I like both trails – denigrating one because you like the other is hardly an objective way to enlighten people about the trails around Cape Town.
Why can you not describe India Venster in a positive light on its own without having to make out that those who hike Platteklip have something wrong with them.
Because you’re reading MY opinion on MY travel blog. I don’t need to be objective. I have zero interest in watering down my opinions to make them palatable and prevent anyone from feeling offended.
I did describe India Venster in a positive light. In the intro I said “It’s one of my all-time favourite hikes in Cape Town, and I’ll never say no to a mission up this route.” I just don’t like the start of the trail and I feel that people should be aware it has a bitch of an incline.
Platteklip on the other hand is not a personal favourite and I would never recommend that trail to anyone. If you love that trail, love that for you, but I’m not going to write something that isn’t true to MY experience.
If you want to read a travel blog that is objective and void of any personal opinion, you’re 100% in the wrong place.